The print head alignment is performed to resolve printing problems such as vertical mis-alignment or poor print quality.
Confirm that the printer is powered on.
Set a sheet of A4 or letter-sized plain paper in the sheet feeder, and open the paper output tray.
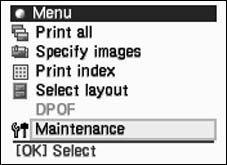
Press the Menu button, and use the up and down cursor buttons to select 'Maintenance'on the right and then press the OK button.
Use the up and down cursor buttons to select Auto head align and then press the OK button.
Note: If Head alignment print is selected, the current alignment values can be printed.
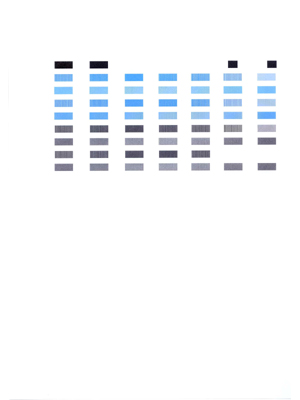
Use the up and down cursor buttons to select Yes and then press the OK button. (The Power lamp blinks and the nozzle check pattern printing starts.)
The alignment pattern is printed as below, and the print head alignment is performed automatically. (It takes about three minutes until printing is completed.)

 to select 'Maintenance' on the right and then press the OK button.