How to use trimming with Easy-PhotoPrint v2.x
By trimming an image taken by a digital camera to highlight the subject, such as persons or buildings, image(s) with a clear theme can be set.
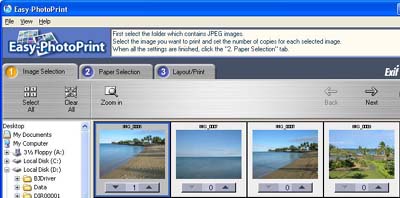
1. Select the image(s), and click the '3. layout/Print' tab
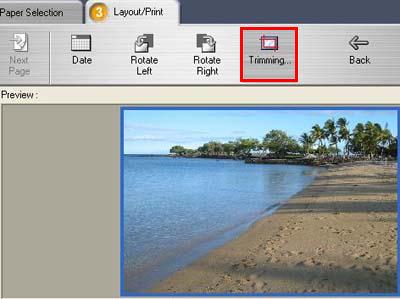
2. In the Layout/Print sheet, click 'Trimming'.
3. On the image displayed in a separate window, set the pointer to an intersecting position in the Rule of Thirds grid.
Note: When setting the pointer over the intersecting lines, the grid intersection will turn green.
Note: If the intersecting lines are not displayed, check 'The Rules of Thirds' check box.
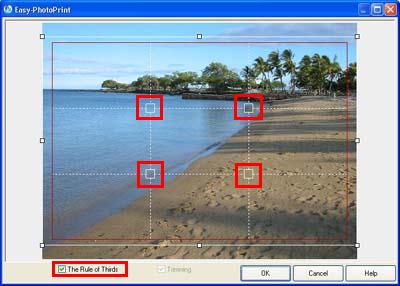
4. Align the intersections to the object, dragging them via the mouse to change position, and click 'OK'.

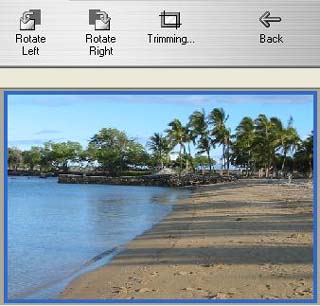
5. In the image displayed in Preview, trim the necessary portion in the image.
6. In the Layout/Print sheet, click 'Print'.
7. When printing starts, the following message is displayed.
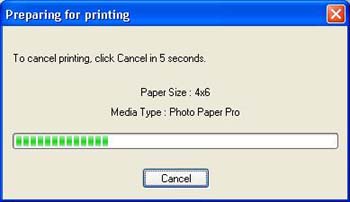
Windows
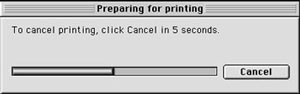
Mac
8. The procedures for printing after trimming are completed.
Memo: To stop printing, click 'Cancel' within five seconds.
Memo: To perform printing immediately, while holding the Shift key, click 'Print'
