Install the printer driver using the prepackaged CD - Custom Install (Windows)
Note: The CD-ROM packaged with your printer will not work in Windows Vista. A driver for your printer was installed on your computer when Windows Vista was installed. Simply connect your printer to the computer and turn it on. Windows will recognize your printer and install the driver. The Windows Vista drivers for the iP1700, iP4300, iP6310D, iP6700D and the Pro9000 are not included in the operating system and must be downloaded from our Web site.
The printer driver installation can be done using the prepackaged CD-ROM Easy Install and Custom Install methods.
Custom Install allows the user to select the software programs to be used and installs only the selected programs. This method is recommendable for users familiar with software installation.
The directions for Custom Installation follow.
Note: Before installing the printer driver, confirm that the printer is powered OFF.
Note: Screens may vary slightly depending on model
-
Insert the Canon CD in the computer.
-
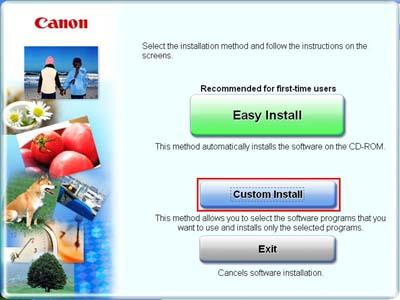
After the CD-ROM automatically starts and displays the following window, click 'Custom Install'.
Note: If the CD-ROM does not start automatically, double-click the Msetup4.exe file in the CD drive.
-
When the Custom Install window is displayed, deselect the programs not to be installed. Select 'Printer Driver' if needed, and click 'Next'.
Note: In this example, only the Printer Driver is being installed.
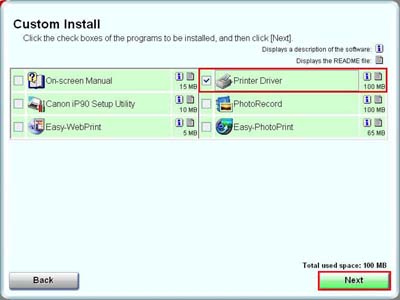
*Software choices may vary depending on model
-
Click 'Yes' in the License Agreement window to start Easy Install. Clicking 'No' will prevent you from completing installation.

-
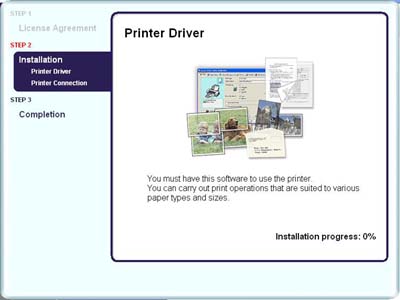
The selected items will be installed.
-
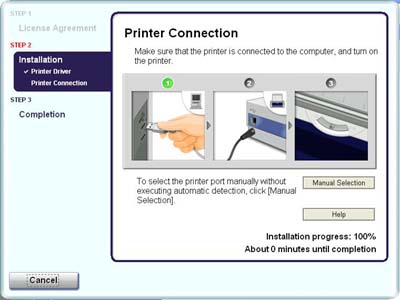
The Printer Connection window will be displayed. Connect the printer to the computer and turn on the printer.
-
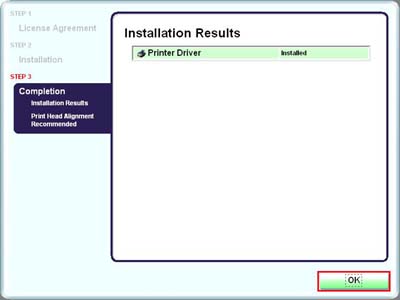
When the installation is completed, the Installation Results window will be displayed. Confirm the results, and click 'OK'.
-
Click 'Restart'.
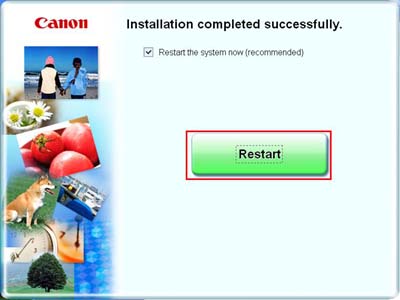
Note: The 'Restart' button may be displayed as 'Exit' instead. If 'Exit' is displayed, click 'Exit'.
This completes Custom Install.
