Reset the Ink Counter (Windows).
Instructions to reset the ink counter. Resets ink counter to an initial value. Click this if you did not select 'Yes' when a confirmation message of ink tank replacement appeared after installing a new ink tank.
Note: The following images feature a Canon i70 printer on Windows XP in a Classic windows view. The 'Maintenance' tab is available from 'Properties' or 'Printing Preferences' in Windows XP or Windows 2000.
Manual ink counter reset:
- Open the printer properties.
- Click the 'Maintenance' tab. (The Maintenance dialog appears.)
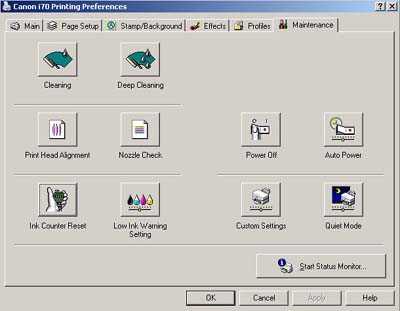
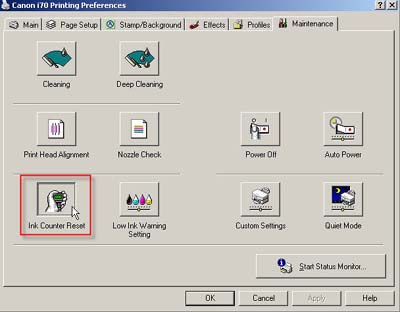
- Click the 'Ink Counter Reset'.
- Select the ink tank color you have just installed and click 'Execute'.

Note: The 'Execute' button will be unavailable until a color has been selected.
- Click 'OK' to exit the printer Properties / Preferences window.
Automatic prompting. (Click automatic settings for additional information on how to change the settings.)
After opening and closing the front cover of the printer the following message will appear when the next print job begins:
- Select 'Yes' if you have replaced an ink tank. (Select 'No' if you did not replace the ink tank in order to continue printing.)
- Select the color of the ink tank that was replaced and click 'OK'.

Note: If resetting the Ink Counter through the automatic method, only the ink tanks removed and replaced will be available for selection. The 'OK' button will not be available until a color has been selected..
Once the counter is reset, printing will continue automatically.
Click here to return to manual ink reset instructions.
Low Ink Warning Settings:
- Select 'Low Ink Warning Settings'.

- Select the options desired for automatic displays regarding ink levels.

- Display low ink warning: When the printer determines the ink tanks are low, a message is sent to the computer and the warning appears on-screen. The default setting is to have the low ink warning on.
- Display a confirmation message of ink tank replacement: Automatic prompt that occurs after an ink tank has been removed from the printer. The default setting is to have the message on.
Click here to return to automatic prompting information. Click here to return to manual ink reset instructions.
