By setting various optional settings with the menus, you can set processing parameters, the date/time, Custom Functions, etc. While looking at the LCD monitor, you use the <MENU> button, <SELECT> button, and < > dial on the camera back to operate the menus.


- Even while the menu is displayed, you can instantly go back to shooting by pressing the shutter button halfway.
- The explanation of menu functions hereinafter assumes that the menu items or settings are displayed.
|
How to Change Menu Settings
 |
1. Display the menu.
- Press the <MENU> button to display the menu. To turn off the menu press the button again.
- With the menu displayed, follow the procedure below.
|
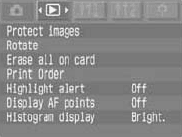 |
2. Select a menu tab ( ). ).
- Hold down the <MENU> button and turn the <> dial to select a tab, then let go of the button.
|
 |
3. Select a menu item.
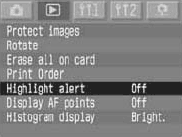
- Hold down the <SELECT> button and turn the <> dial to select a menu item, then let go of the button.
|
 |
4. Select the desired menu setting.
- Hold down the <SELECT> button and turn the <> dial to select the desired setting, then let go of the button. The setting will take effect immediately.
|
 |
5. Exit the menu.
- Press the <MENU> button to exit.
|
Auto power off is available under the < > tab. The available settings are: > tab. The available settings are:
- 1 min.
- 2 min.
- 4 min.
- 8 min.
- 15 min.
- 30 min.
- Off.
|
