Installation Procedure
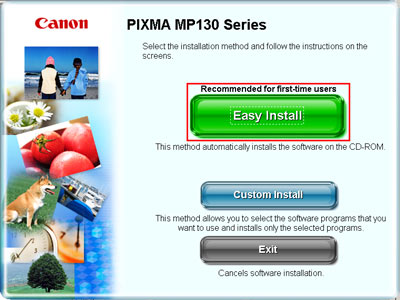
There are two ways you can install the software: Easy Install or Custom Install.
Easy Install is recommended for the first-time users, and Custom Install is for the advanced users. This sheet explains Easy Install only.
IMPORTANT:
- Close any open software applications, including anti-virus applications prior to installing the software.
- Do not connect the USB cable until Step 3, 'Connect the USB cable'.
The following software programs are included on the Setup CD-ROM:
- On-screen Manual
- MP Drivers
- MP Navigator
- Easy-WebPrint
- Easy-PhotoPrint
- ArcSoft PhotoStudio
- ScanSoft OmniPage SE
- e-reg
- If you have an earlier version of the MultiPASS Suite software installed on your computer, uninstall this version before installing the new version. For instructions on uninstallation, see the guides for that version of MultiPASS Suite.
- When installing the software in Windows 2000, you must log on as Administrator or have Administrator privileges, and when installing the software in Windows XP, you must log on as Administrator.
Step 1: Prepare the Setup CD-ROM:
- Turn ON your computer, and start Windows.
- Insert the Setup CD-ROM into the CD-ROM drive. The setup program should automatically run.
- If the setup program does not automatically run, click 'My Computer'
- Double-click 'Msetup4.exe' on the Setup CD-ROM.
IMPORTANT: If you see the Found New Hardware Wizard, the USB cable is connected. Disconnect the USB cable then click 'Cancel'.

Step 2: Install the software:
- Make sure your machine and computer are turned on.
- When connecting the USB cable, the computer will automatically detect and install necessary information.
- In Windows 2000, the machine may not be set as the default printer.