Uninstall and Reinstall the Printer Driver (Windows)
Instructions to uninstall the printer driver
- Select 'Programs' or 'All Programs' from the 'Start' menu.
- Select the printer driver you want to uninstall, and then select 'Uninstall'.
_1.jpg)
- When the confirmation message shown below is displayed, click 'OK'.
_2.jpg)
- A window showing the progress of the uninstallation is displayed. Wait until the "Uninstall successfully completed" message is displayed.
_3.jpg)
- When the message is displayed, click 'OK'.
- This completes printer driver uninstallation.
Note: If you use Add or Remove Program to uninstall the printer driver, the printer model name will remain in the Start menu. To completely remove all files, including the printer model name from the Start menu, uninstall the printer driver using the procedure described in Step 2.
Instructions to install the printer driver for the using the prepackaged CD (Windows)
Note: Before installing the printer driver, confirm that the printer is powered OFF.
- Insert the Canon CD in the computer.
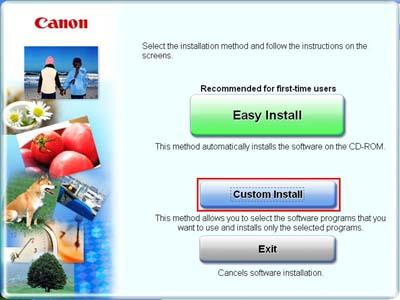
- After the CD-ROM automatically starts and displays the following window, click 'Custom Install'
Note: If the CD-ROM does not start automatically, double-click the Msetup4.exe file in the CD drive.
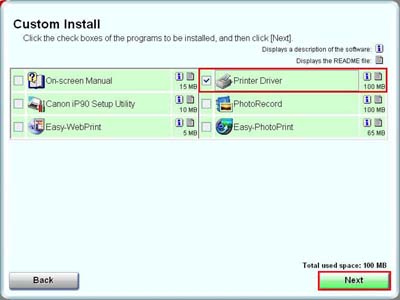
- When the Custom Install window is displayed, deselect the programs not to be installed. Select 'Printer Driver' if needed, and click 'Next'.
Note: In this example, only the Printer Driver is being installed.
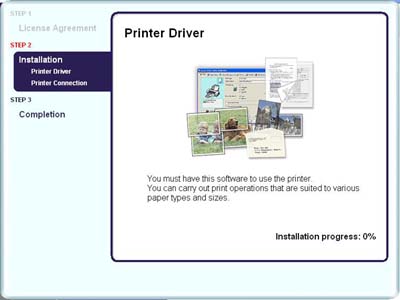
- Click 'Yes' in the License Agreement window to start the installation. Clicking 'No' will prevent you from completing installation.

- The selected items will be installed.
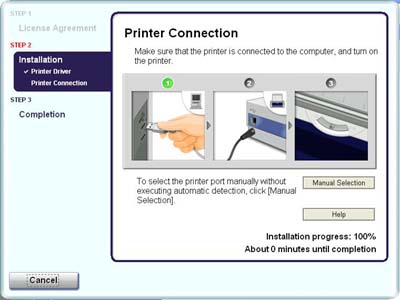
- The Printer Connection window will be displayed. Connect the printer to the computer and turn on the printer.
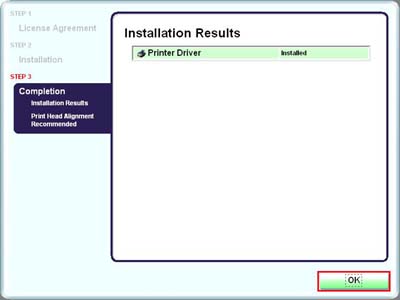
- When the installation is completed, the Installation Results window will be displayed. Confirm the results, and click 'OK'.
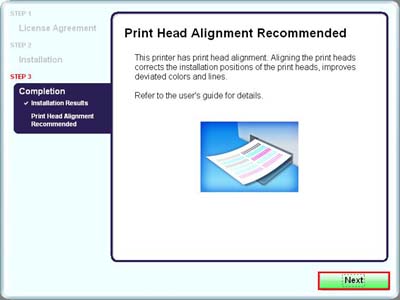
- The print head alignment window will be displayed. Click 'Next'.
- Click 'Restart'.
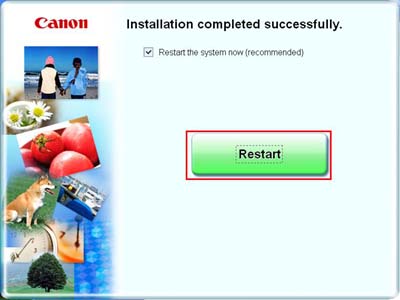
Note: The 'Restart' button may be displayed as 'Exit' instead. If 'Exit' is displayed, click 'Exit'.
This completes Custom Install.
