|
|
Perform an Automatic Print Head Alignment (WIndows) i960
| Article ID: ART159682 |
| |
Date published: 06/09/2015 |
| |
Date last updated: 08/18/2015 |
Description
Perform an Automatic Print Head Alignment (WIndows) i960
Solution
Perform an Automatic Print Head Alignment (Windows)
-
Click 'Properties' from the Printer icon:
For Windows 7
- Click the 'Start' button from the bottom left of the Windows screen, and then click on 'Devices and Printers'.
- Click your right mouse button on the listing for your printer, and then select 'Printing Preferences' from the menu that appears.
For Windows Vista
- Click / Select the 'Start' from the bottom left of the Windows screen, 'Control Panel', 'Hardware and Sound', and then click on 'Printers'. Note: If you are in 'Classic' view, click 'Printers' directly from the 'Control Panel'.
- Click your right mouse button on the listing for your printer, and then select 'Preferences' from the menu that appears.
For Windows XP Home Edition
- Click / Select the 'Start' button from the bottom left of the Windows screen, 'Control Panel,' 'Printers and Other Hardware,' and 'Printers and Faxes.'
- Click your right mouse button on the listing for your printer, and then select 'Preferences' from the menu that appears.
For Windows XP Professional Edition
- Click 'Start' from the bottom left of the Windows screen, and 'Printers and Faxes.'
- Click your right mouse button on the listing for your printer, and then select 'Preferences' from the menu that appears.
For Windows 2000
- Click / Select 'Start' from the bottom left of the Windows screen, and 'Settings,' then 'Printers.'
- Click your right mouse button on the listing for your printer, and then select 'Properties' from the menu that appears.
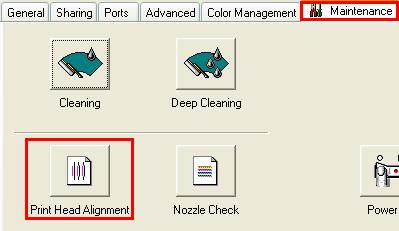
- Click the Maintenance tab and click 'Print Head Alignment'. In the Maintenance dialog box, layouts may vary depending on the printer model used.
-
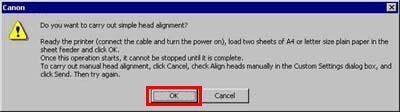
The message below is displayed. After confirming the two points below, click 'OK'.
- Is the printer powered on?
- Is A4 or Letter sized plain paper set in the printer?
- The power lamp flashes, and print head cleaning is started. After cleaning has finished, the head alignment pattern will be printed. Do not perform other operations until printing is completed.
- When printing has finished, the automatic print head alignment has completed.
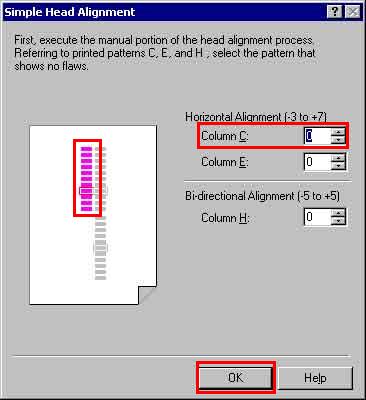
- Refer to the printed sheet, and enter the numbers on the next screen.
Select the pattern with the fewest visible vertical stripes. Enter the selected pattern's number in the column C box.
Similarly, enter the selected numbers in the boxes for column E and H.
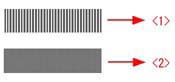
<1> Example of highly visible vertical stripes in the pattern.
<2> Example of the fewest visible vertical stripes in the pattern.
After all numbers have been entered, click 'OK'.
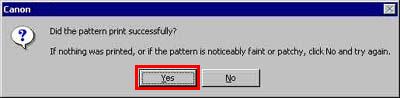
- After confirming paper is set, click 'OK'. Another pattern printing will be performed.
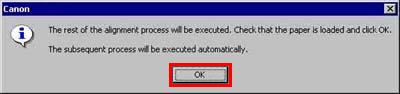
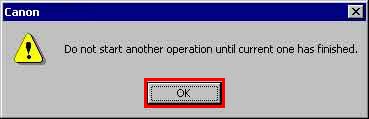
- The following message is displayed. To proceed to the next step, click 'OK'.

- When printing has finished, the automatic print head alignment has completed
|
