To install the software for your PIXMA MG3600 Series printer on your computer, follow the steps below.
 If you don't have the setup CD or if you don't have a CD drive on your PC, select here to get the software.
Install the printer software
- Insert the CD and select the option to run MSETUP4.EXE. If you don't see a prompt, open Windows Explorer, select the listing for your drive (such as D: or E:), and double-tap on MSETUP4.EXE.
- If you download the software, double-click on the file you downloaded to begin the installation.
-
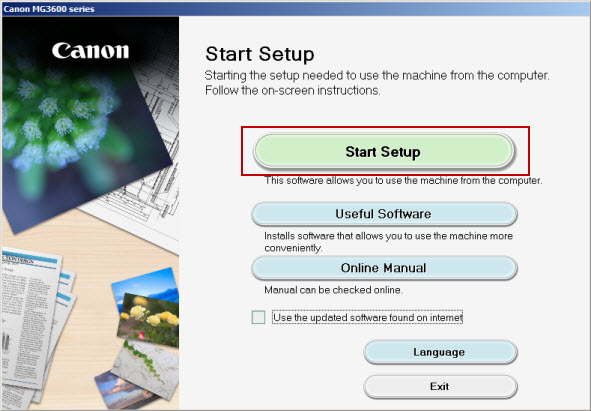
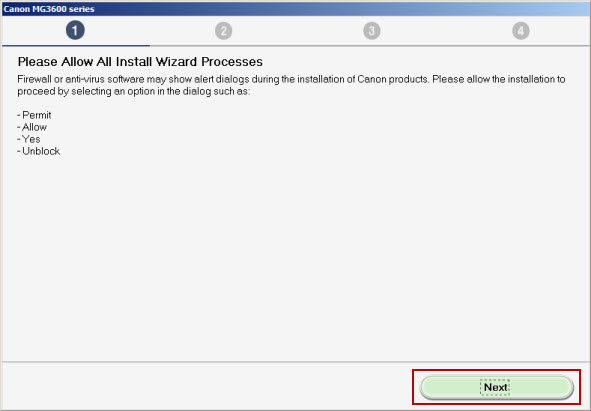
Select Start Setup.
If you check the box Use the updated software found on internet, the installer checks online for the latest versions of the software.
-
Select Next.

-
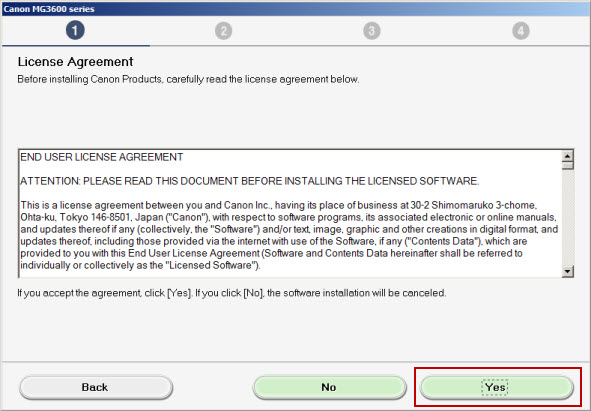
Read through the License Agreement and select Yes. If you select No, the installation won't continue.
-
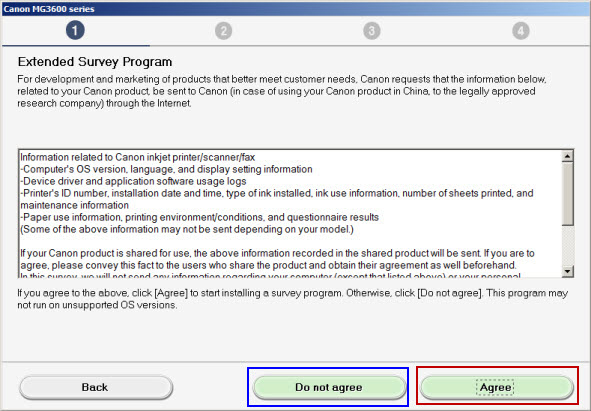
Select Agree or Do not agree to the extended survey.
-
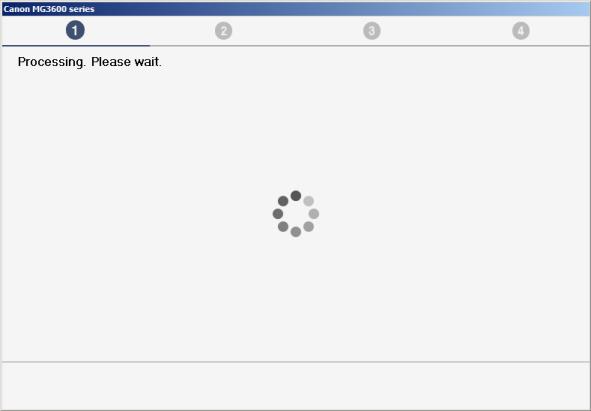
Wait for the setup program process to finish.
- Select Next.
-
Select USB Connection, and tap Next.
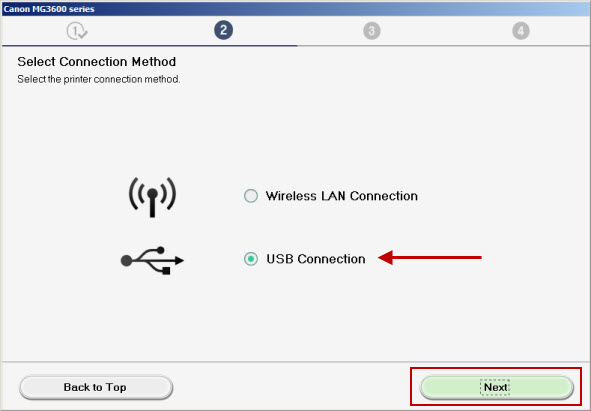
- Check to make sure your computer is connected to the printer via an A-to-B USB cable.
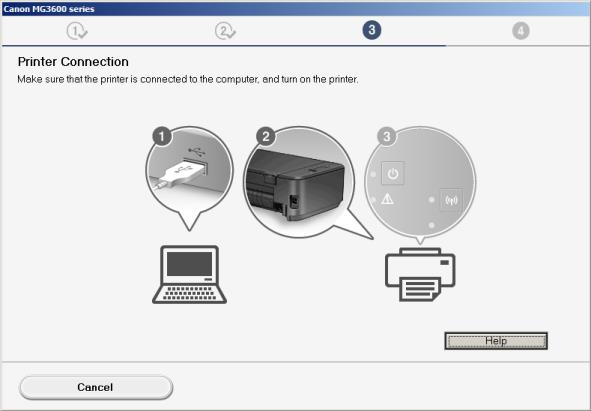
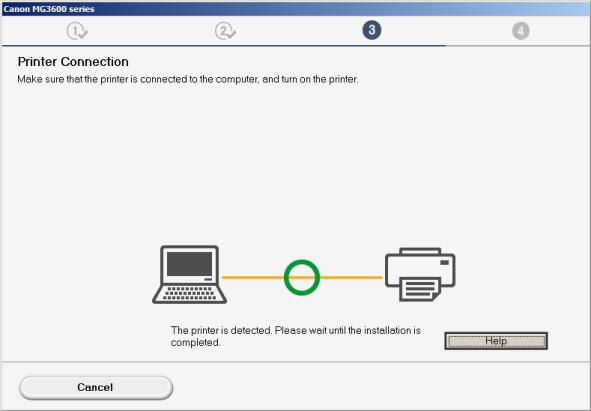
- The printer driver installs. The installer detects if the printer is connected.
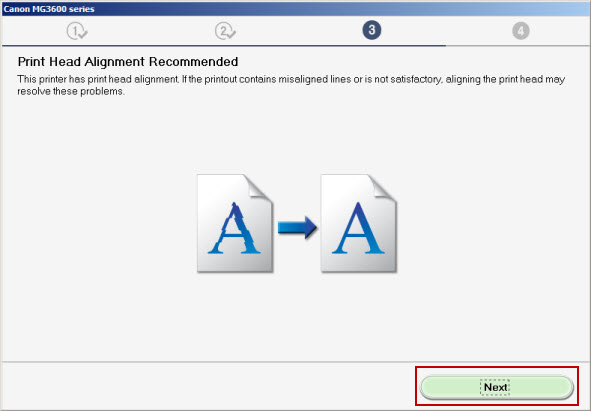
-
Select Next.
-
Select Execute to run a test print or Next if you want to skip it.
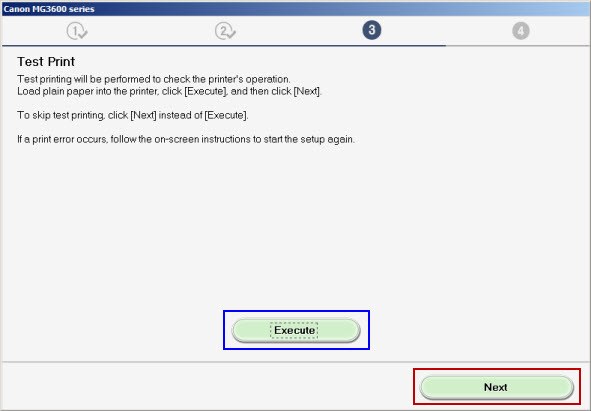
-
Select Next.
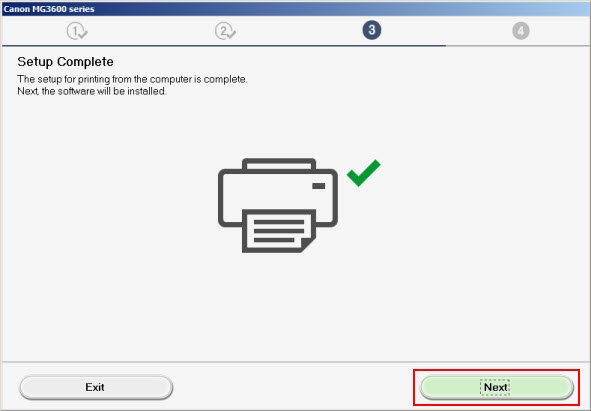
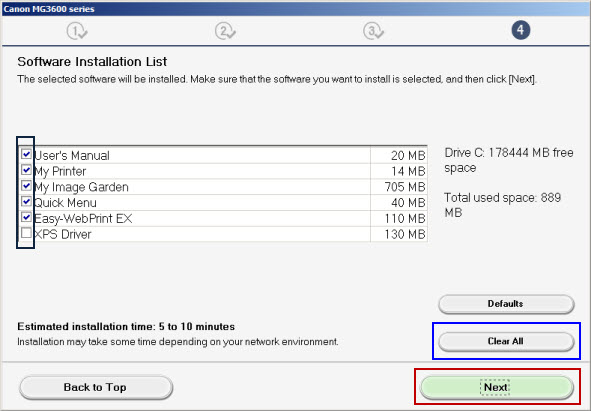
-
Check the box to select any optional software to install, or select Clear All to deselect all default selections. Select Next to continue.
-
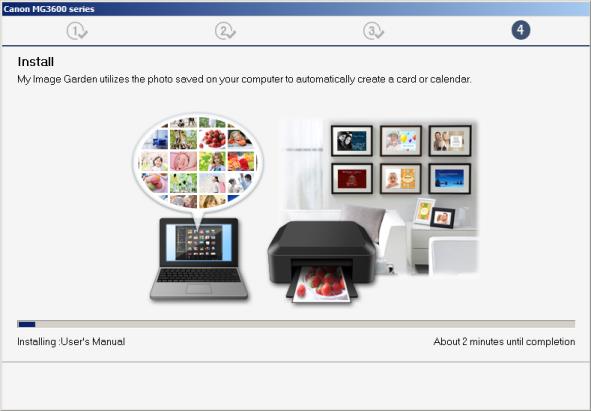
Optional software install, if selected. This takes a few minutes.
-
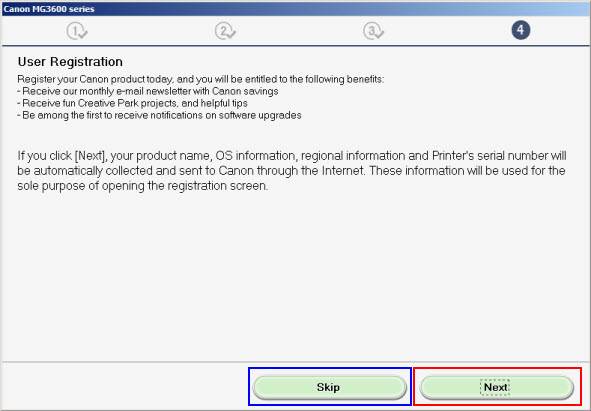
Select Next or Skip.
-
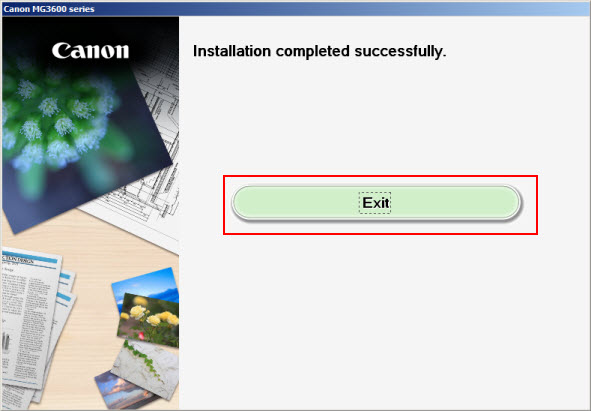
Once installation is complete tap Exit. If used the CD will eject automatically.
If your product issue was not resolved after following the steps above, or if you require additional help, please create or log in to your Canon Account to see your technical support options.
Or if you still need help, visit our Canon Community by clicking the button below to get answers:

____________________________________________________________________________________________
