Setting up the MAXIFY Printer for use on a Wireless LAN
The Cableless setup method is a quick and easy way to set up the printer for use on a Wi-Fi (Wireless) network. Follow the instructions below to set up the printer. This method can be used for first-time installs, for adding the printer to additional computers on the network, or for re-establishing a network connection after a router or network change.
Start Cableless Setup on the printer.
-
Press the HOME button (A) on the printer.
If an error screen is displayed, tap OK, then press the HOME button.
-
Flick the screen left or right, then tap LAN settings.
-
Tap Wireless LAN setup.
-
Tap Cableless setup.
-
Tap OK.
Run the Setup Program
- Access the Setup page, read the information then click the Download button to download the setup file.
- After the file has downloaded, double-click the downloaded .dmg file. Double-click the Setup icon when the Canon_IJ window opens.
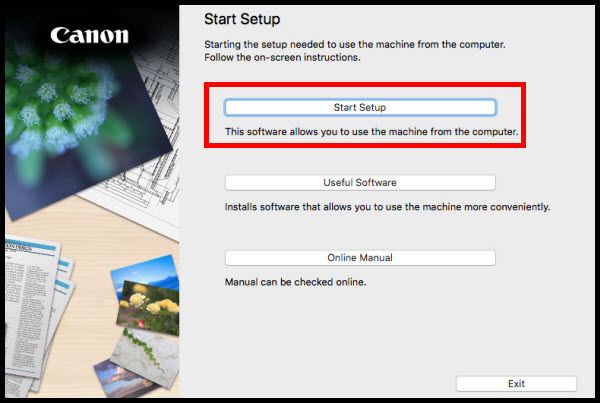
- Click Next on the first screen.

- Click Start Setup.
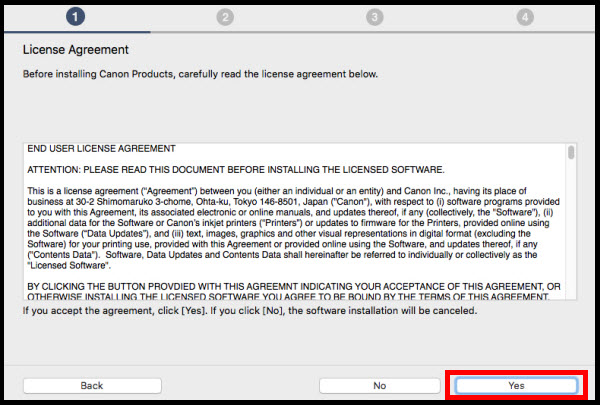
- Continue to follow on-screen instructions. Be sure to select Yes on the License Agreement in order to continue.
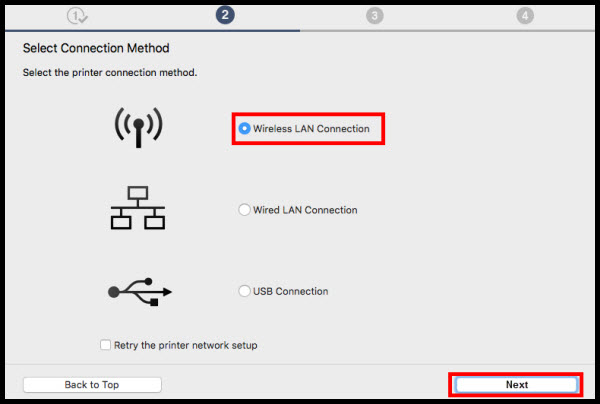
- Continue to follow on-screen instructions. On the Select Connection Method screen select Wireless LAN Connection and click Next.
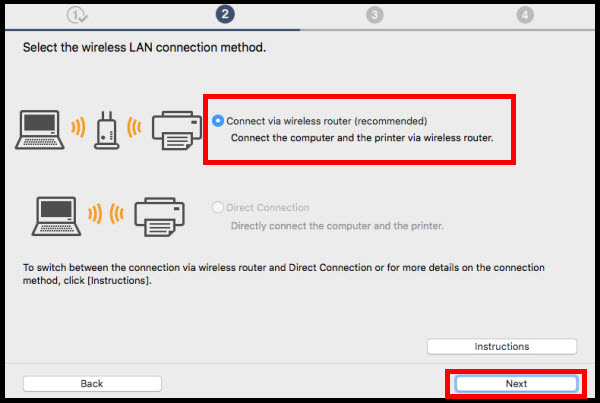
- Select Connect via wireless router (recommended). Click Next.
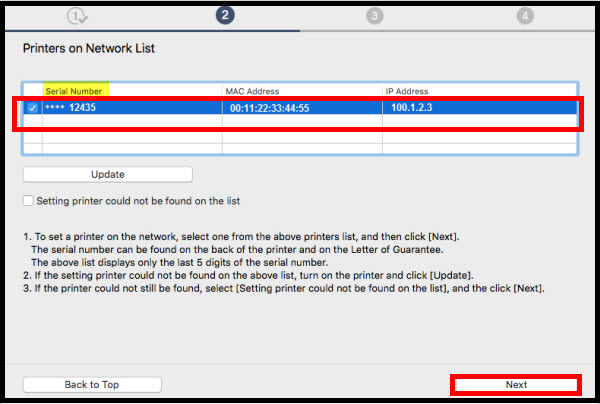
- Continue to follow on-screen instructions. On the Printers on Network List, select the printer to be used (verify by Serial Number*) and click Next.
*Only the last 5 digits will be displayed
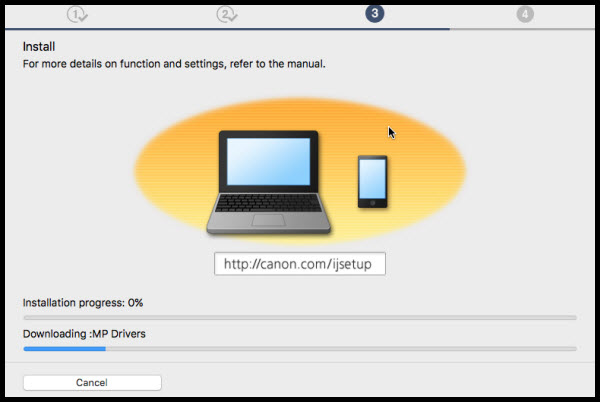
- Drivers will now be installed.
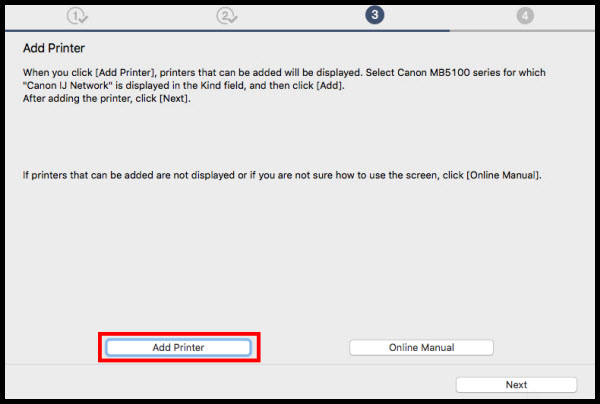
- Click Add Printer on the Add Printer screen.
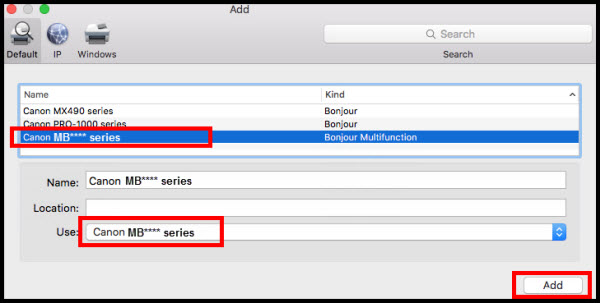
- On the Add screen, select the MB**** series printer with Bonjour Multifunction listed in the Kind column (**** represents the MAXIFY model number). Select the Canon MB**** series in the Use: dropdown. Click Add.
- Click Next on the Add Printer screen.

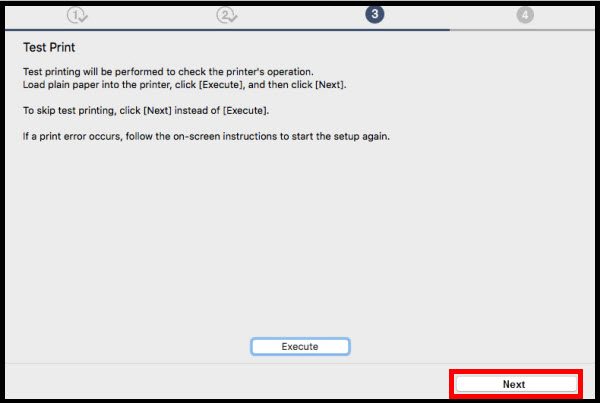
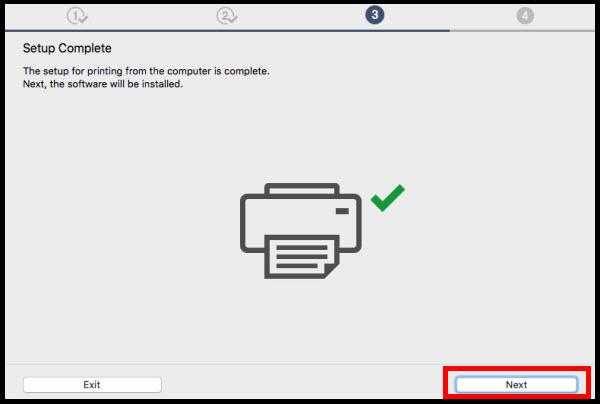
- Click Next on the Test Print Window, then click Next on the Setup Complete screen.
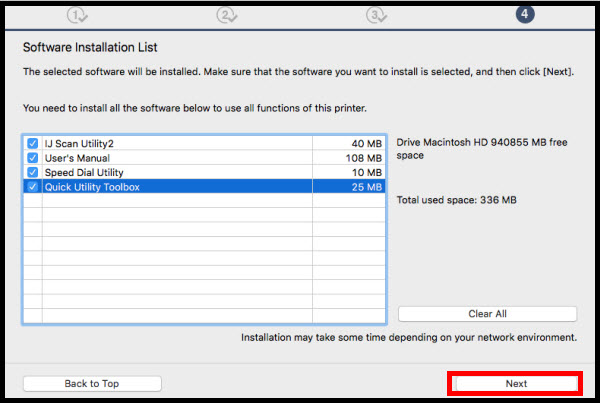
- On the Software List, select any optional software to install. Click Next.
- Skip or complete the User Registration. Follow all instructions if completing the registration.
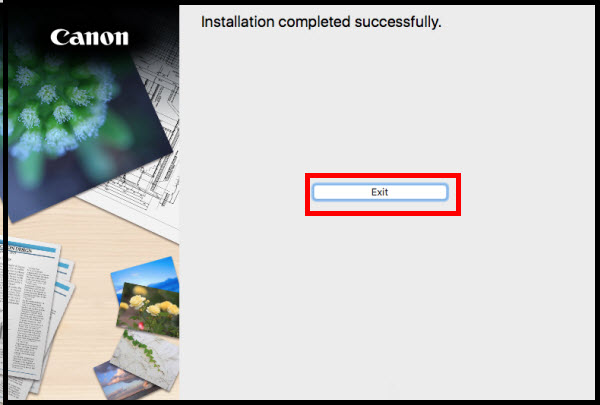
- Exit the setup.
MB5420 Page