Follow the steps below to set up your PIXMA printer on a Wi-Fi network so you can easily manage it from a Mac®.
There are two parts to the setup:
-
Start the setup process on your printer.
-
Download and run the setup file on your computer.
 You can also view a video of the setup process.
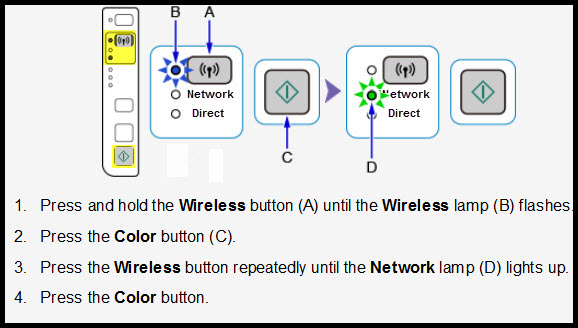
1. Start the setup process on your printer
-
Press and hold the Wireless button (A) until the Wireless lamp (B) flashes.
-
Press the Color button (C).
-
Press the Wireless button repeatedly until the Network lamp (D) lights up.
-
Press the Color button.
2. Download and run the setup file on your computer
-
Get the setup file, read the information, then select the Download button to begin the download.
-
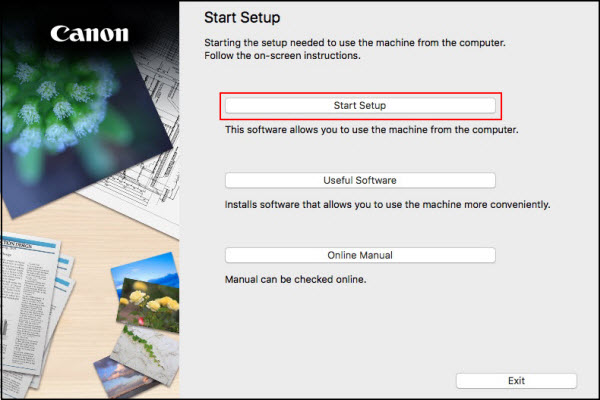
Select Start Setup from the first screen.
-
Select the region where you live, then Next.
-
Read the License Agreement, then select Yes.
-
Select Do not agree or Agree to the Extended Survey Program.
-
You will see the Status Check screen. Wait for the process to finish.

-
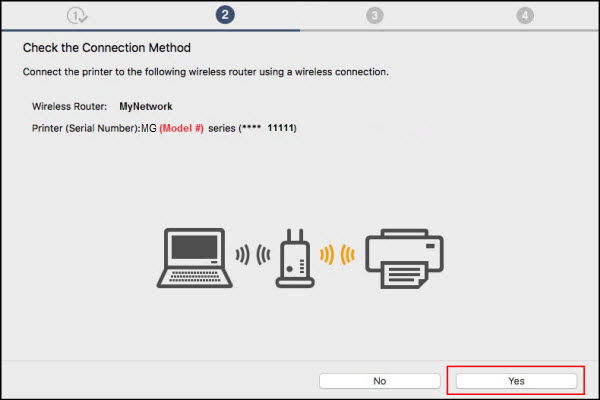
Select Yes on the Connection Method screen. The (Model #) is used as an example. Your actual model series number will appear in the setup program.
-
Setup continues. If the *Select wireless router screen (below) appears, select the wireless router to connect to the printer, enter the Network Key (password) and select Next.
* Your router and its network settings determine whether or not this screen appears.
![]()
-
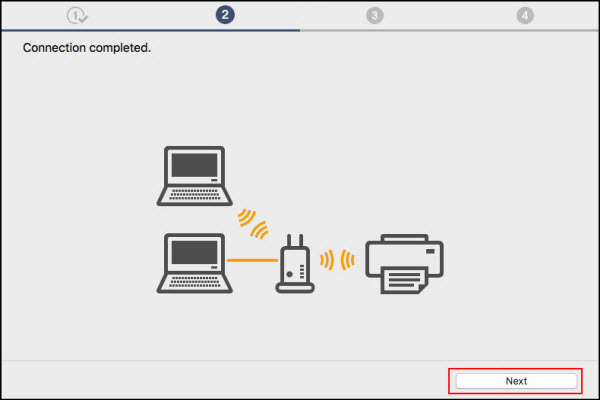
Network Connection completed. Select Next.
-
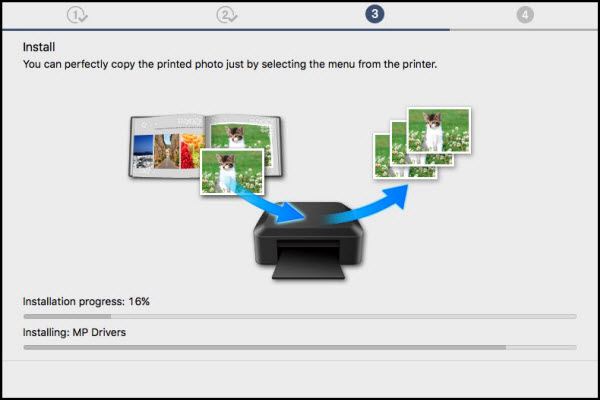
You will see a screen indicating that the driver install is progressing. Wait for the process to finish.
-
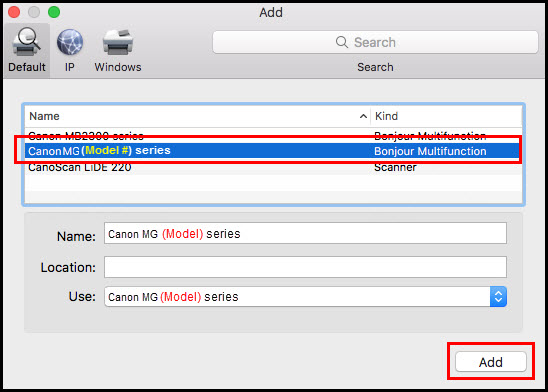
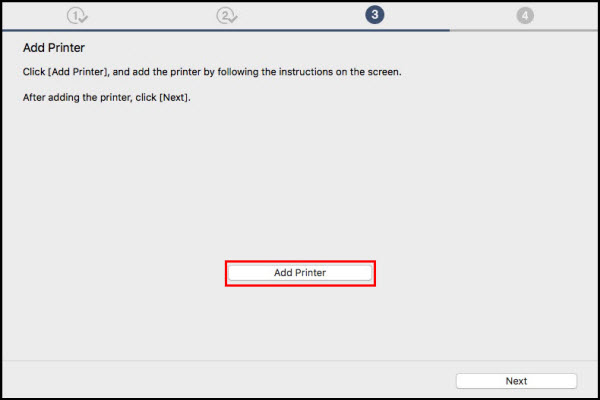
Select Add Printer.
-
On the Add screen, select the MG series with Bonjour Multifunction listed in the Kind column. Select your Canon MG(Model #) series in the Use: drop-down list.
 The Model series varies by model. MG (Model #) series is used here as an example only.

-
Select Next on the Add Printer screen.
-
On the Test Print screen, choose Execute to run a test print, or skip it and select Next.
-
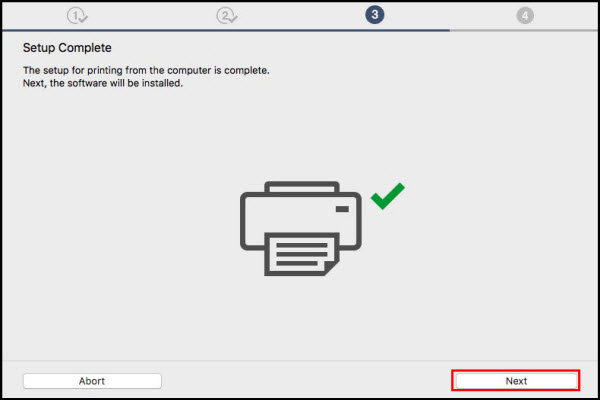
When you see the setup complete screen, select Next. You are almost finished.
-
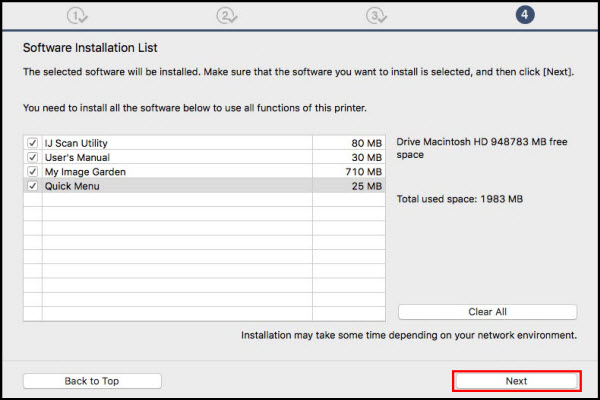
Select any optional application software desired, then select Next.
-
From the You Can Print... screen, select Next.
-
From the User Registration screen, select Next or Skip.
-
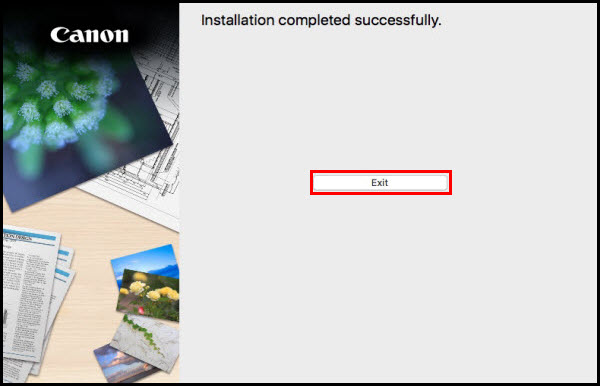
Select Exit. Installation is complete.