Communicate with your Windows computer by connecting the printer to your router to access the network.
 Watch a video about the Easy Wireless Connect Method on a Windows computer.
There are two parts to the setup process:
- Start the setup process on your printer.
- Download and install the setup software on your computer.
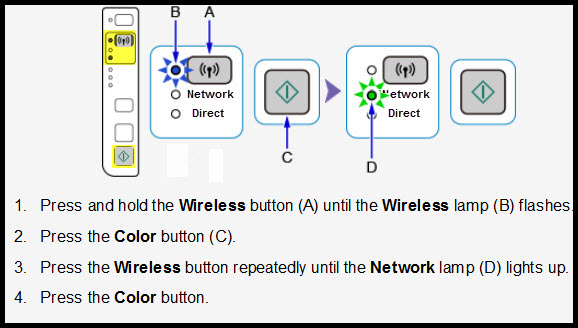
1. Start the setup process on your printer
-
Press and hold the Wireless button (A) on your printer panel until the Wireless lamp (B) flashes.
-
Press the Color button (C).
-
Press the Wireless button (A) repeatedly until the Network lamp (D) lights up.
-
Press the Color button (C).
2. Download and install the setup software on your computer
Follow the instructions below to set up the printer:
-
Get the setup file.
-
Read the information, then select the Download button to start the setup (or insert the Setup CD in the computer's CD drive).
-
Select Start Setup.
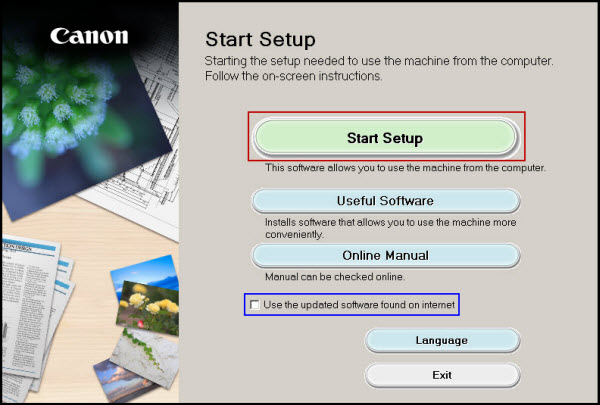
 The Use the updated software found on internet checkbox won't appear if you download the setup file from our website. This option will only appear if you use the Setup CD that came with your printer.
-
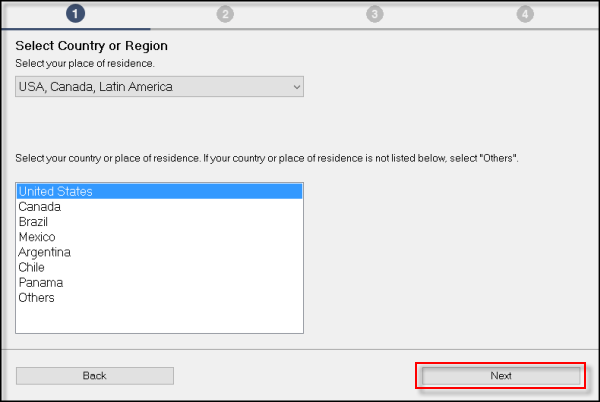
Choose the appropriate region, then select Next.
-
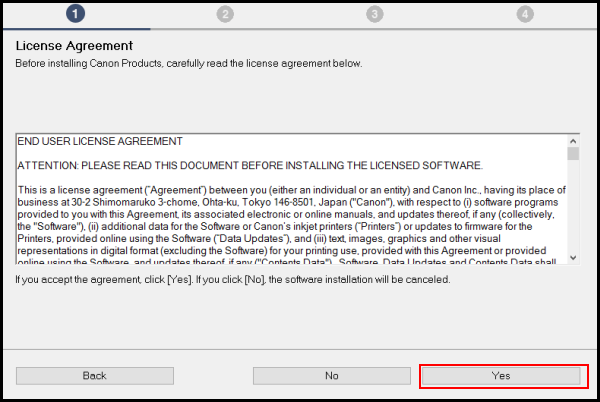
Select Yes on the License Agreement.
-
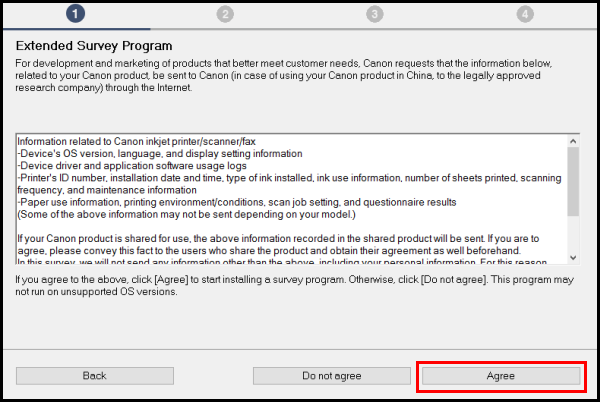
Select Agree or Do Not Agree to the Survey.
-
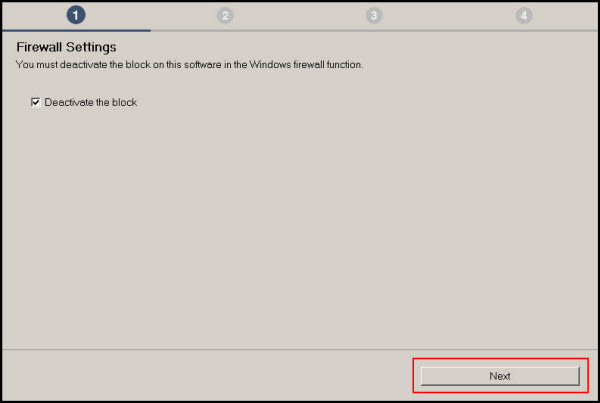
Select Next on the Firewall Settings screen.
-
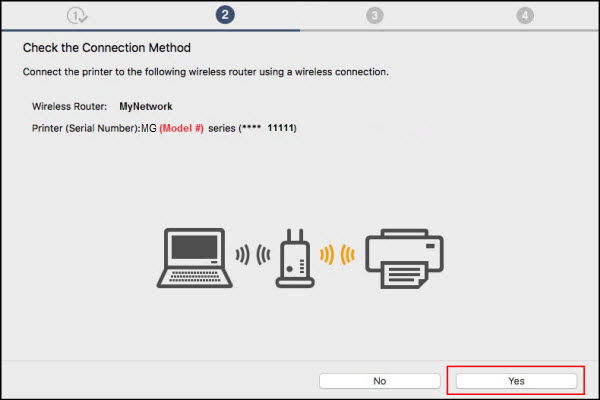
Select Yes on the Connection Method screen.
The Model # is used as an example. Your actual model series number will appear in the setup program.
-
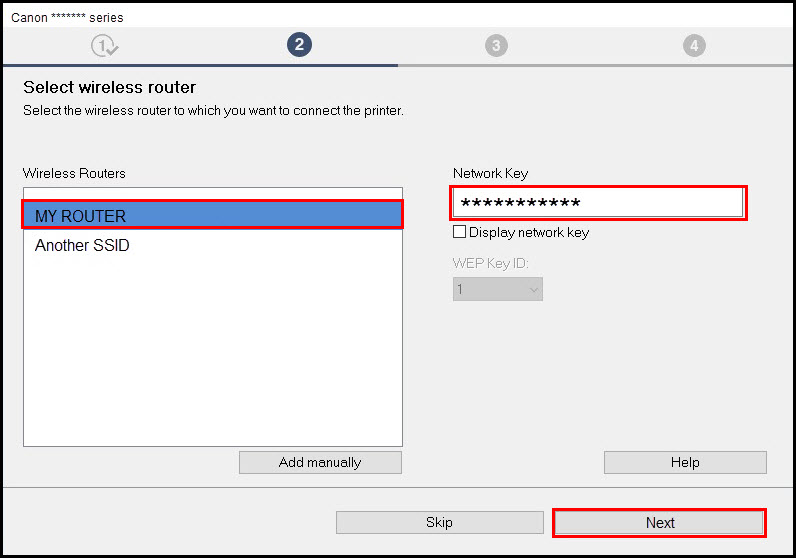
Setup continues. If the Select wireless router screen (below) appears, select the wireless router to connect to the printer, enter the Network Key (password) and select Next.
Your router and network settings determine whether or not this screen appears.
-
Setup continues. Wait for it to finish.

-
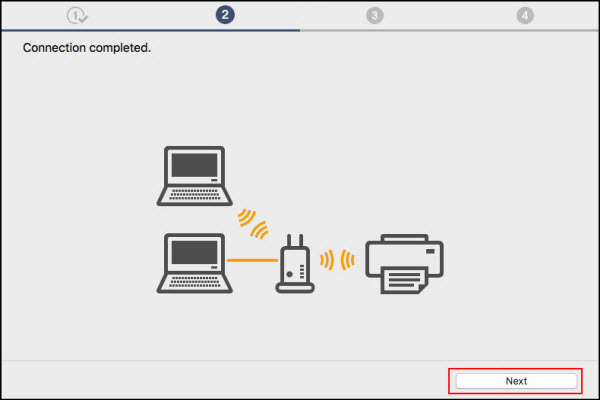
Network Connection completes. Select Next.
-
Setup completes. Select Next. You are almost finished.
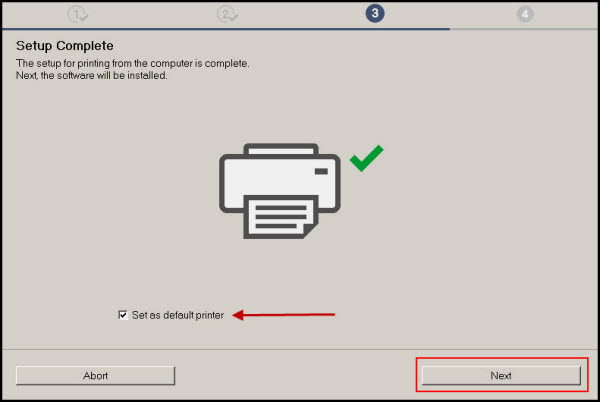
If you want this printer to be the default printer, select Set as default printer.
-
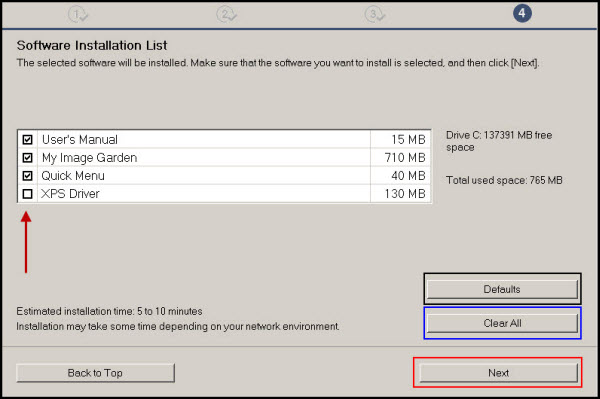
Select any optional application software you want to add (click the checkbox to add, or click it again to remove an item), then select Next.
-
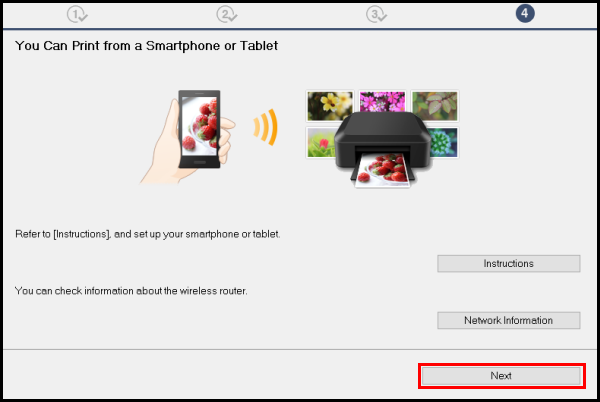
Select Next on the You Can Print... screen.
-
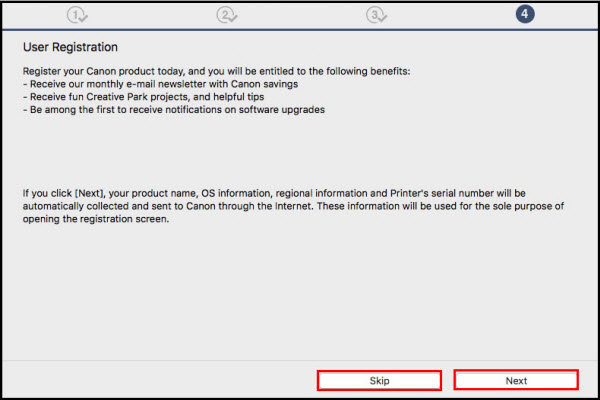
Click Next or Skip on the User Registration screen.
-
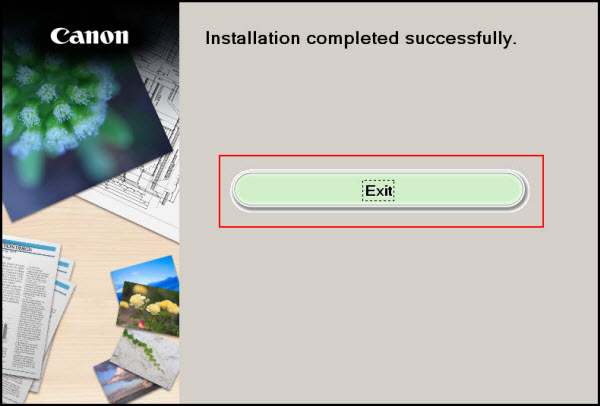
Select Exit. Installation is complete. You are ready to print wirelessly.