Your printer has an HTML interface that can be accessed from any device that is on the same network that the printer is connected to. This interface is known as the Remote UI. To access the Remote UI, follow the steps below.
-
With the printer turned on, print out the network information page (also known as the LAN details page).
-
Open a web browser on any device connected to the same network that the printer is connected to (smartphone, PC, Mac, etc.).
-
In the address bar, enter in the printer's IPv4 address shown on the LAN details page.
When the Remote UI appears, you will be at the Printer status area. This screen will show you the remaining ink levels in the printer. You will also see buttons for Ink number and Order my ink now. Click Log in.

You will come to the Admin password authentication screen. Enter the password in the box and click OK. By default, the password is the printer's serial number.

If you click and hold the mouse button down on the symbol on the right side of the password box, you will see the characters you have entered in. When entering in your password, you will see dots appear in place of the characters.
Clicking About password and cookies will take you here.
After you have entered in the password and clicked OK, you will come to the Printer Status section of the Remote UI. You will again see the printer's ink levels as well as its signal strength and link quality. You will also have options on the left side of the screen.

The available options are:
Printer status (Shown above)
Utilities
Device settings
Web service connection setup
Security
System info and LAN settings
Firmware update
Language selection
Manual (Online)
Return to top
Utilities
In this section, you can execute maintenance functions such as printing nozzle check patterns, performing cleanings, and head alignments. Click on the function you wish to execute. Click Yes or the appropriate affirmative option to execute the function desired.

Return to top
Device settings
In this section, you can make adjustments for the Quiet setting, Energy saving settings and Ink drying wait time.

For the Quiet setting, you can specify if you want to use the quiet mode or not. Click on the option you prefer and then click OK. Click the back arrow  to go back to the Device settings menu.
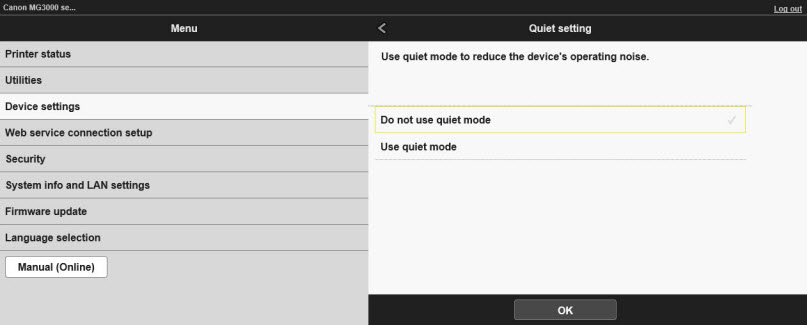
The Energy saving settings and Ink drying wait time sections will operate in a similar fashion.
Return to top
Web service connection setup
In this section, you can walk through setting up your printer with the IJ Cloud Printing Center.
 Google Cloud Print support ended on December 21, 2020. Printing with Google Cloud Print is no longer possible.
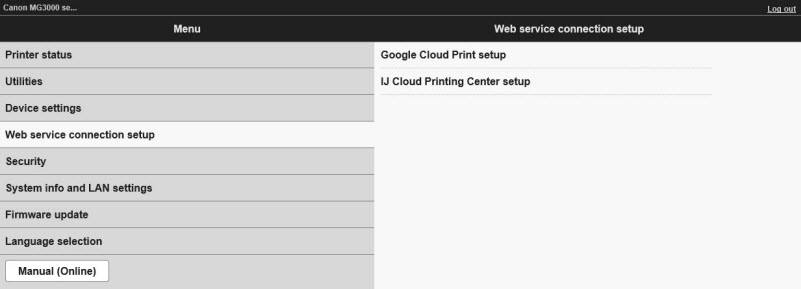
To set up the printer with the Canon IJ Cloud Printing Center, follow the steps below.
-
Click on IJ Cloud Printing Center setup.
-
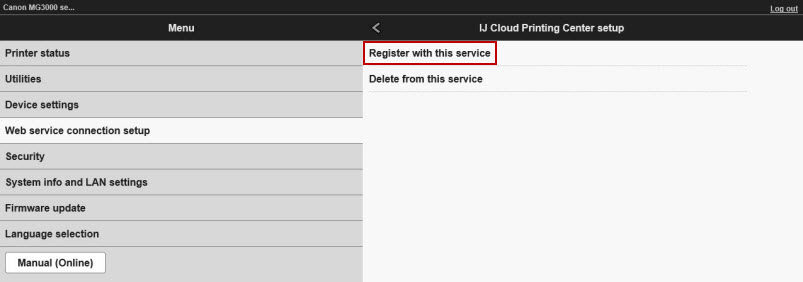
Click Register with this service.
-
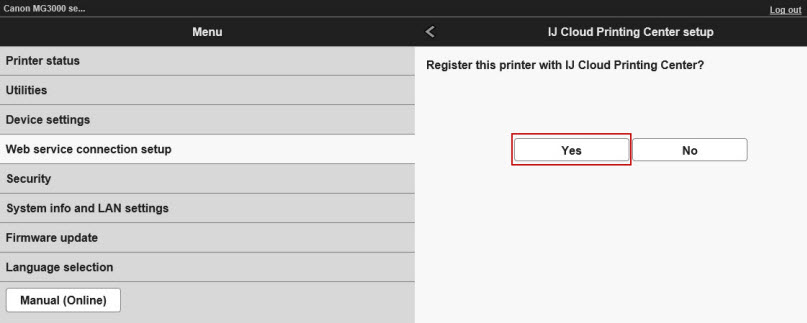
When asked if you want to register with this service, click Yes.
-
The printer will communicate with the IJ Cloud Printing Center servers.

-
Click OK.

-
A new tab will open in your web browser. On the Preparation for registration message, click Do not send.

-
Type an e-mail address into the box. This will be the address you will use when you want to log into the IJ Cloud Printing Center website.

-
On the confirmation message that appears, click OK.

-
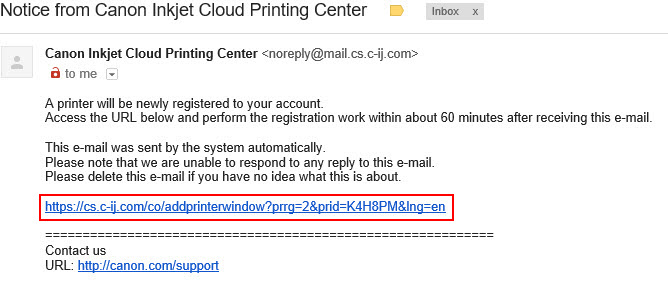
Go to your e-mail. You will find a message from the Canon Inkjet Cloud Printing Center. Open the message and click on the link.
-
On the User authentication screen, type in your email address. If you have already registered with this service, enter your password. Click Log in.

-
After a few moments, the following message will appear.

Click OK.
-
You will be at the IJ Cloud Printing Center main screen.

-
In the tab of your web browser where you started the registration process, click OK.

Registration for the IJ Cloud Printing Center is complete.
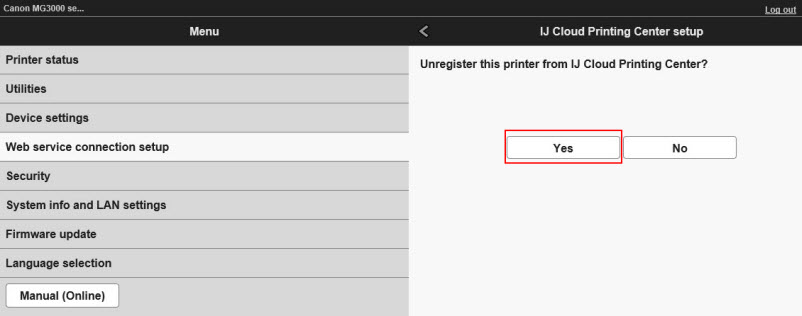
To delete the registration information for this service from your printer, click Delete from this service on the IJ Cloud Printing Center setup screen.
Then, click Yes.
The printer will process for a few moments.

The process will be completed. Click OK.

Return to top
Security
In this section, you will be able to change the administrator password for the printer or adjust the SSL / TLS settings.

Click Administrator password setting to either change or remove the administrator password.

Click SSL/TLS settings to adjust those settings as needed.

Return to top
System info and LAN settings
In this section, you can look at some of the system information of the printer (such as its firmware version, serial number, etc.). You can also adjust the LAN (Local Area Network) settings of the printer.

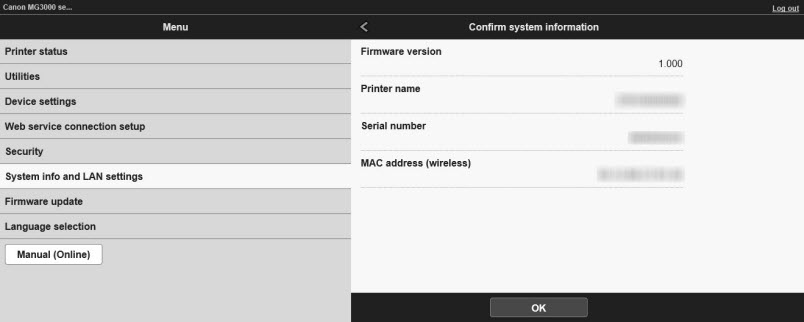
Click Confirm system information and you will be able to see the firmware version of the printer, printer name, serial number, MAC address, etc. Click OK to proceed through this information.
Click LAN settings to look at and adjust various network settings on the printer.

Please note that depending on what settings you adjust, you may be signed out of the Remote UI. You may need to print a Network Configuration Page (also known as a LAN details page) to see if the IPv4 address of the printer remained the same or changed. If the IPv4 address of the printer changed, enter it into your web browser and log into the Remote UI again.
Return to top
Firmware update
In this section, you can have the printer check for firmware updates and install them if they are available. You can also display the current version of the firmware in the printer, as well as adjusting settings for a DNS and proxy server.
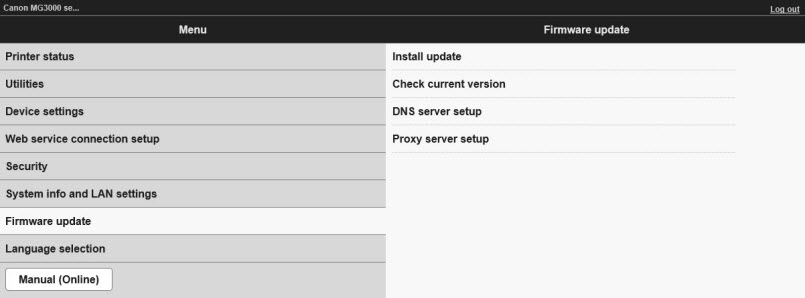
To have the printer check for a firmware update, click Install update. The printer will then search for an updated version of the firmware. If there is an update found, you will be asked if you want to install it. Click Yes to install the update. Click No if you do not want to install it.
Return to top
Language selection
In this section, you can choose the language that is displayed in the Remote UI. Select the language that you wish to have displayed and click OK.

If you change the language displayed in the Remote UI, you will be logged out. When you access the Remote UI again, it will display the language that you selected.
Return to top
Manual (Online)
Clicking this will open the online manual for your printer.
Return to top
