Follow the steps below to wirelessly set up your printer on a Windows computer.
Before you begin
 If you don't have the CD-ROM for your printer, or if your computer doesn't have a CD or DVD drive, you can download the software from the Canon support website.
-
Select Windows in the drop down box on the upper-right corner of the page.
-
Select the Download button and save the file to your computer. The latest version is selected automatically.
-
Open the file once the download is complete.
Wireless LAN setup procedure
-
Insert the printer setup CD-ROM into your computer or run the software from the Canon support website.
-
Select and run msetup4.exe.
If the CD-ROM prompts don't appear on screen, open Windows Explorer, select your CD-ROM drive and double-click msetup4.exe. Follow the on-screen instructions to continue.
-
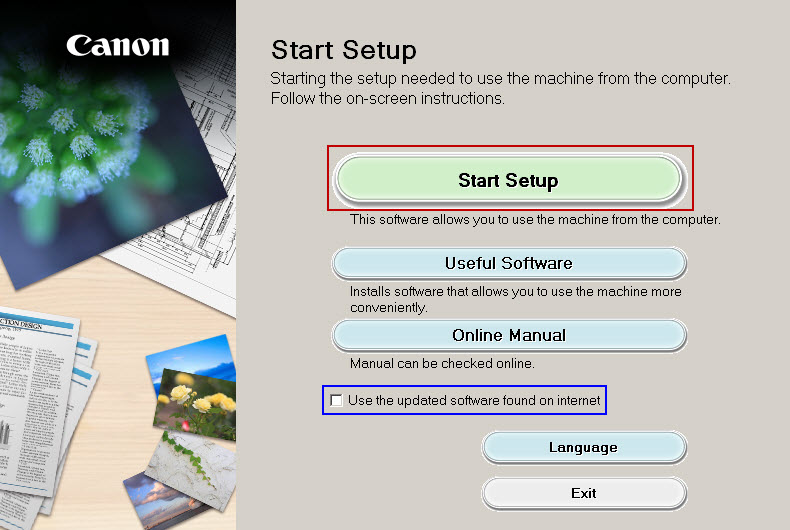
Select Start Setup. This may take a few moments to process.
If Use the updated software found on internet is checked, the installer checks online for the latest driver and software versions.
-
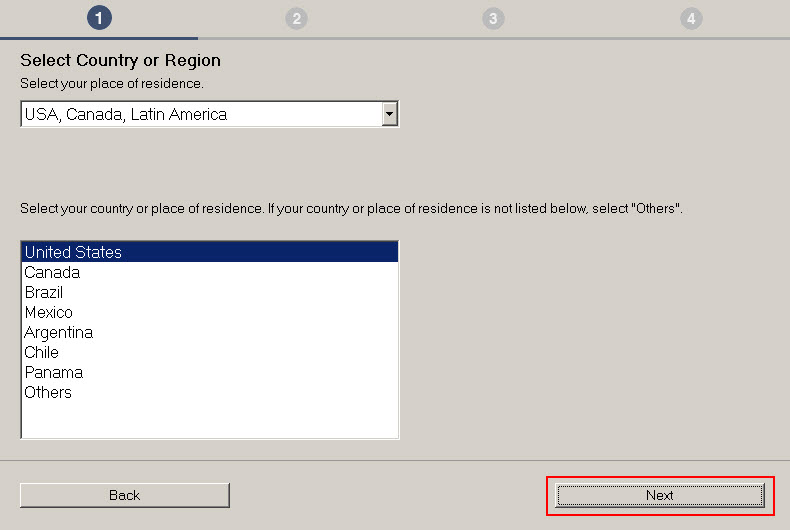
Select your region, and select Next.
-
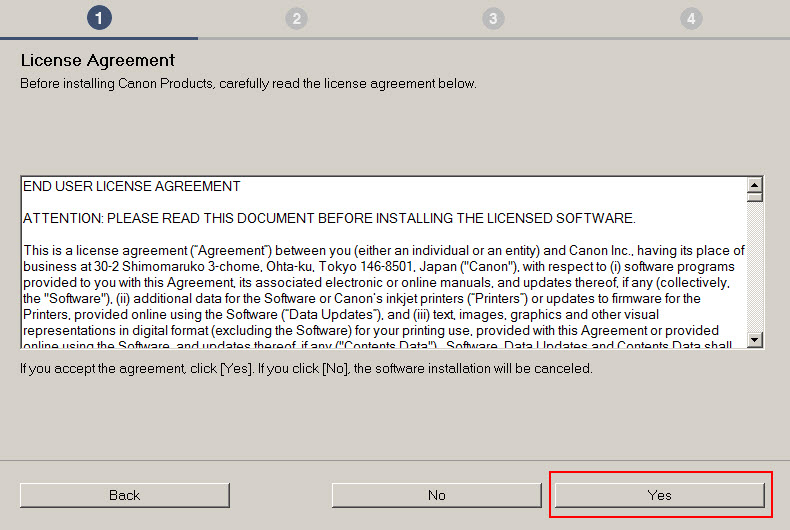
Review the License Agreement and select Yes. If you select No, the installation won't continue.
-
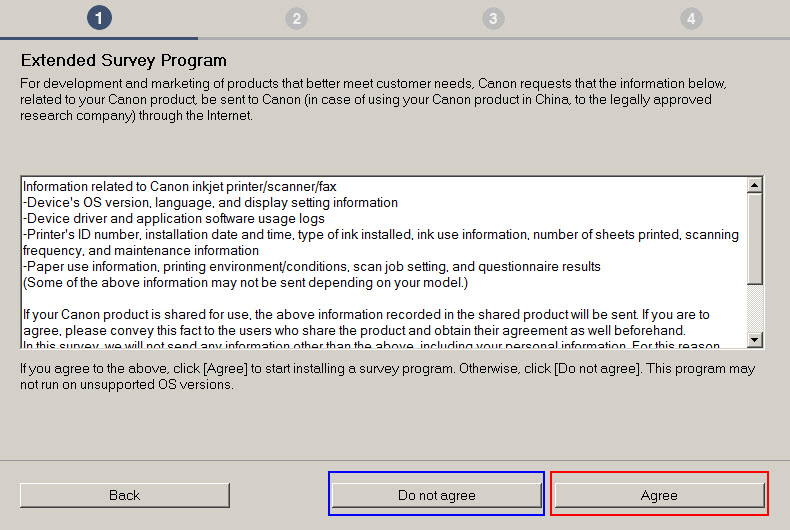
Review the Extended Survey Program screen. Select Agree to participate or Do not agree to opt out. You can still use the printer if you select Do not agree.
-
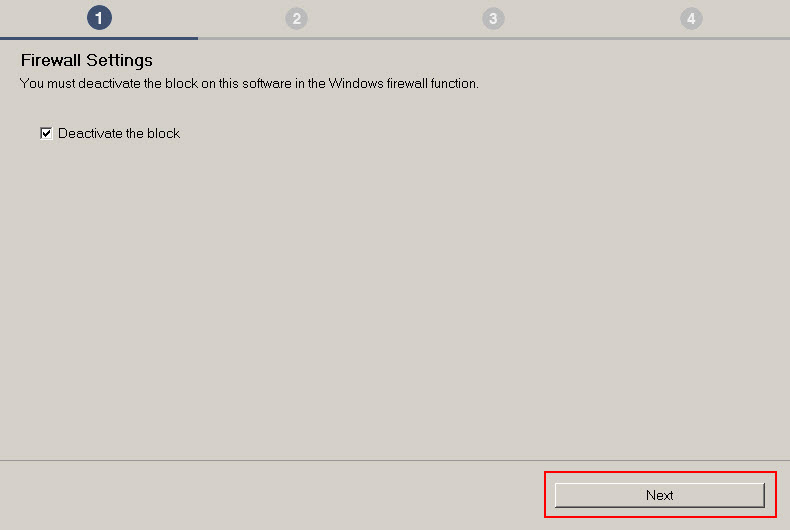
On the Firewall Settings screen, check the Deactivate the block box, and select Next.
-
On the Select Connection Method screen, choose Wireless LAN Connection, and select Next.
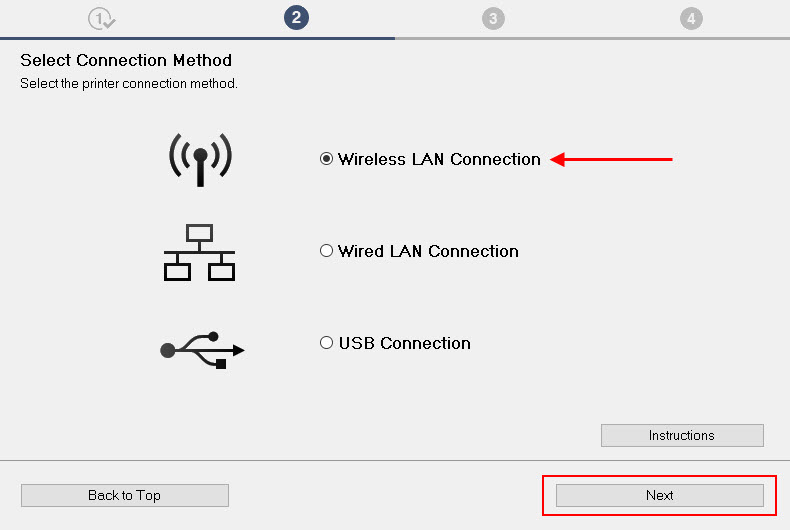
Wired LAN Connection is only available for the PIXMA TS9020. This option is not available on the PIXMA TS8020, TS6020 or TS5020.
-
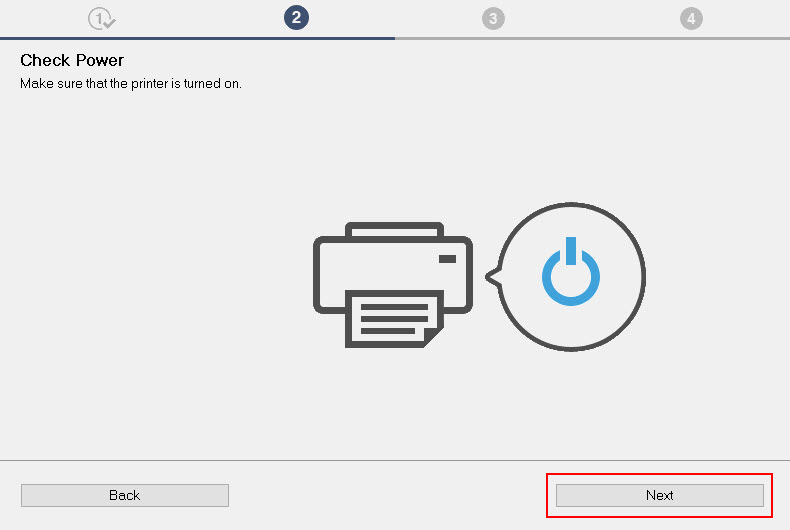
Turn the printer on and select Next.
-
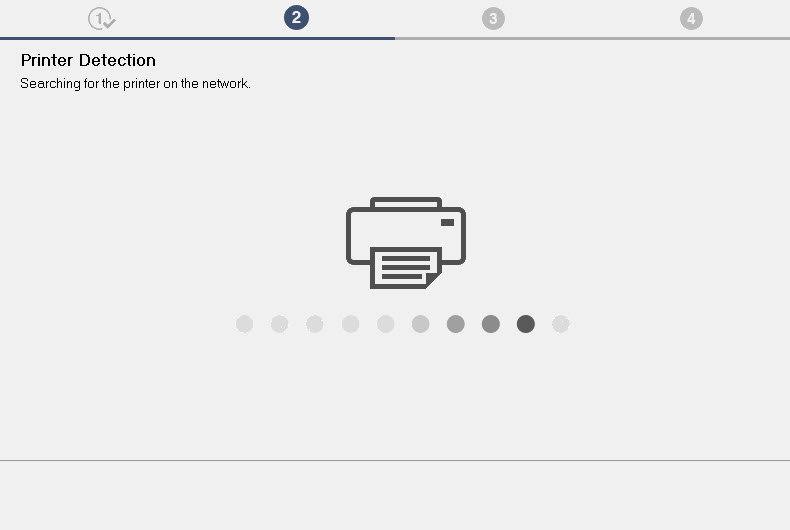
The installer searches for the printer on the network.
-
If the printer is detected, it appears on the list. Check the box next to your printer and select Next.
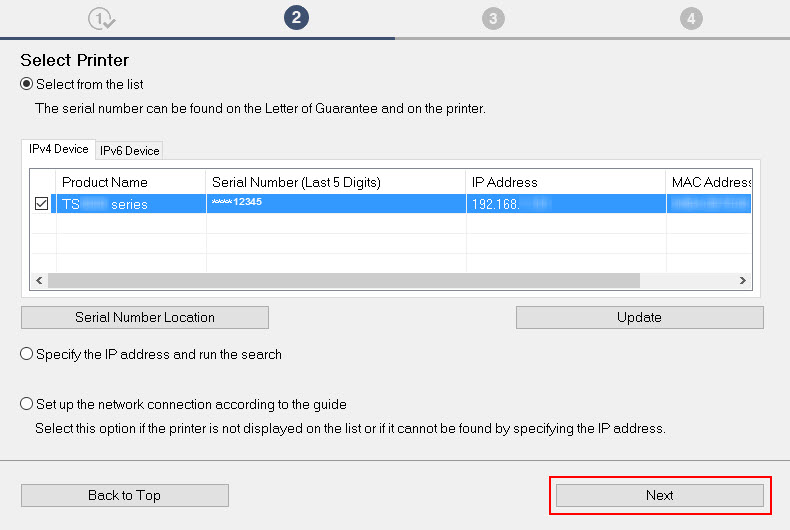
Go here if your printer is not detected.
-
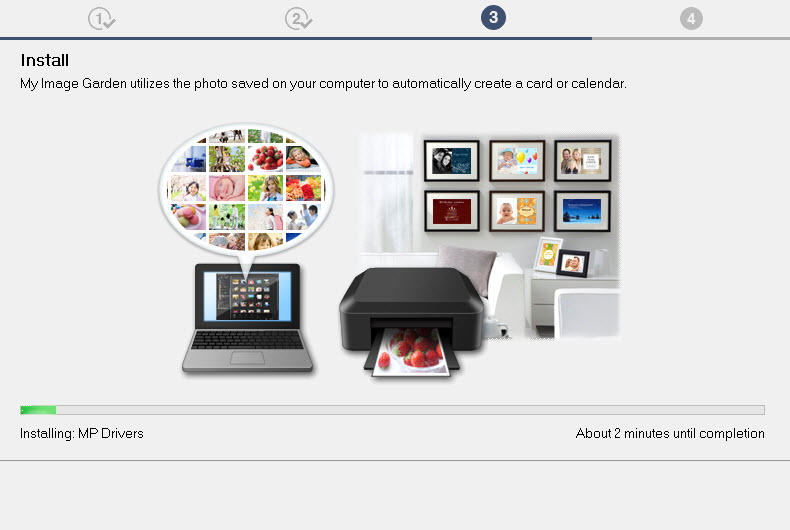
The printer driver is installed.
-
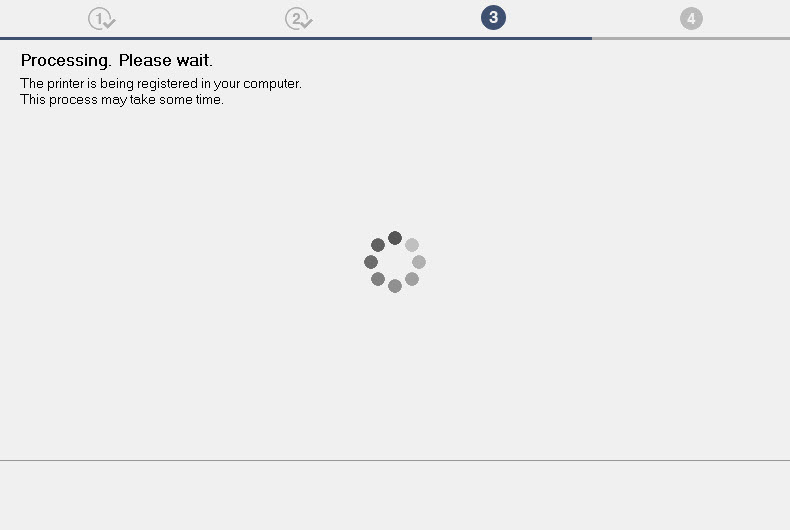
The printer registers on your computer after the driver is installed.
-
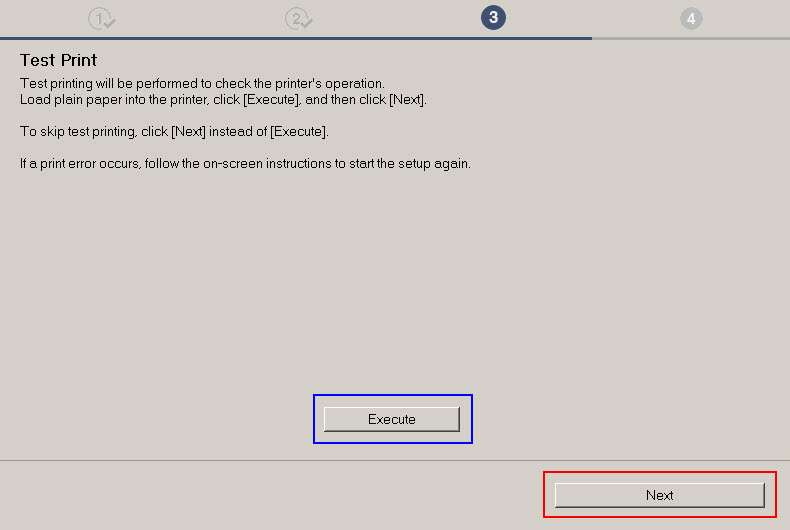
Select Execute to print an optional test page and verify printer communication with your computer. Select Next to proceed.
-
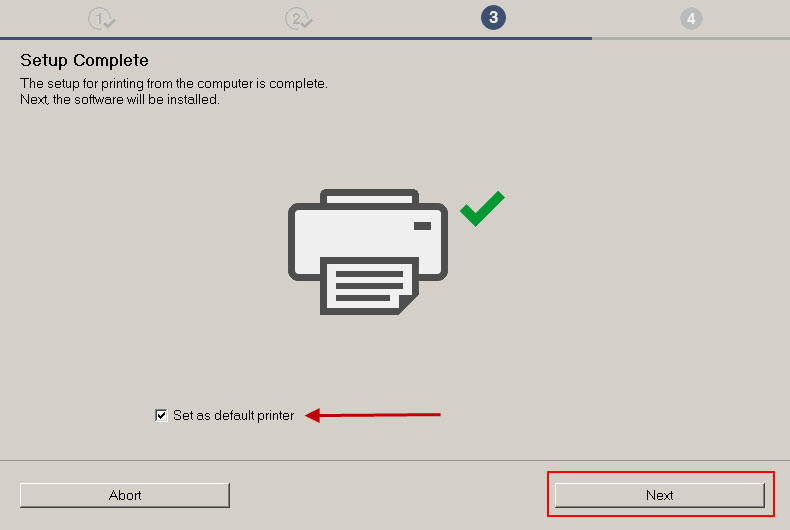
On the Setup Complete screen, the Set as default printer box is checked. It is now the default printer on your computer. If you prefer another default printer, uncheck the box. Select Next to proceed.
-
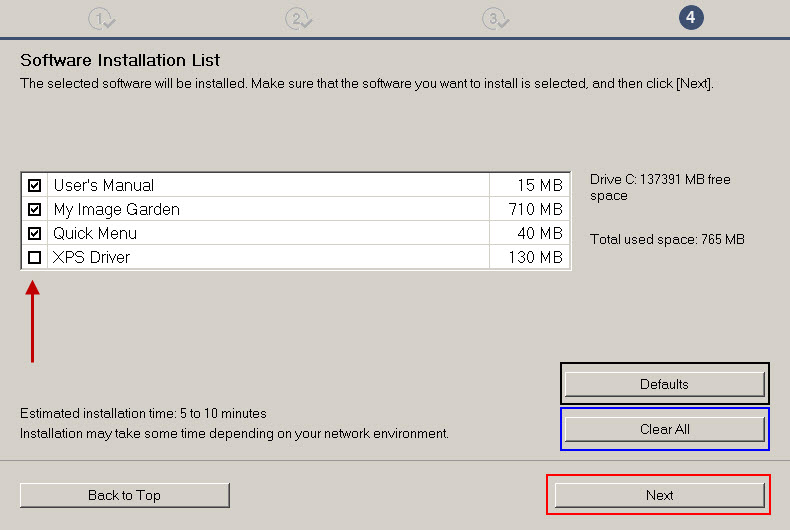
On the Software Installation List, additional software is available to install on your printer. Choose the items you want to install and select Next. If you don't want to install additional software, select Clear All. To install the default software for your printer, choose Defaults. Select Next to proceed.
-
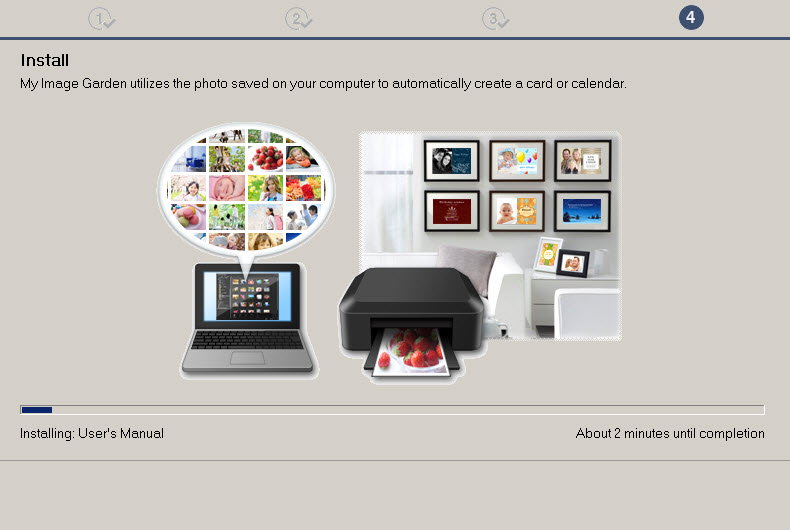
Additional software you select is installed.
-
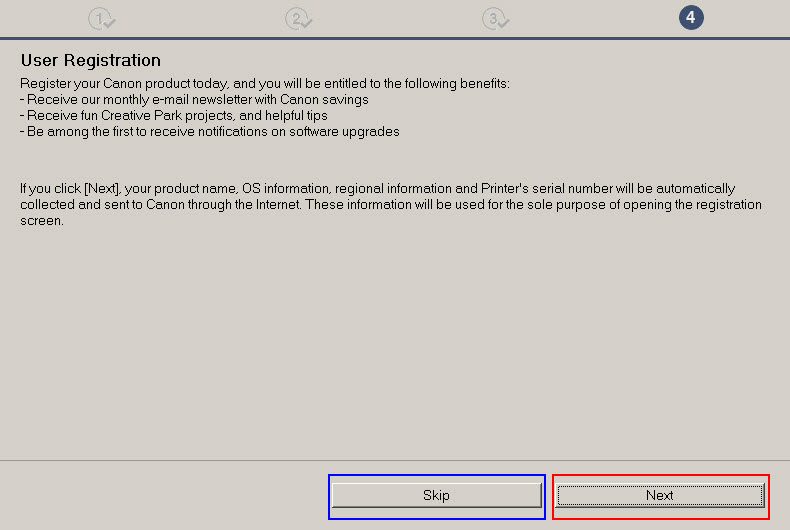
On the User Registration screen, select Next to register your printer on the Canon USA website. If you don't want to register, select Skip. You're not required to register the printer to use it with your computer.
-
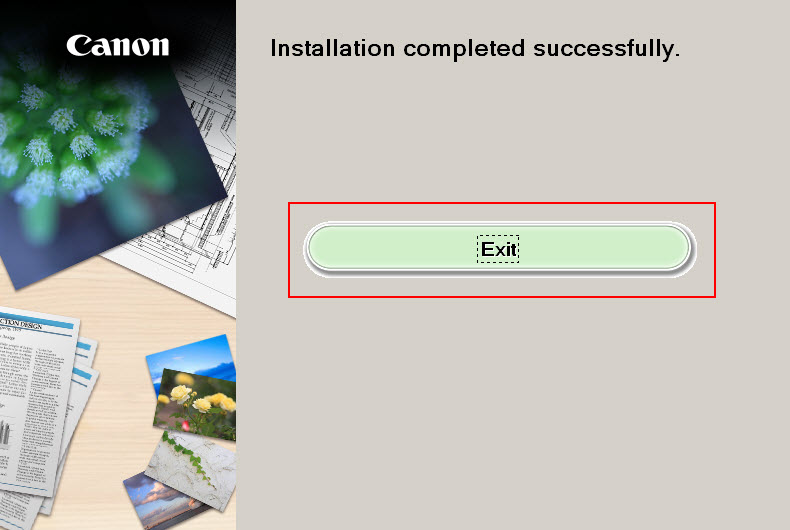
When the Installation completed successfully screen appears, select Exit.
-
The installation is complete and your printer is now ready for use with your computer.
Printer not detected in the setup process
If you haven't set up your printer for wireless connection, the setup program guides you through the Easy Wireless Connect feature. Follow the steps below.
-
Disable the firewall software on your computer.
-
Turn off and unplug your printer and wireless router if you had a previous wireless connection.
-
If your printer is already connected to the network, search for the printer via its IP address.
-
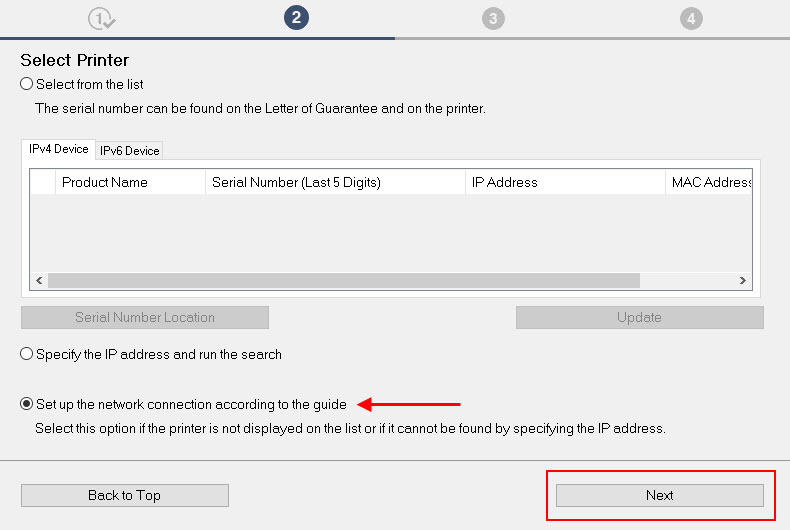
Choose Set up the network connection according to the guide, then select Next.
-
The setup program may take a few minutes.
-
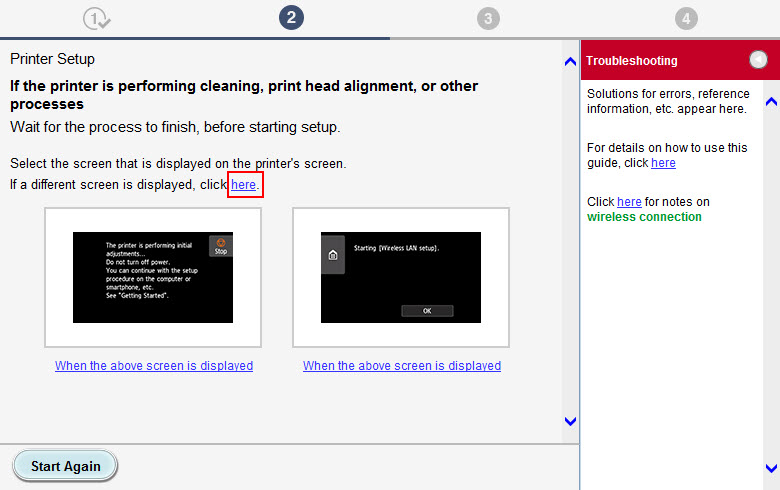
Check there are no error messages on the printer's LCD screen. Tap Home on the LCD or press the Home button on the TS5020. Then, select the correct screen displayed on the printer or select the click here link.
-
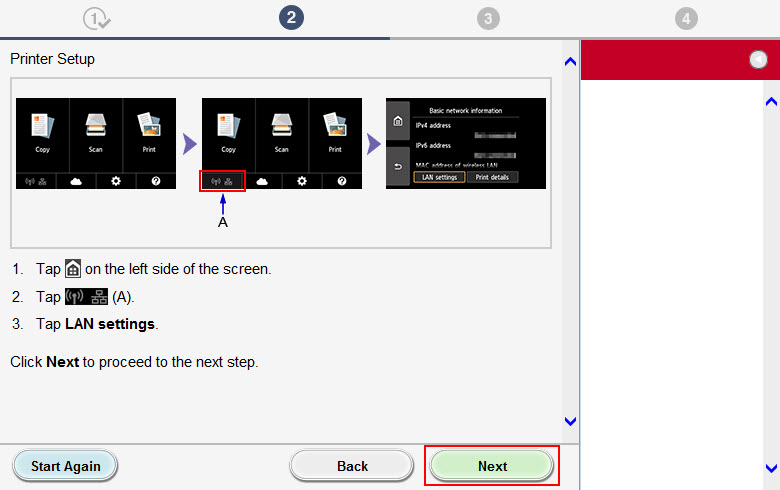
Follow the printer's setup instructions and select Next. For the TS5020, use the arrow keys and select the OK button on the printer's operation panel.
-
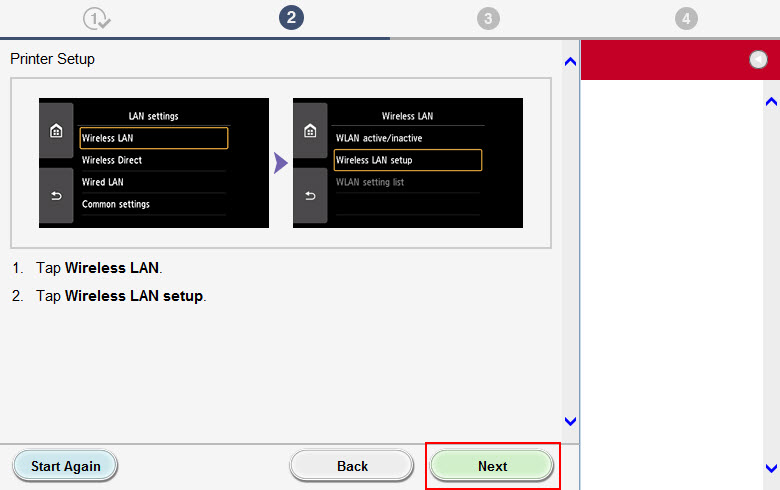
Continue to follow the instructions and select Next.
-
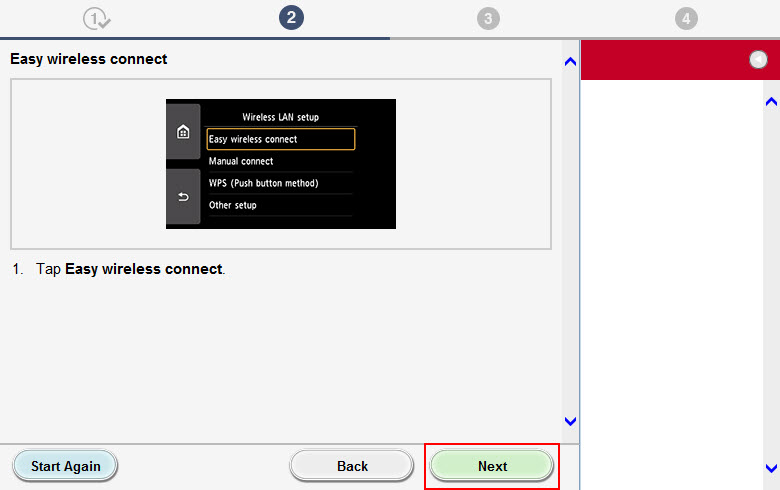
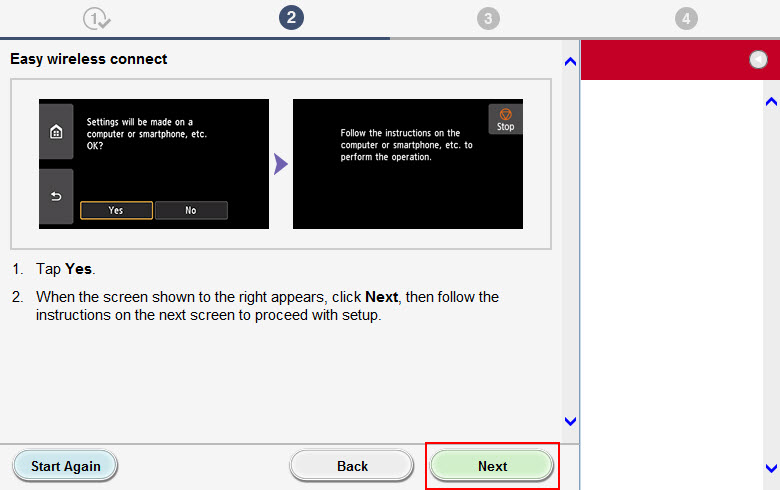
Choose Easy wireless connect and select Next.
-
Check the printer screen for the following prompt: follow the instructions on the computer or smartphone to perform the operation. Select Next.
-
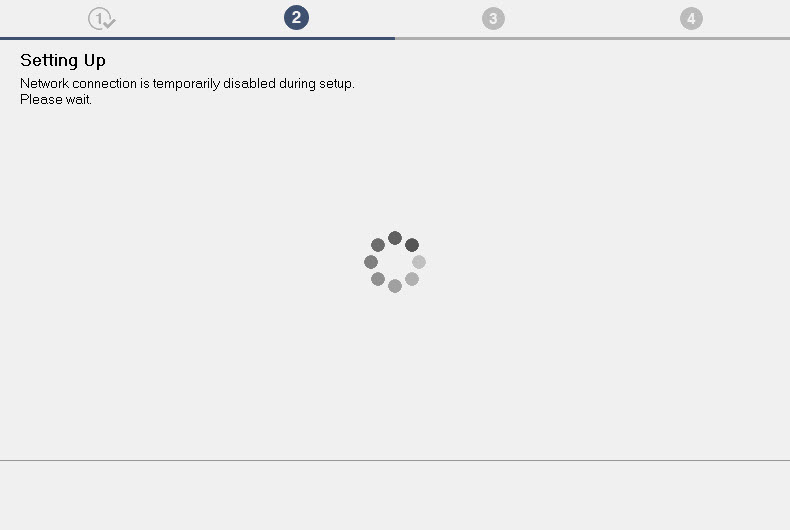
Your computer will disconnect temporarily from your wireless network. Then, the setup program will reconnect your computer and printer to your router and wireless network.
-
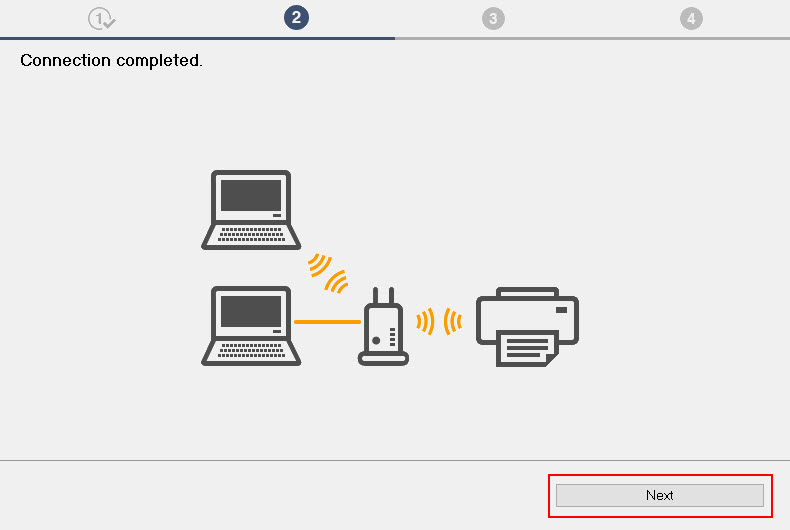
The setup program will indicate the connection process is complete. Select Next.
-
The printer driver will begin installation. This may take a few minutes.
-
To complete the setup process, follow steps for printer registration and test print here.
If your product issue was not resolved after following the steps above, or if you require additional help, please create or log in to your Canon Account to see your technical support options.
Or if you still need help, visit our Canon Community by clicking the button below to get answers:

____________________________________________________________________________________________
