If printed ruled lines are misaligned or print results are otherwise unsatisfactory, adjust the print head position.
 Note
Note
-
If the remaining ink level is low, the print head alignment sheet will not be printed correctly.
Replace the ink tank whose ink is low.
You need to prepare: a sheet of A4 or Letter-sized plain paper (including recycled paper)*
* Be sure to use paper that is white and clean on both sides.
-
Make sure that the power is turned on.
-
Load a sheet of A4 or Letter-sized plain paper in the cassette.
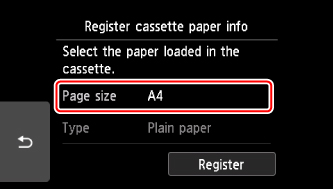
After pushing the cassette back, the paper information registration screen is displayed on the touch screen. Select A4 or Letter for Page size, then select Register.
If a message is displayed on the screen, follow the directions in the message to complete registration.
Note
- Be sure to load paper in the cassette. Even if you load paper in the rear tray, the print head alignment sheet is not be printed.
-
Select  Setup on the HOME screen.
The setup menu screen will appear.
-
Select  Maintenance.
The Maintenance screen will appear.
-
Select Auto head alignment.
The confirmation screen will appear.
-
Confirm the message, then select Yes.
The operation panel is opened and the paper output tray is pulled out automatically.
The print head alignment sheet will be printed.
 Important
- Do not touch any printed part on the print head alignment sheet. If the sheet is stained or wrinkled, it may not be scanned properly.
-
When the message "Did the patterns print correctly?" appears, confirm that the pattern is printed correctly, then select Yes.
-
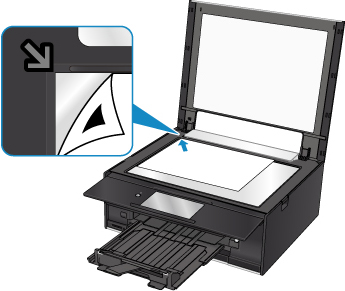
Confirm the message, then load the print head alignment sheet on the platen glass.
Load the print head alignment sheet WITH THE PRINTED SIDE FACING DOWN and align the mark  on the bottom right corner of the sheet with the alignment mark
  .
.
-
Close the document cover gently, then select OK.
The printer starts scanning the print head alignment sheet, and the print head position will be adjusted automatically.
Important
-
When the completion message appears, select OK.
Remove the print head alignment sheet on the platen glass.
Note