Learn how to connect the PIXMA G3200 to a wireless network so you can print or scan wirelessly from a Mac.
Solution
Follow the steps below to connect the PIXMA G series printer to a wireless network for use on a Mac®.
The setup process consists of two parts:
Start Easy Wireless Connect on your printer.
Download and run the setup file on your computer.
1. Start Easy Wireless Connect on the printer
Press and hold the Wi-Fi®button (A) on the printer until the ON lamp (B) flashes.
Press the Color button (C) then the Wi-Fi button (A).
Make sure the Wi-Fi lamp (D) flashes quickly and the ON lamp is lit.
Return to the application screen to continue the setup.
2. Download and run the setup file on your computer
First you'll need to get the setup file. Chose the Download button for the setup file that matches your version of macOS®.
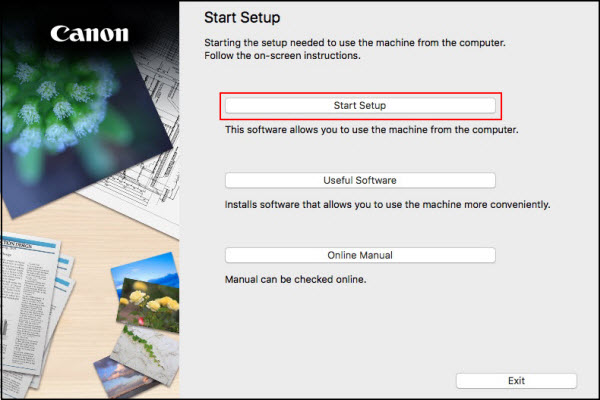
Select Next from the Setup screen.
Select Start Setup.
Select your country from the list and choose Next.
Select Yes to the License Agreement.
Select Agree or Do Not Agree to the survey.
You will see the Status Check screen. Wait for the system to complete the status check.
Select Yes on the Connection Method screen.
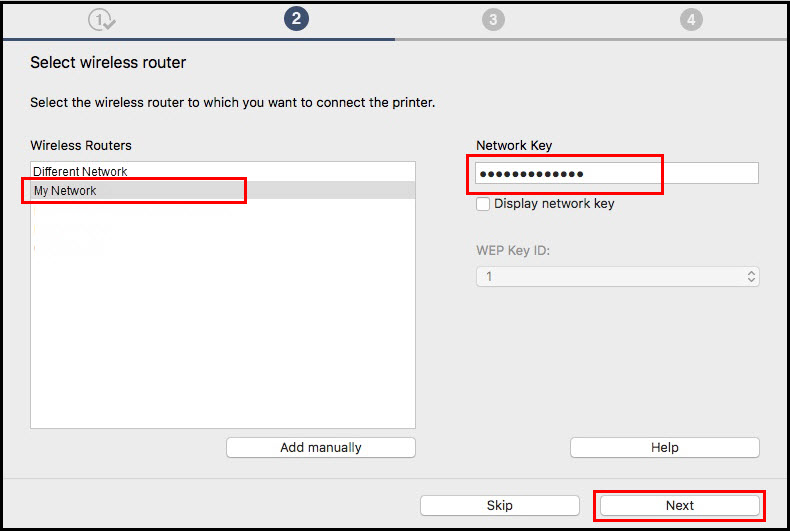
If the Select wireless router screen appears, select your wireless network, enter the Network Key (password), then choose Next.
On the Network Connection Completed screen, select Next.
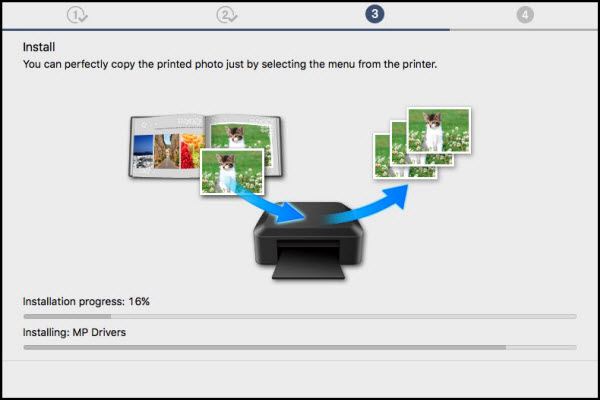
The Install screen appears. Wait for the install to finish.
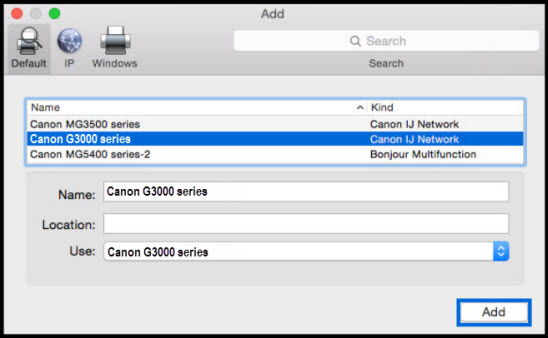
Choose Add Printer on the Add Printer Screen.
On the Add screen, select your G series withCanon IJ Network listed in the Kind column. Then select the Canon G3000 series (models may vary) from the Use drop-down and select Add.
Select Next on the Add Printer screen.
The Test Print Page appears. Choose Execute to run a test or Next to skip the test.
Select Next from the Setup Complete page.
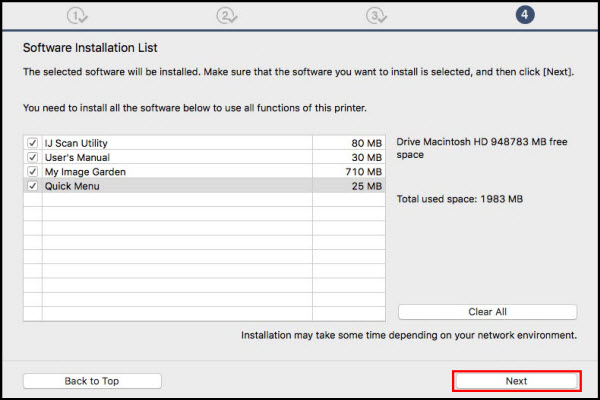
Select any optional application software desired, then select Next.
On the You Can Print... page, select Next.
Select Skip or Next on the User Registration page.