Follow the instructions below to use the Easy Wireless Connection method.
Before you begin.
-
To use the PIXMA TS series printer to print or scan wirelessly on a Mac® computer, the printer must first be connected to the wireless network, and software (drivers or applications) need to be installed on the computer.
-
Notes on wireless connection.
Initiate Easy Wireless Connect on the printer.
-
Turn on the printer. If the power is on, the power lamp (A) will be lit.
.gif)
-
Tap the Home icon .gif) if it's displayed on the left side of the screen.
if it's displayed on the left side of the screen.
-
If an error screen is displayed, tap OK, then tap the Home icon .
.gif)
-
Tap the Wireless icon .gif) (B).
(B).
.gif)
-
Tap LAN settings.
.gif)
-
Tap Wireless LAN.
.gif)
-
Tap Wireless LAN setup.
.gif)
-
Tap Easy wireless connect.
.gif)
-
Tap Yes.
.gif)
-
The screen below appears when the printer preparation is complete. Return to the setup application screen and proceed with the setup.
.gif)
Download and run the setup file.
-
Download the Setup File. Please take note of the warning messages that may appear.
-
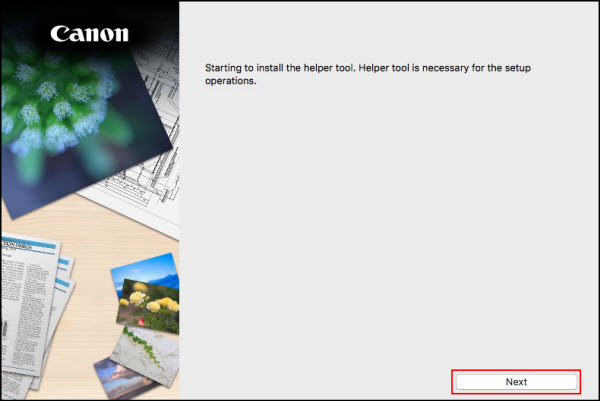
Start setup. Select Next on the first screen.
-
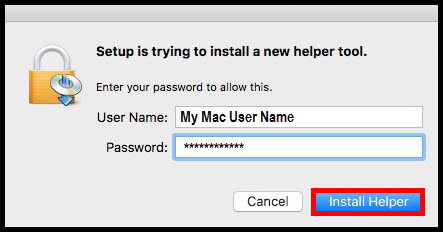
Enter your computer User Name and Password then select Install Helper.
-
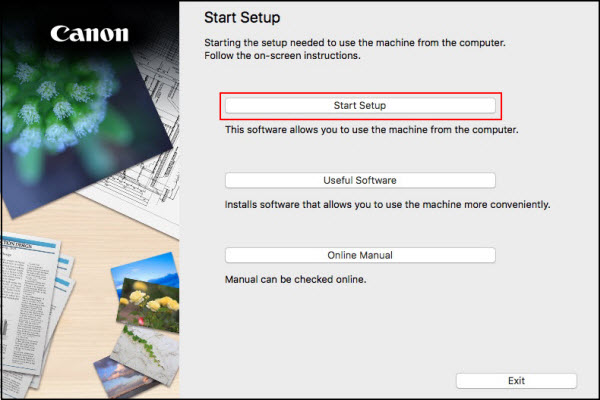
Select Start Setup.
-
Select appropriate region and choose Next.

-
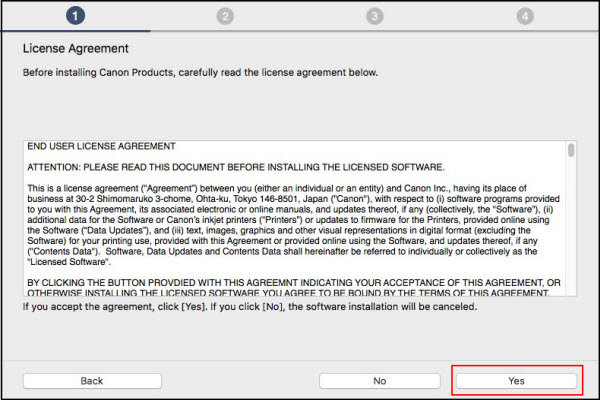
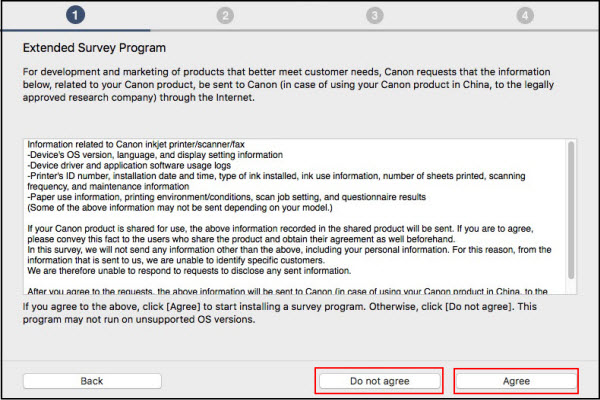
Select Yes on the License Agreement.
-
Select Agree or Do Not Agree to the survey. You can still continue with the setup regardless of your choice.
-
A status check occurs.

-
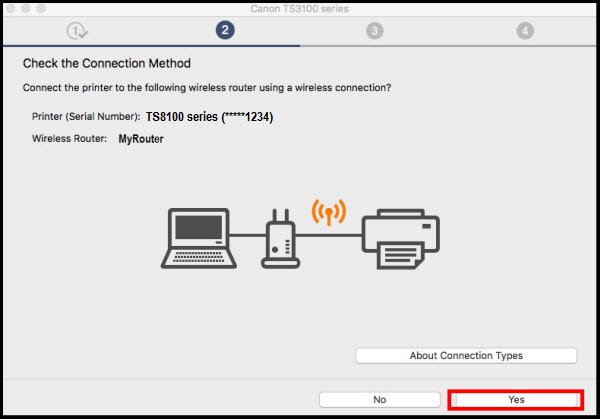
Select Yes on the Connection Method screen.
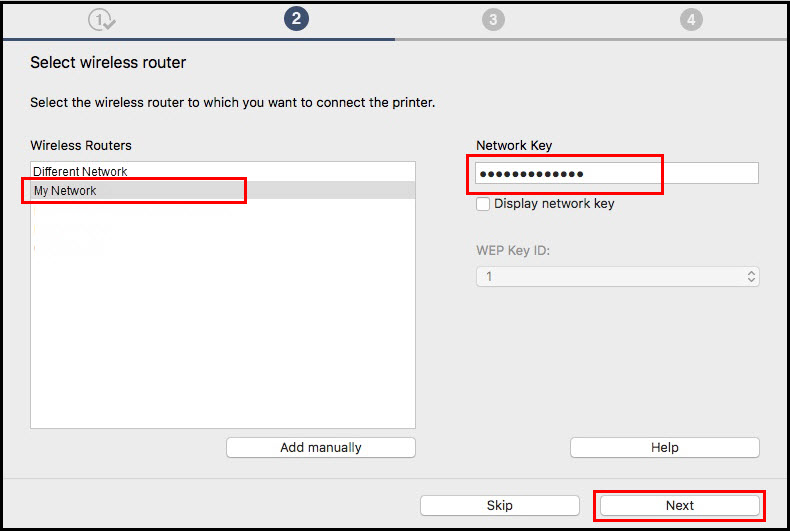
- Setup continues. If the Select wireless router screen appears, select the wireless router to connect to the printer, enter the network key or password, and choose Next.
 The router used and its network settings determines whether or not this screen appears.
-
Network Connection is complete. Select Next.

-
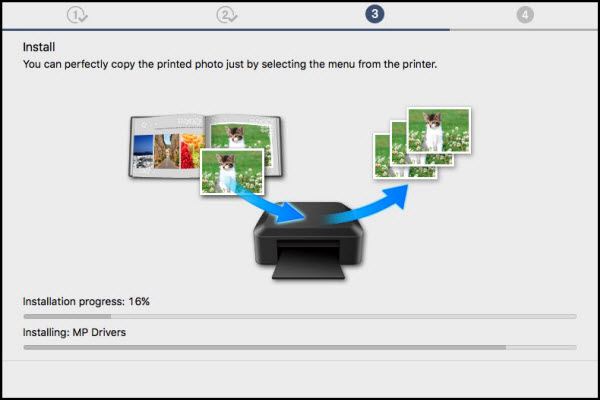
The drivers will now be installed. This may take a few minutes.
-
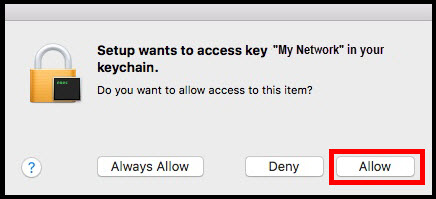
If the window below appears, select Allow.
-
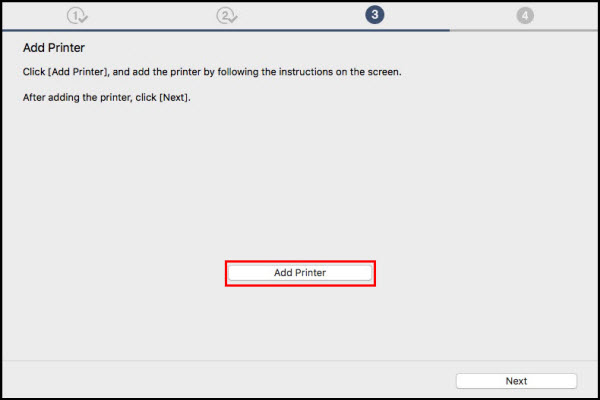
Select Add Printer on the Add Printer screen.
-
On the Add screen, select the TS series with Bonjour Multifunction listed in the Kind column. Select AirPrint or Secure AirPrint in the Use dropdown list.

-
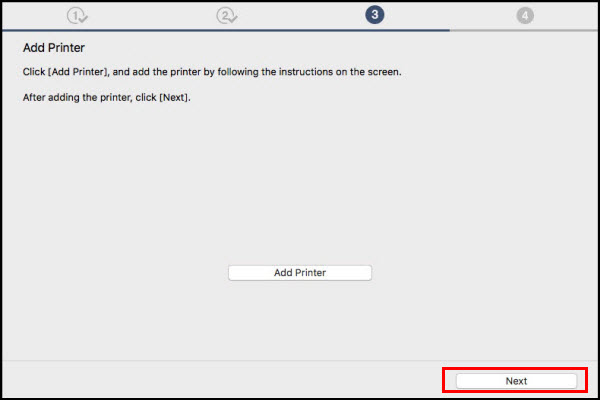
Select Next on the Add Printer screen.
-
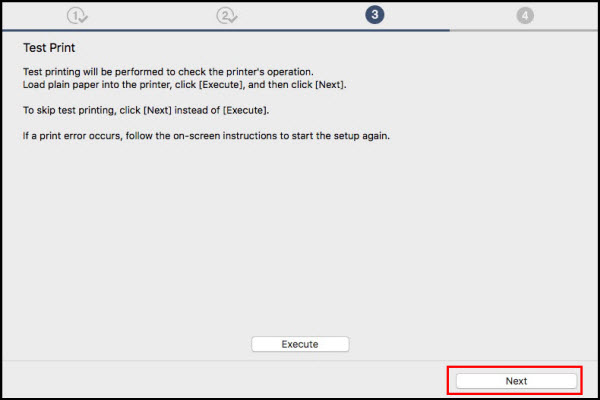
Select Next.
-
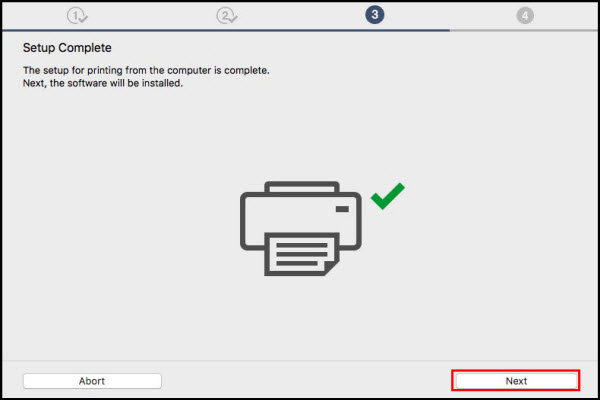
Setup is complete. Choose Next
-
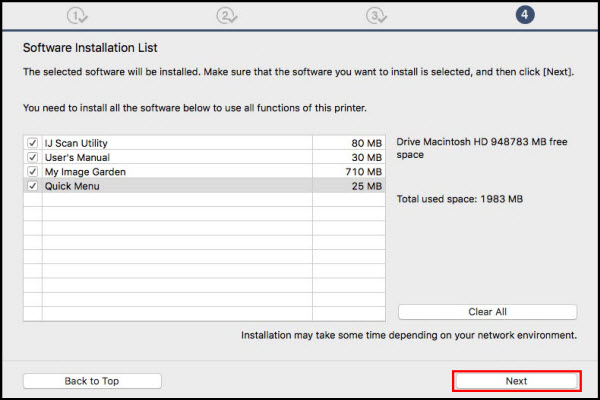
Select any optional application software you would like to install, and then choose Next .
-
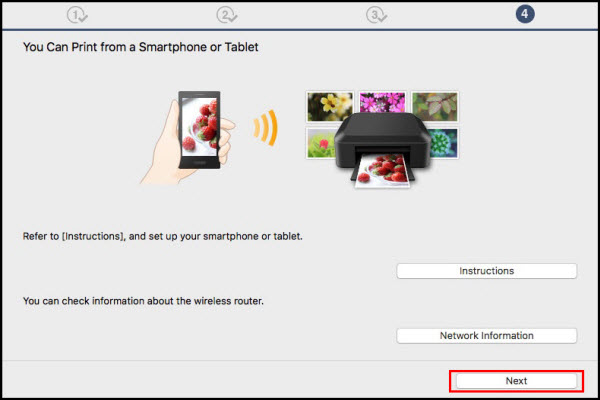
Select Next.
-
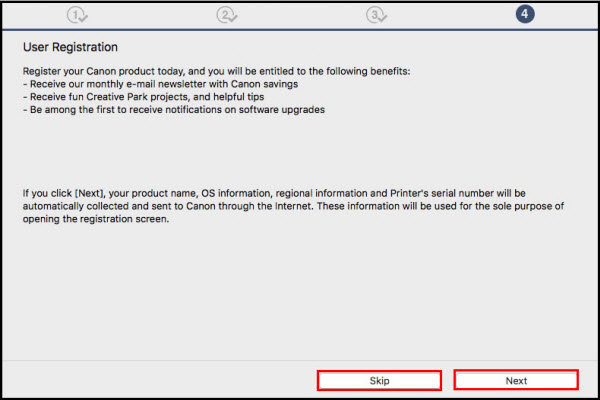
Select Next or Skip.
-
Installation is complete. Select Exit.
If your product issue was not resolved after following the steps above, or if you require additional help, please create or log in to your Canon Account to see your technical support options.
Or if you still need help, visit our Canon Community by clicking the button below to get answers:

____________________________________________________________________________________________
