You can connect wirelessly to your network right from the printer's display panel. The steps below will show you how to start the Easy Wireless Connect process to connect the printer to your wireless network with a Windows PC.
There are two parts to the setup process:
- Start the setup process on your printer.
- Download and run the setup file on your Windows PC.
1. Start the setup process on your printer
-
Make sure the printer is turned ON.
-
If the printer is busy with cleaning, print head alignment or another process, wait for it to finish.
-
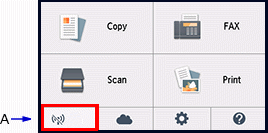
Tap the Network Status Button (A) on the printer.
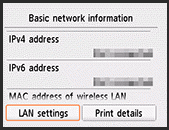
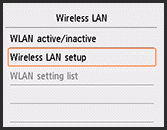
- Tap LAN settings on the Basic network information screen.
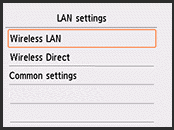
- Tap Wireless LAN.
- Tap Wireless LAN setup.
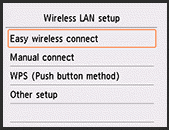
- Tap Easy wireless connect.
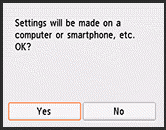
- Tap Yes.
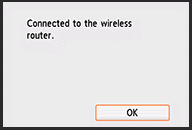
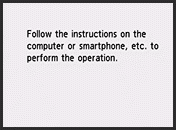
- When the printer preparation completes, the screen below appears.
2. Download and run the setup file on your computer*
*Setup can also be performed by using the Setup CD.
-
Get the setup file.
-
Read the information and note how to run the setup file if it doesn't start automatically, then select Download.
-
Select Start Setup.
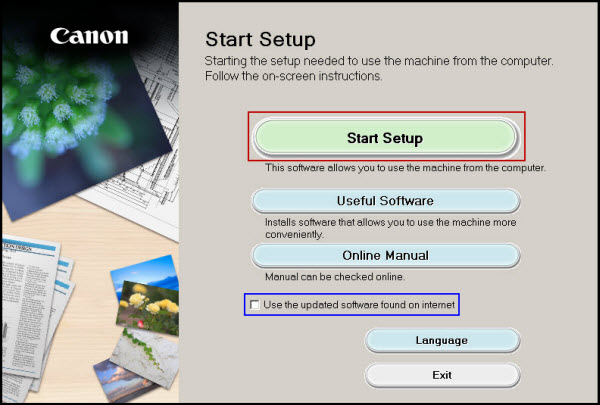
 Use the updated software found on internet only appears when using the Setup CD. If this option is enabled, the setup program will check the internet for the latest drivers and software for the printer. If it is not enabled, the setup program will use the drivers and software contained on the Setup CD.
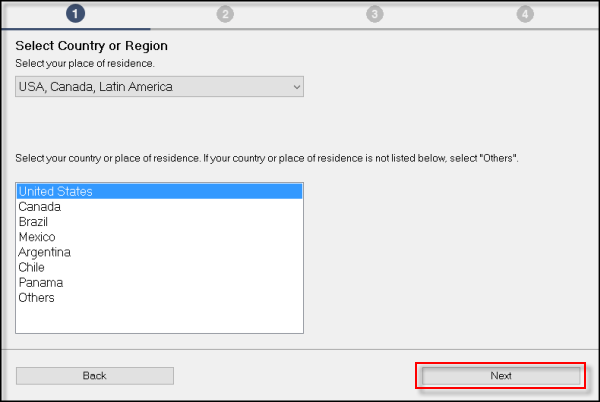
- Select the appropriate region, then Next.
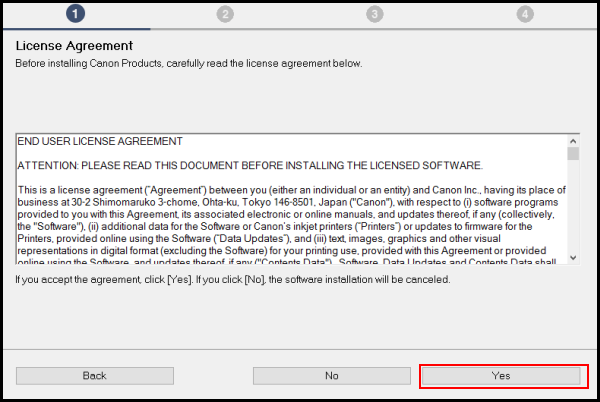
- Select Yes on the License Agreement.
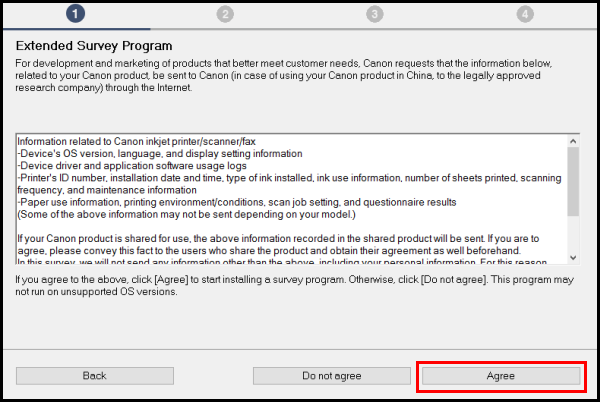
- Select Agree or Do Not Agree to the Extended Survey.
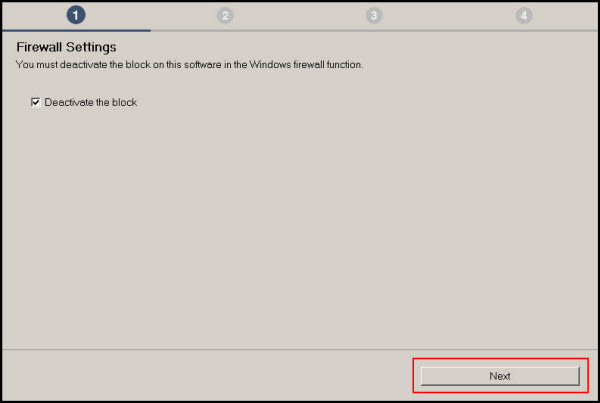
- Select Next on the Firewall Settings screen.
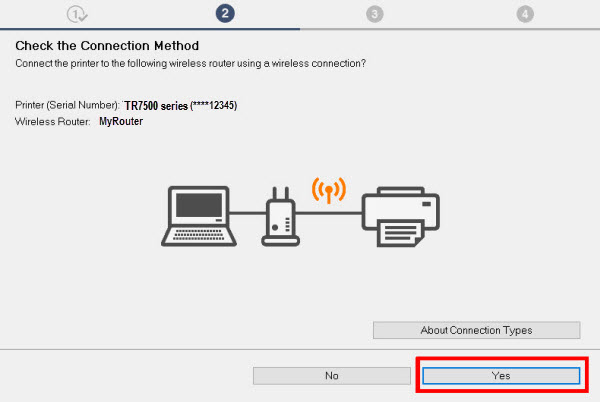
- Select Yes on the Connection Method screen.
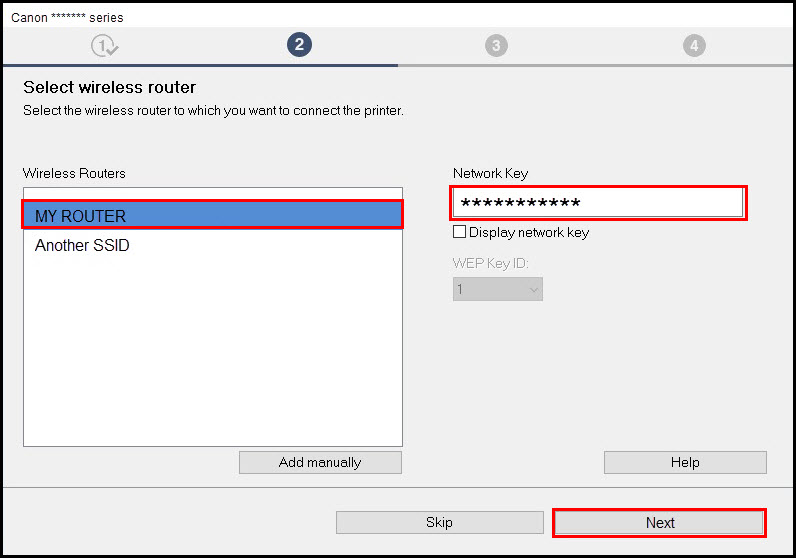
- If the Select wireless router screen (shown below) appears, select the wireless router to connect to the printer, enter the Network Key (password) and select Next.
Your router and network settings determine whether or not this screen appears.
- The setup process continues. Wait for it to finish.

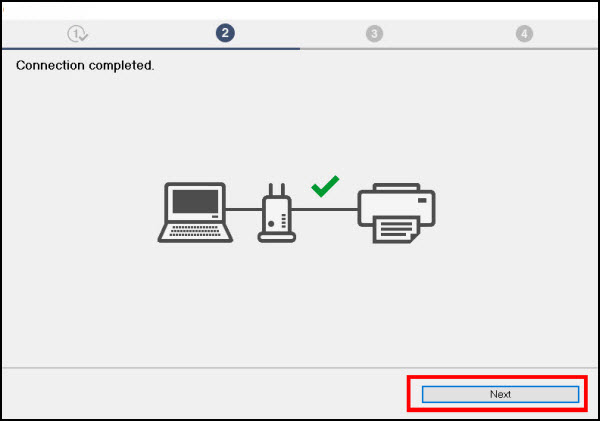
- The network connection is complete. You are almost finished. Select Next.
-
The printer drivers will now be installed. You can complete a test print if desired.
-
Select Next on the Setup Complete screen.

-
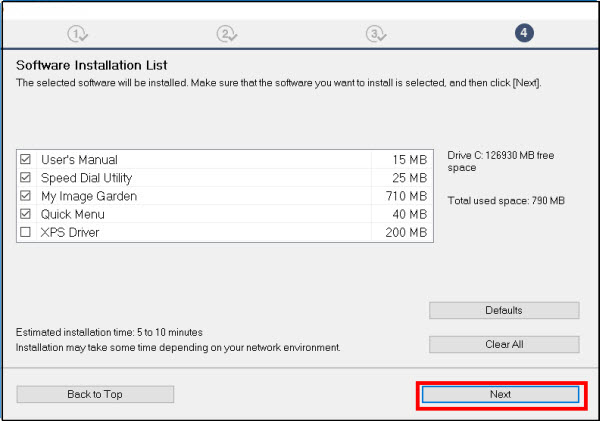
Choose any optional application software you want to add (check the box to chose, or check it again to clear) and select Next.
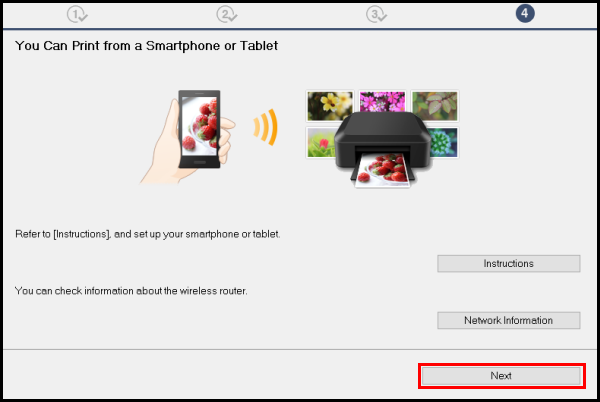
- Select Next on the You Can Print . . . screen.
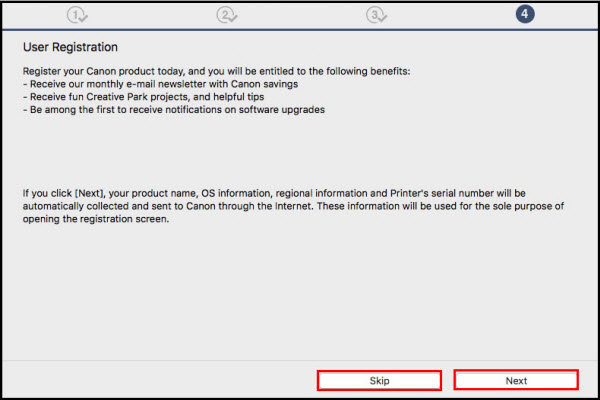
- Select Next or Skip on the User Registration screen.
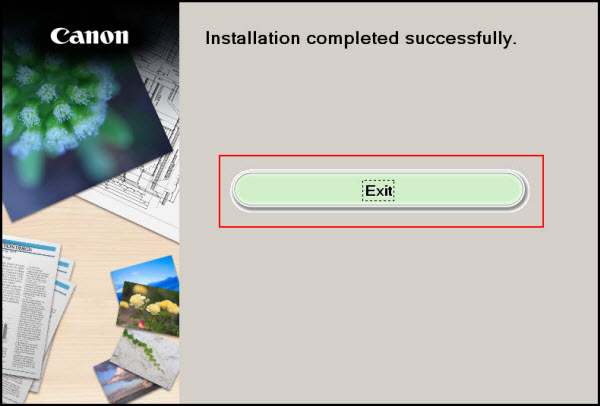
- Select Exit. You are ready to print wirelessly.
-
Tap OK on the printer.