Before you begin
 If you have multiple printers set up on your computer, you will want to ensure that My Image Garden is set to print and scan using AirPrint.
-
Click the My Image Garden menu at the top of the screen. Click Preferences.
-
When the Preferences window appears, place a check in the box for Print/scan using AirPrint.
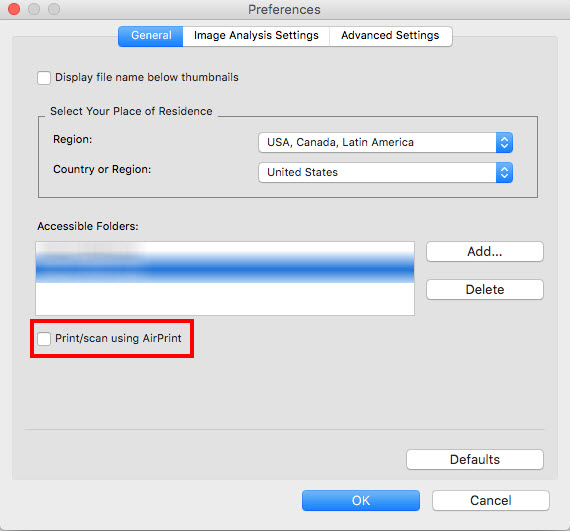
If you have a printer model that uses CUPS printer drivers (such as the PIXMA MX922), you will need to remove the check from this box before printing.
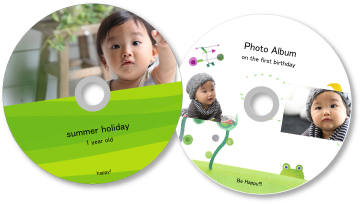
Printing on discs
Create and print personalized disc labels (CD/DVD/BD) from your favorite photos.
 Learn about the models that support this function.
Do not set the disc tray until a message prompting you to load a printable disc appears. Loading a printable disc while the printer is in operation may damage the printer.
-
Start My Image Garden.
-
From the Guide Menu screen, click Disc Label.
The Set Design and Paper dialog appears.
-
Specify settings such as design and Paper Size, and then click OK.
The disc label (CD/DVD/BD) appears in the Item edit screen.
 The layout may not be as expected depending on the photo information or analysis results of the selected images.
-
From Add Image, select the image(s) you want to use for the disc label (CD/DVD/BD).
The image(s) appear in the Materials area.
-
Drag the image(s) from the Materials area, and drop it to the desired layout frame.
When you move an image to a layout frame, a cross icon appears on the image.
-
Edit the item according to preference.
The print area can be set in the Advanced Settings dialog displayed by clicking Advanced... at the bottom of the screen. If Advanced... is not displayed, click  (Right Scroll).
In cases such as when Identifying people appears at Unregistered People in the Global Menu on the left side of the screen, the result may not be as expected since automatic placement does not apply to images for which analysis has not been completed.
-
Click Print at the bottom right of the screen.
-
Specify the number of copies to print, printer to use, and other settings.
-
Click Show Details, and then make sure 120 x 120 mm is displayed in Paper Size.
-
Select Media & Quality from print options pop-up menu, and then select Auto Select or CD-DVD Tray in Feed from.
-
Click Print.
When a message appears, set the disc tray.
To print disc labels with the same settings from the next time, save the settings specified in the Print dialog to Presets. For the save procedure, see Help of Mac OS.
If the print result's color tone is faint, select Media & Quality in the Print dialog, and then select Best in Quality.
If your product issue was not resolved after following the steps above, or if you require additional help, please create or log in to your Canon Account to see your technical support options.
Or if you still need help, visit our Canon Community by clicking the button below to get answers:

____________________________________________________________________________________________