With Canon PRINT, you can make a copy of a document or a picture using your mobile device. You can also make perspective corrections to printed images using this feature. Follow the steps below to use Smartphone Copy.
 The images below were taken from an Android tablet. Layouts may vary slightly depending on your Android device.
-
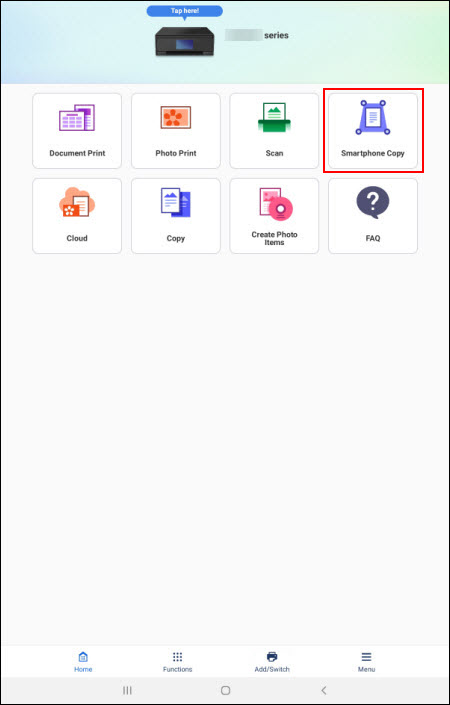
From the main menu of Canon PRINT, tap Smartphone Copy.
If you receive a prompt stating that Canon PRINT wants to access your camera, tap While using the app or the appropriate affirmative response.
You may be asked to specify a folder to save the picture you take. Specify the folder as needed. Tap Allow or the appropriate affirmative response after selecting the desired save folder.
-
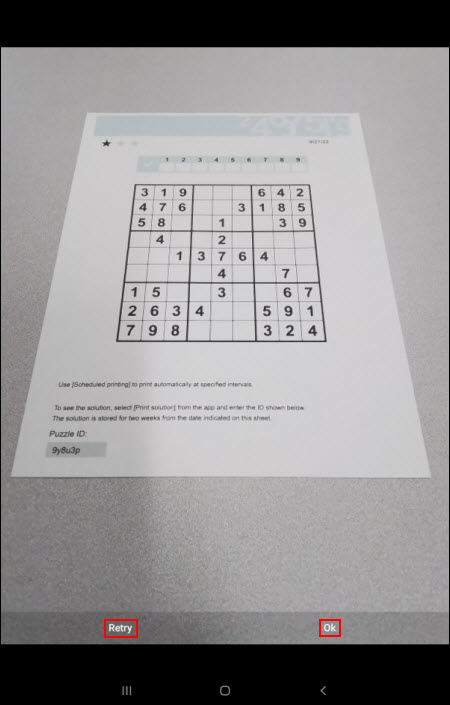
Place a document or picture on a flat, level surface. Aim the camera so that the entirety of the image is in the frame. Tap the shutter button on the screen to take a picture.

The camera interface and options may vary depending on your Android device.
Tapping the back button on your device will back out of this process.
-
After you have taken a picture, you will see a preview image. If you want to use this image, tap the appropriate affirmative option (depending on your device, you may see OK, a check mark, or something else to indicate an affirmative option). If you do not like how this image looks and would like to take another picture of your document or photo, tap the appropriate option (depending on your device, you may see a back arrow or the word RETRY).
-
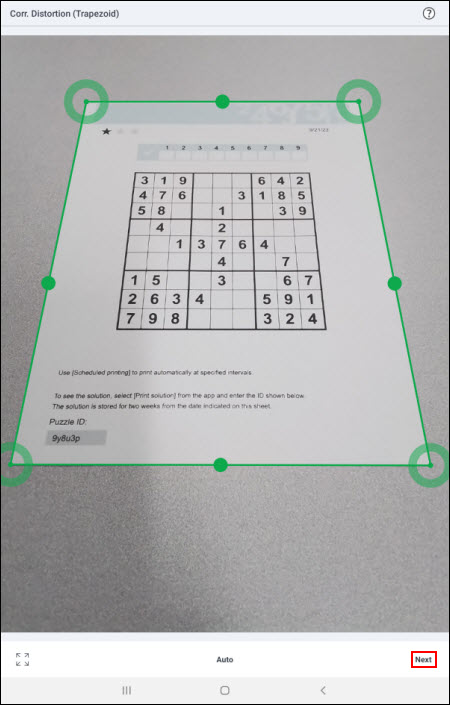
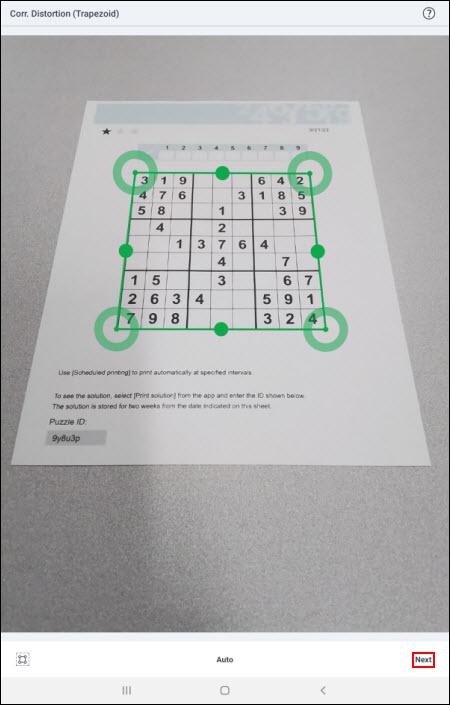
The Correct Distortion screen will appear. Here, you can make adjustments to the frame (the green box). You can adjust this frame as needed by dragging a point in one of the corners of the frame, or by dragging one of the points in the middle of each side of the frame.
Tap Next to proceed to the next step.
Tapping the question mark will bring up the following:
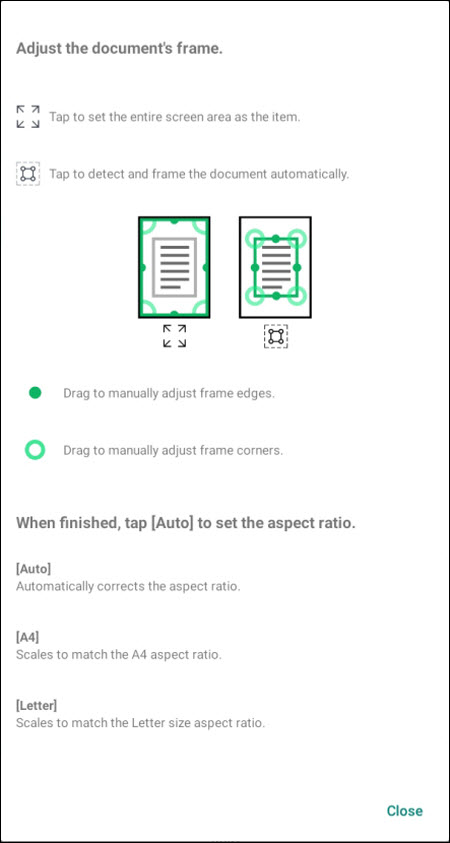
Tap Close to close this information. Make any adjustments to the green frame as needed. Then, tap Next.
-
A preview image will appear. This will show not only the area of the image as shown in the frame, but it will also show that the perspective has been corrected:
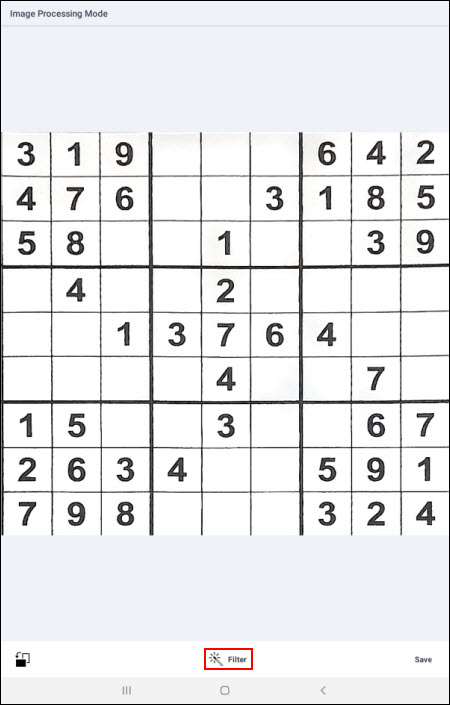
You can rotate the image by tapping the rotate icon at the lower left. Tapping the Filter option will bring up some filters you can choose from:
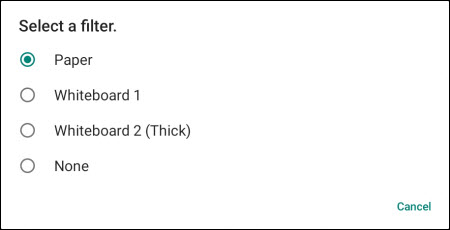
Select your desired filter (or None). Tap Save to proceed.
-
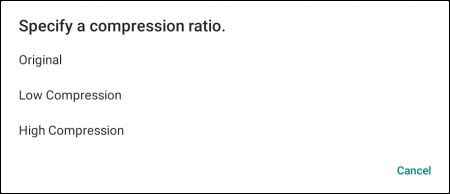
Specify a compression ratio.
-
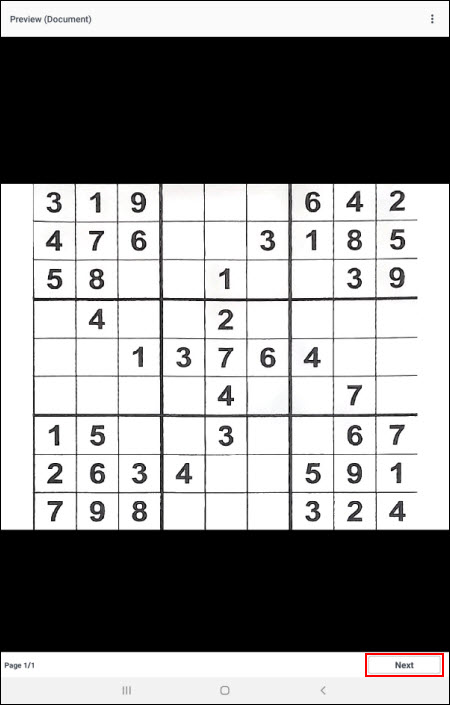
A preview screen will appear. Tap Next.
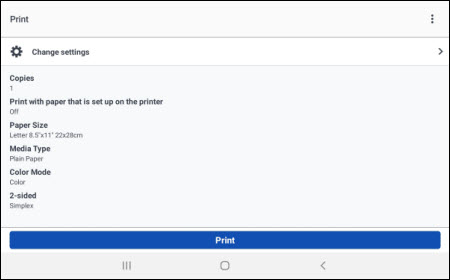
The print options screen will appear. Here, you can specify various print settings (number of copies, media type, paper size, etc.). Tap Change settings if you want to make any adjustments to the options used for this print. Tap Print to begin printing.
If your product issue was not resolved after following the steps above, or if you require additional help, please create or log in to your Canon Account to see your technical support options.
Or if you still need help, visit our Canon Community by clicking the button below to get answers:

____________________________________________________________________________________________
