If you want to crop an image when scanning from your Mac, follow the steps below.
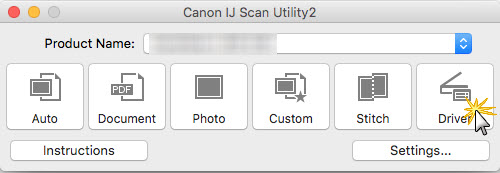
- Launch IJ Scan Utility2.
- Place the item(s) you wish to scan on the platen glass.
- When IJ Scan Utility2 has opened, click the Driver button.
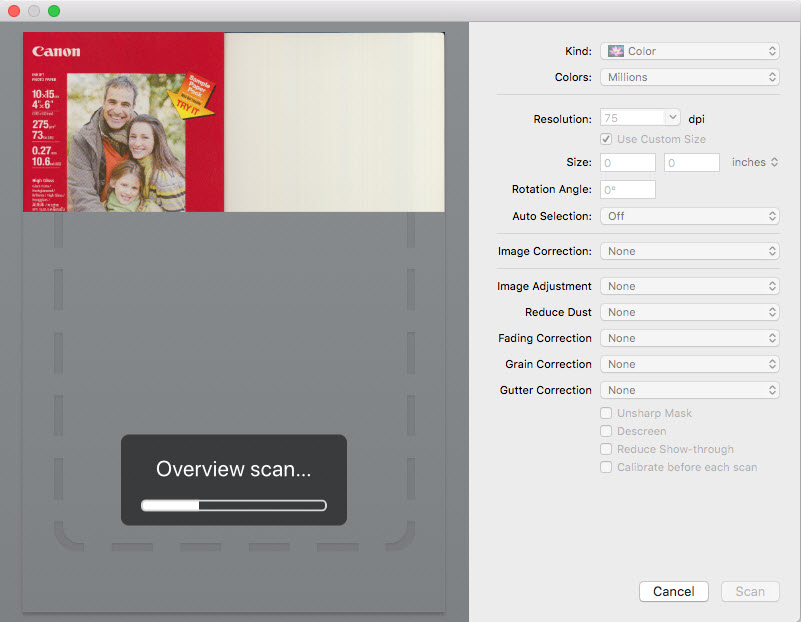
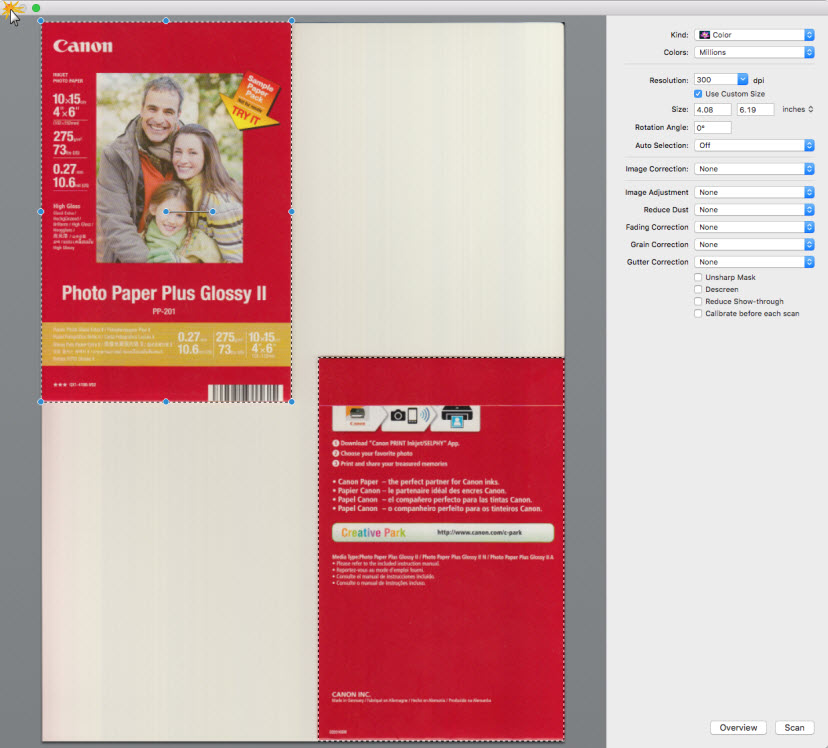
- An Overview scan wlil be performed. This will show an image of what is on the platen glass.
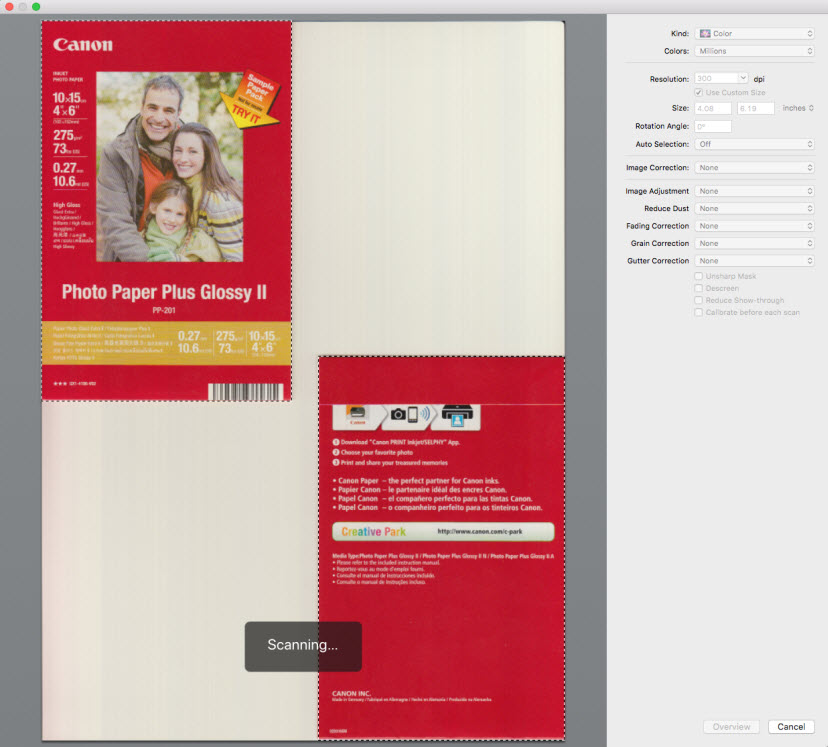
- Make sure that there is a check in the box for Use Custom Size. Then, click and hold the mouse button and drag it around the item (or area) you wish to crop. Click Scan after you have cropped the area (or item / items) you wish to scan.
Note: In this example, two items on the platen are being scanned.
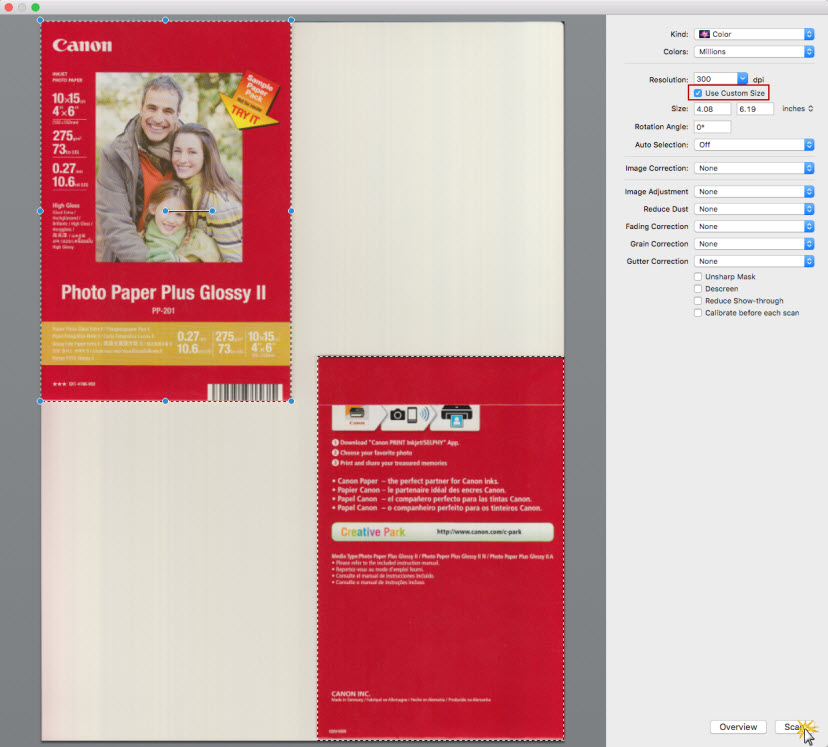
The scan will start.
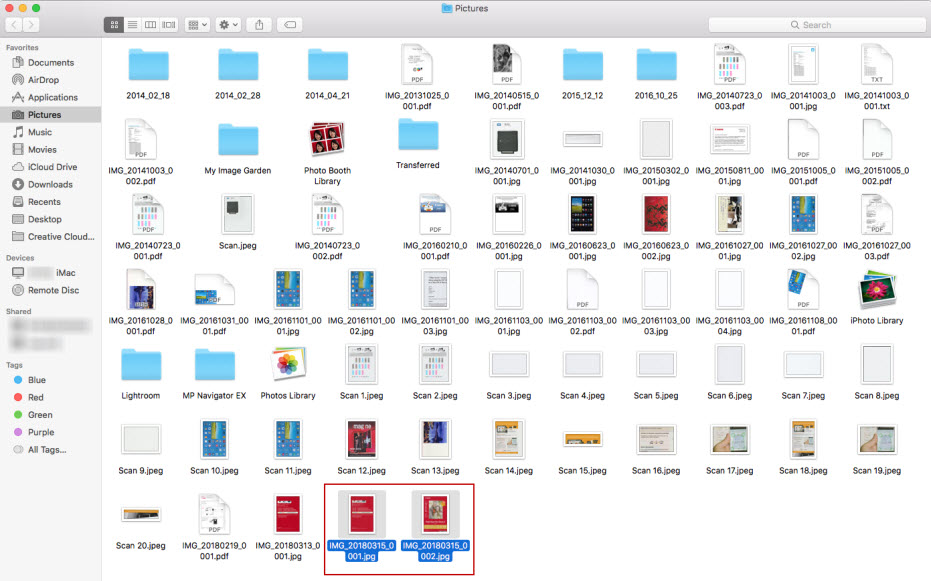
- After the scan has finished, close the window by clicking the red button at the upper left corner.
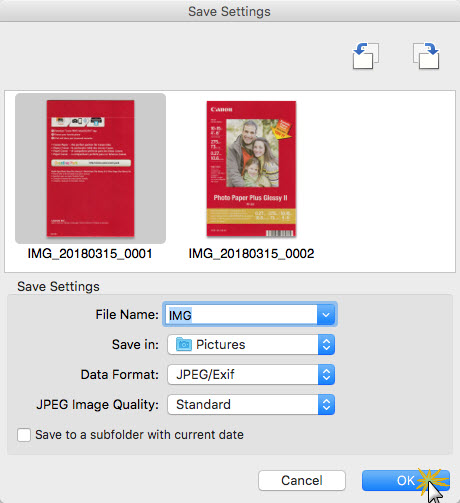
If you have IJ Scan Utility2 set to check the scan results before saving, the Save Settings window will appear. You will be able to specify a name and the save location for the image(s) you scanned in. Provide a name for the image(s) scanned, specify the save location, and click OK.
Note: For information on the Settings (Driver) window, which will allow you to check your scanned results before saving your images, click here.
The image(s) scanned will be saved to your Mac.