Your printer can be used in conjunction with the Inkjet Cloud Printing Center. This allows you to print items that you have stored on various cloud services such as Google Drive and Dropbox. You can also scan documents and photos to certain cloud services as well. To scan documents or photos to a cloud service, follow the steps below.
 This article assumes that you already have your printer registered with the Inkjet Cloud Printing Center. If your printer is not registered with this service, click here. Click Create new account, then click About printer registration ID. Follow the instructions provided to register your printer with the Inkjet Cloud Printing Center
Depending on your model, you will either need to tap the options shown on the screen, or you will need to use the arrow keys, the OK button, and the Function buttons under the screen. Individual models' screens may vary in appearance
This article will use Dropbox as an example.
-
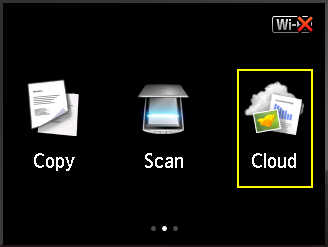
From the HOME screen on your printer, select Cloud.
examples

-
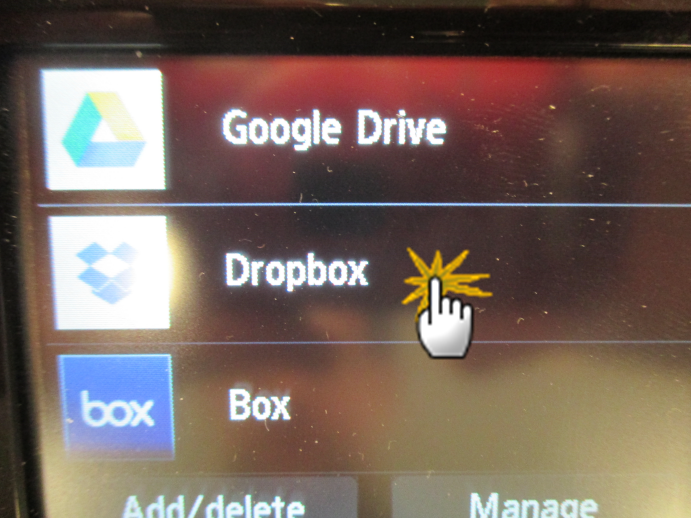
From the main menu, select a cloud service. For this article, Dropbox will be used.

-
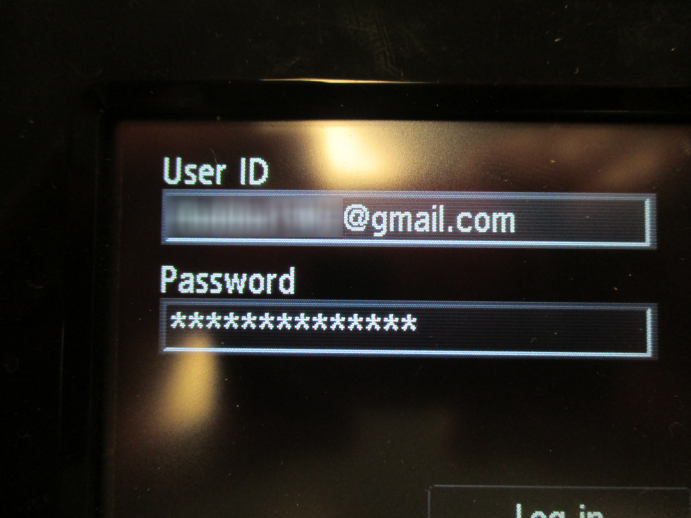
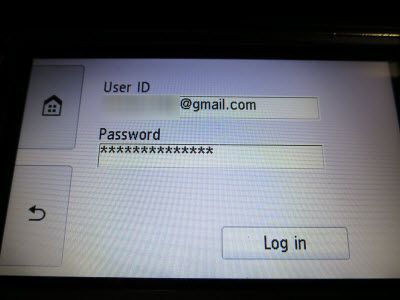
After a few moments, you will be prompted to enter your account information. Select User ID and enter in your account name. Enter this information as needed.


Enter in your password. Then, select Log in.
If a User License Agreement appears, read through the agreement and then select the option to agree.
-
After you have signed in, you will be presented with an option to print or to scan. Select Scan.
-
You will be able to specify where you would like your scanned image to go to after it has been saved. You can either create a folder by selecting the plus sign at the lower left corner of the screen, or you can select Next.
-
You will come to the Scan screen.
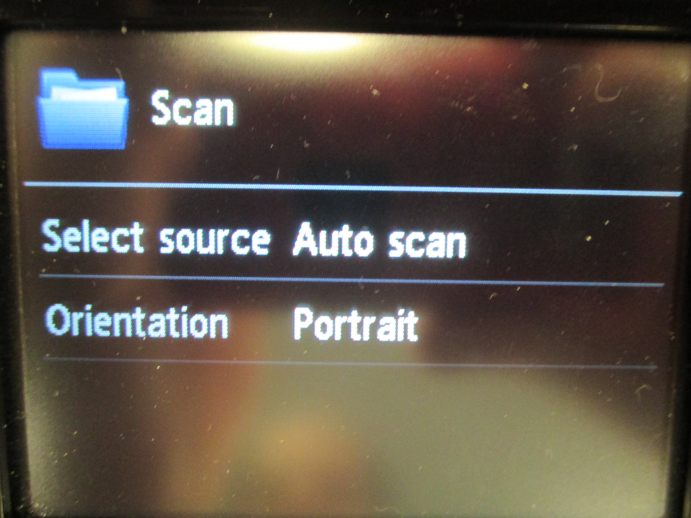
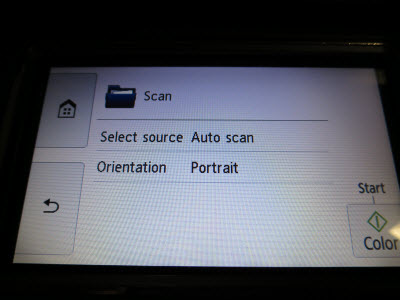
Tapping Select source will allow you to specify what you are scanning: Models with an Automatic Document Feeder (ADF) will have the ADF listed as a source to scan from.
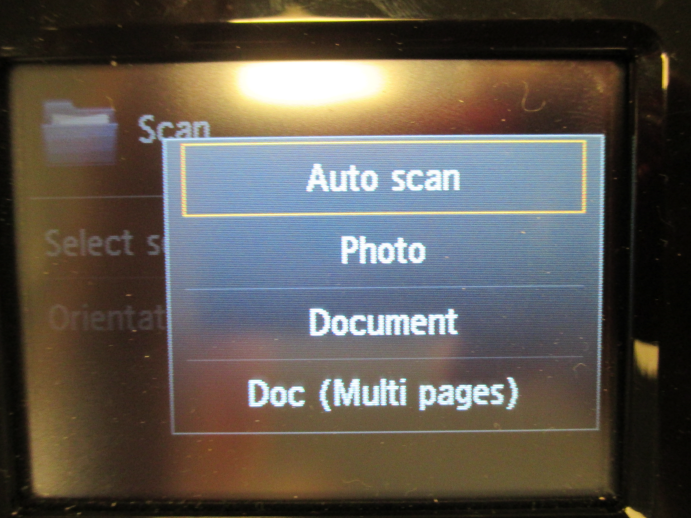
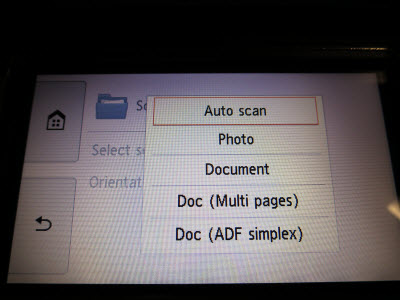
For this example, Document will be used.
You will then be able to specify the paper size, orientation, and data format.
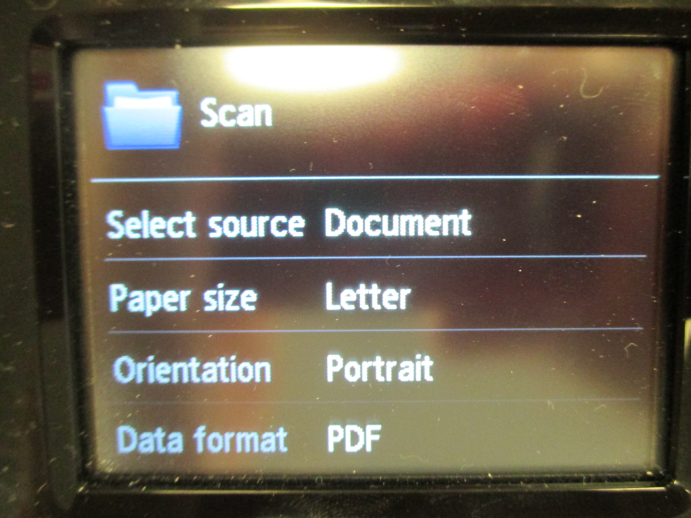
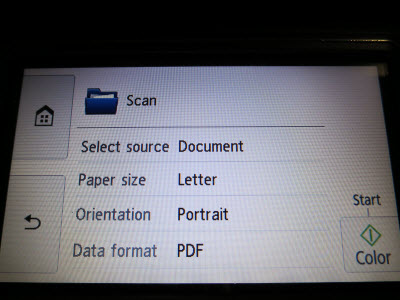
If you want to make any changes to these settings, select the setting you want to change and specify the paper size, orientation, and data format as desired.
-
After specifying your settings, press the Color start button on your printer, or tap Color on the touch screen. The scanning process will begin.
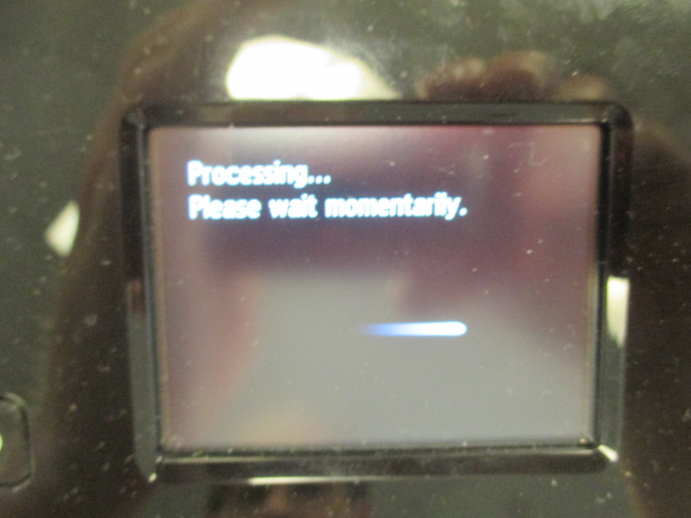
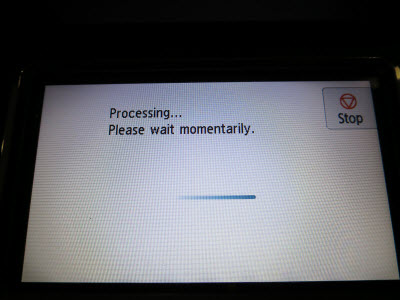
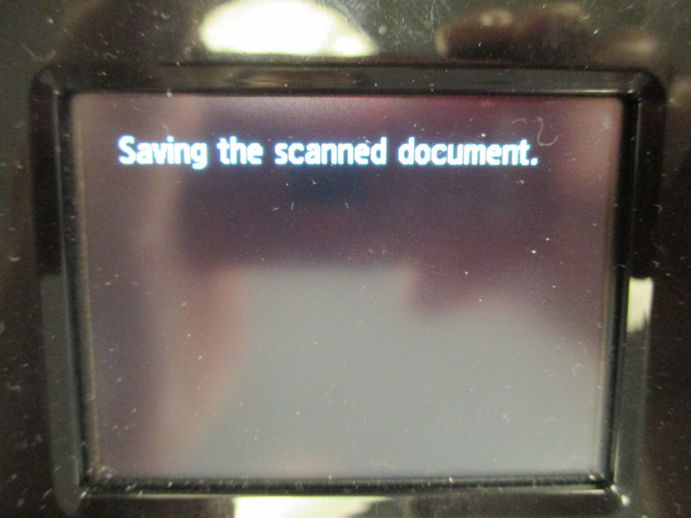
Your document or photo will be saved.

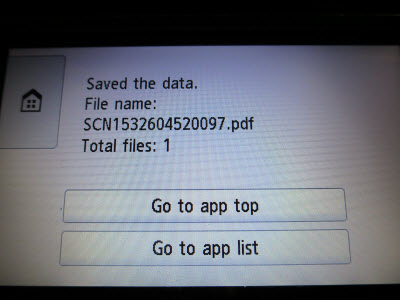
After the save has been completed, you will see the file name of what was saved. If you select Apps, you will go back to the Cloud screen.

If you tap Continue, you will go back to the main menu of your cloud service, where you can specify if you want to print an item or scan an item.
For some models, the options will be Go to app top and Go to app list. Tapping Go to app top will take you back to the main menu of your cloud service, where you can specify if you want to print an item or scan an item. Tapping Go to app list will take you back to the Cloud screen.
-
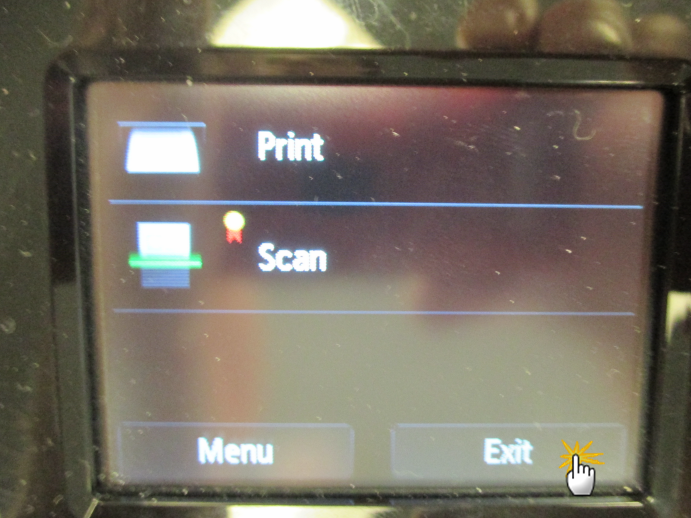
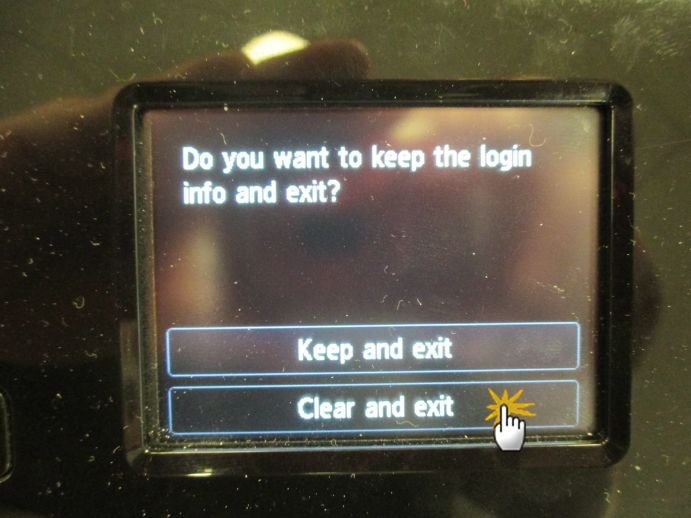
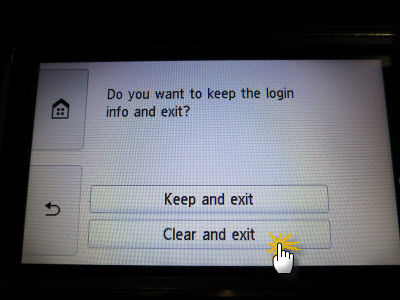
To log out, go back to the main menu of the cloud service that you have logged into. Here, select Exit.
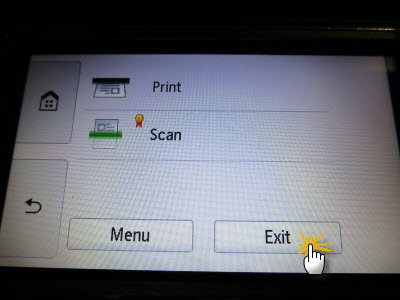
Select Clear and exit. This will sign you out of the cloud service that you logged into. You will then be taken back to the Cloud screen.
Printer Support Home
