PIXMA TR4520 / TR4522 Easy Wireless Connect Setup - Mac
Article ID: ART171594
|
Date published: 08/30/2018
|
Date last updated: 03/10/2023
Description
Learn how to use the Easy Wireless Connect method to set up your PIXMA TR4520 / TR4522 on a wireless network (LAN) for use with your Mac.
Solution
View the video or follow the written instructions below to set up your PIXMA TR4520 on a Wi-Fi® network so you can easily manage it from a Mac® computer.
Written instructions
You can also follow the steps below to set up your PIXMA TR4520 on a Wi-Finetwork so you can easily manage it from a Mac computer.
There are two parts to the setup process:
Start the setup process on your printer
Download and run the setup file on your computer.
1. Start the setup process on your printer
Make sure the printer is turned ON.
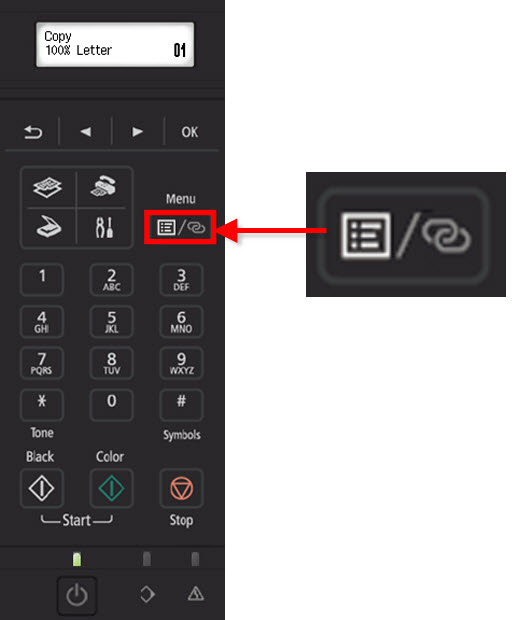
Press and hold the Menu / Wirelessconnect button for 3 seconds.
When the following screen displays, printer preparation is complete.
2. Download and run the setup file on your computer
Read the information, taking note of the messages that may appear during setup, then select Download.
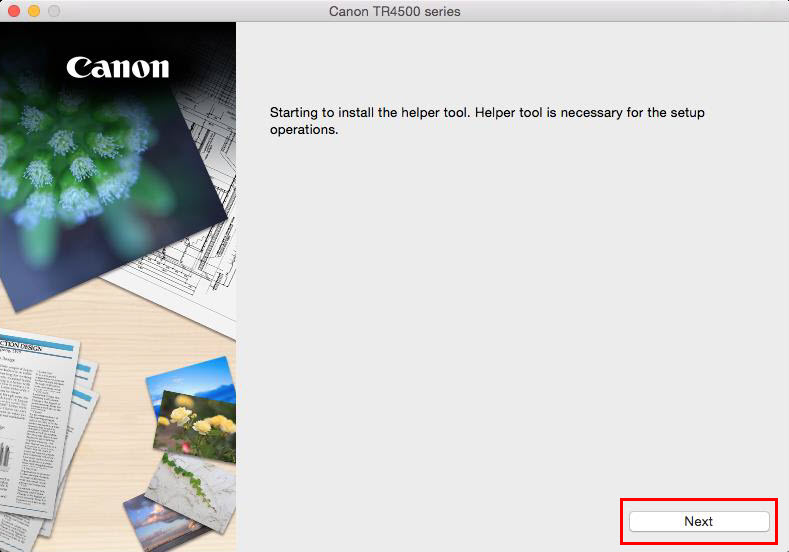
Select Next on the first screen.
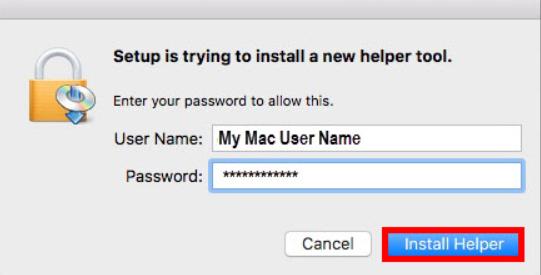
Enter your computer User Name and Password, then select Install Helper.
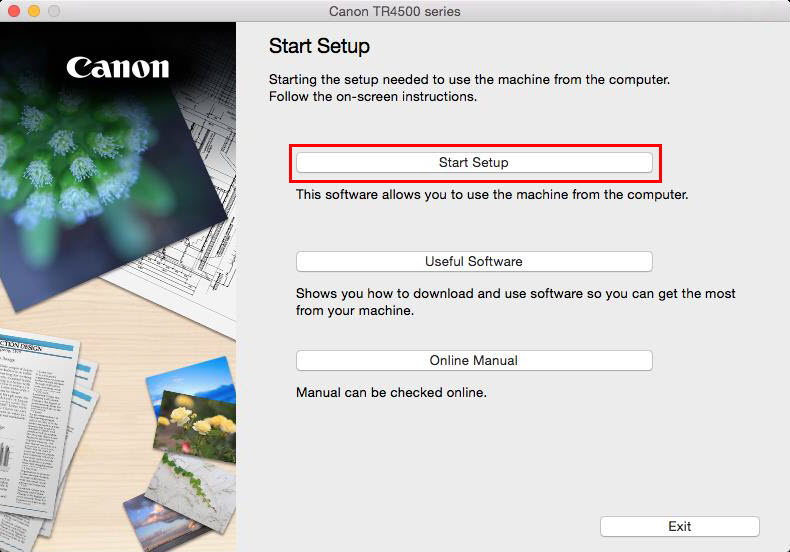
Select Start Setup.
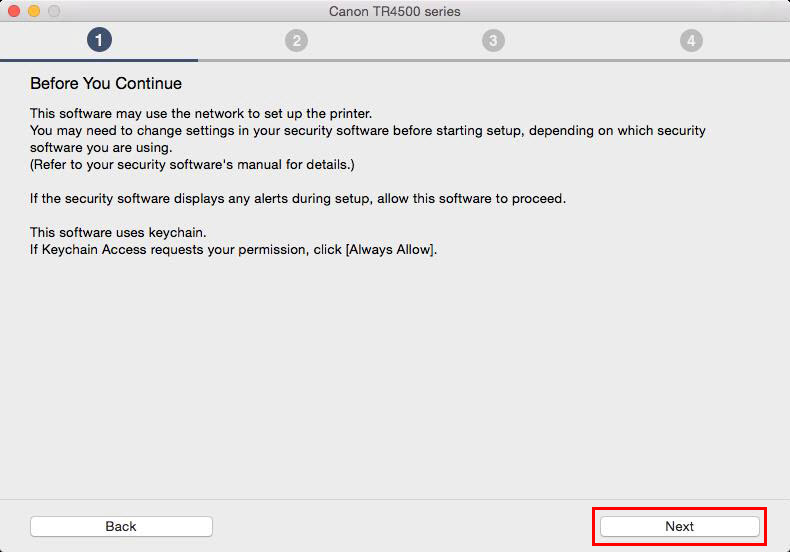
Read the network security notice, and select Next.
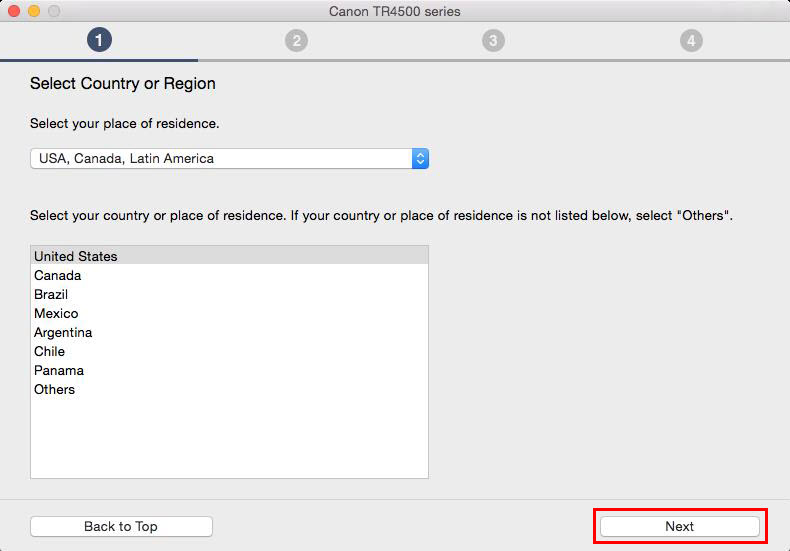
Select the appropriate region, and select Next.
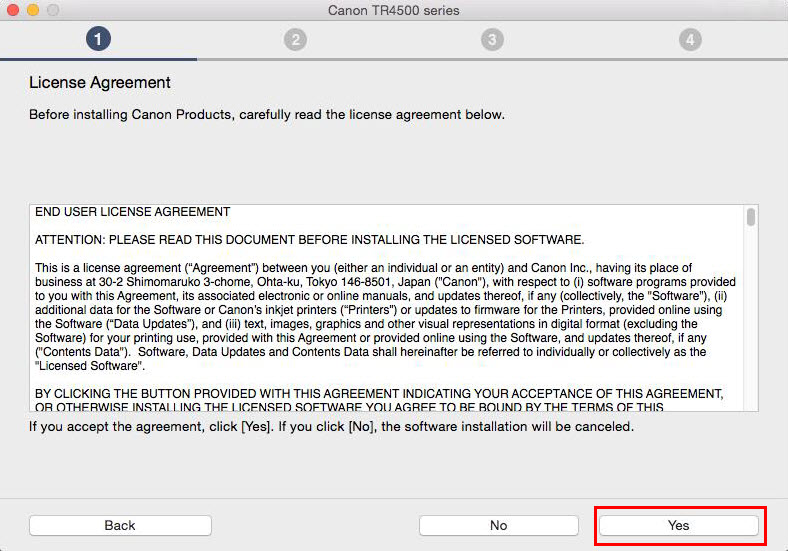
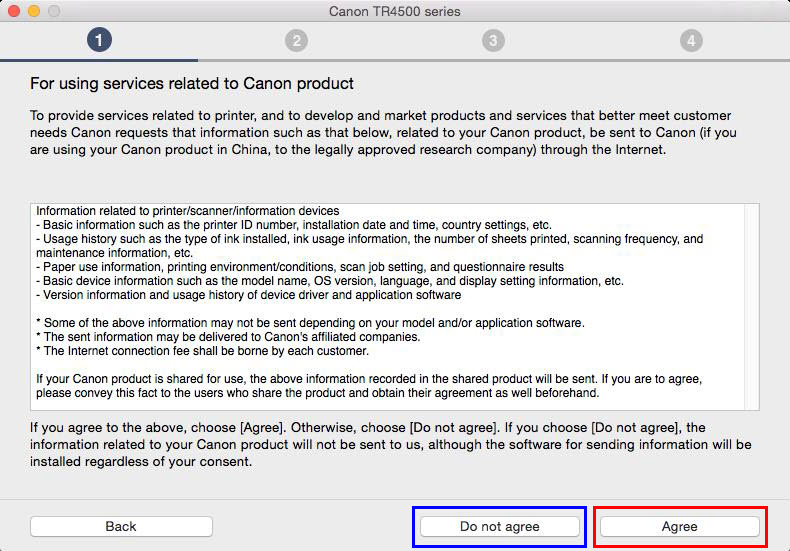
Read the license agreement and select Yes to continue. If you select No, the installation won't continue.
Select Agree or Do not agree to the information request.
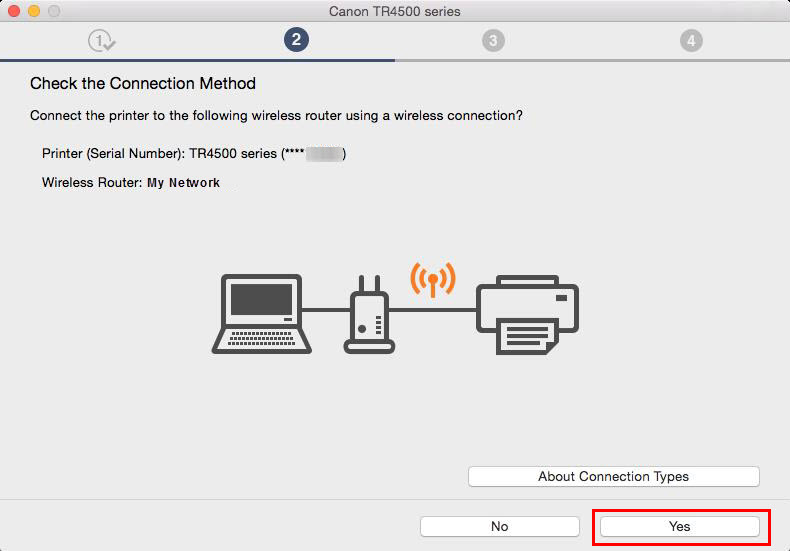
Select Yes to confirm the connection method.
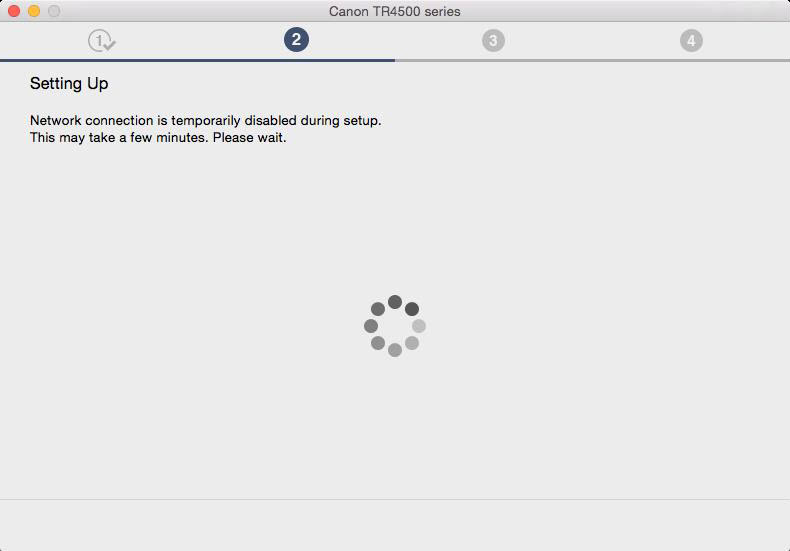
Setup continues. Wait for it to finish.
If the following screen appears, select Allow.
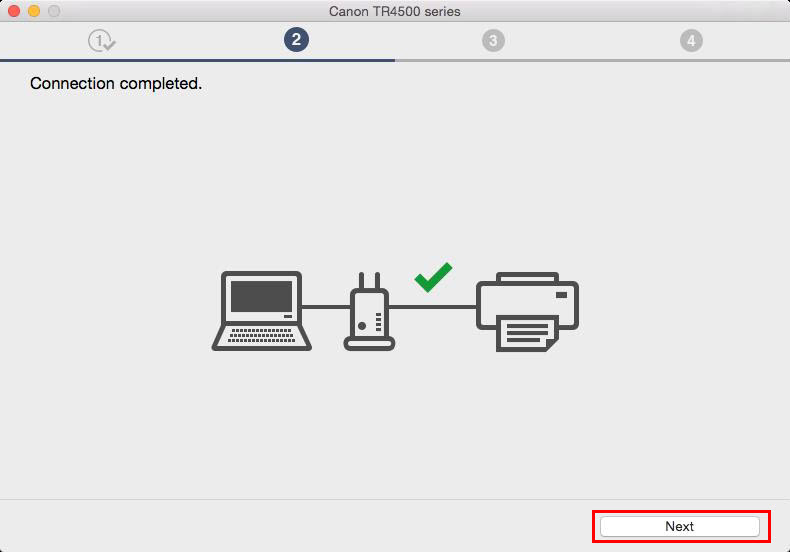
Network Connection is complete. Select Next.
If your printer is not detected, make sure that the computer has reconnected to the correct network. Also, you may need to temporarily disable any firewall software, or you may need to open blocked ports in the firewall. If your Mac is connected to a VPN (Virtual Private Network), temporarily disconnect from the VPN and try the setup again. Also, if you are using a dual-band router, further troubleshooting information can be found here.
Select Add Printer.
On the Add screen, select the TS series with Bonjour Multifunction listed in the Kind column. Select AirPrint or Secure AirPrint in the Use: drop-down, then select Add.
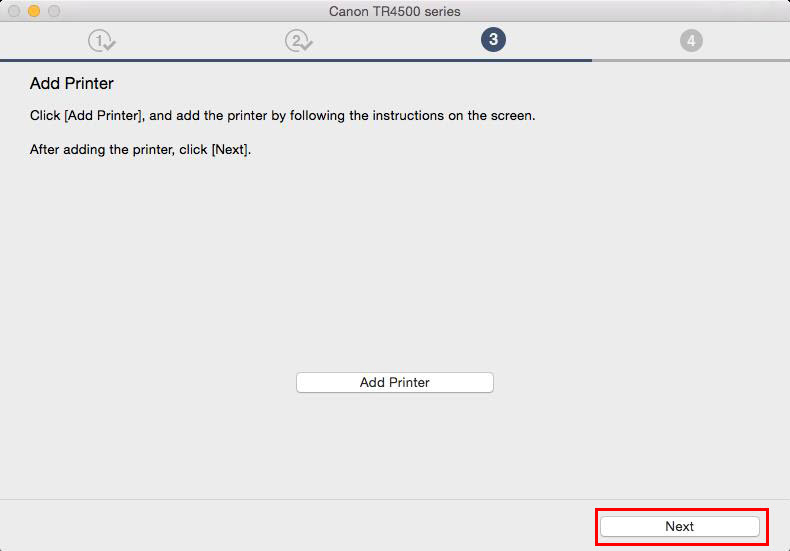
Select Next to continue.
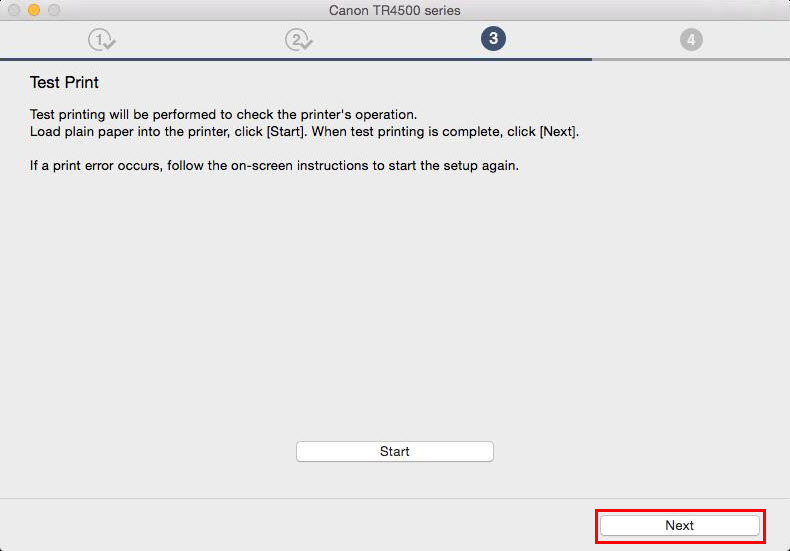
Select Start to run a test print, or Next to continue.
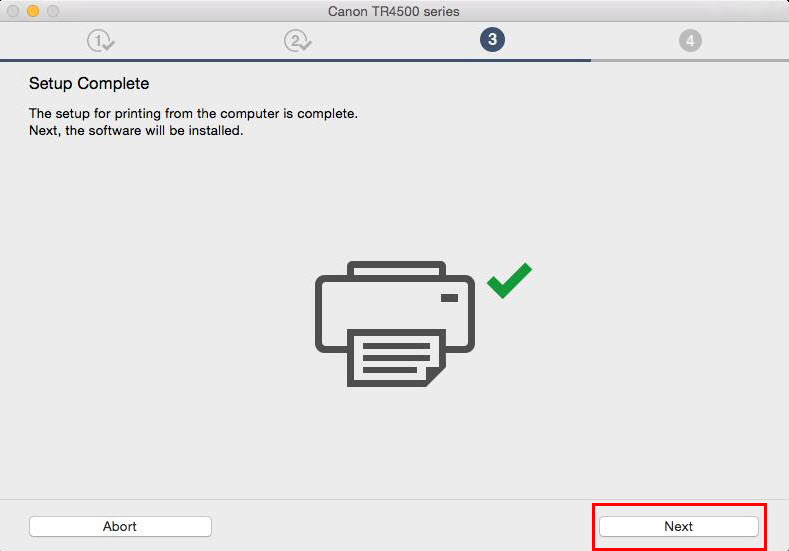
Setup is complete. You are almost finished. Select Next.
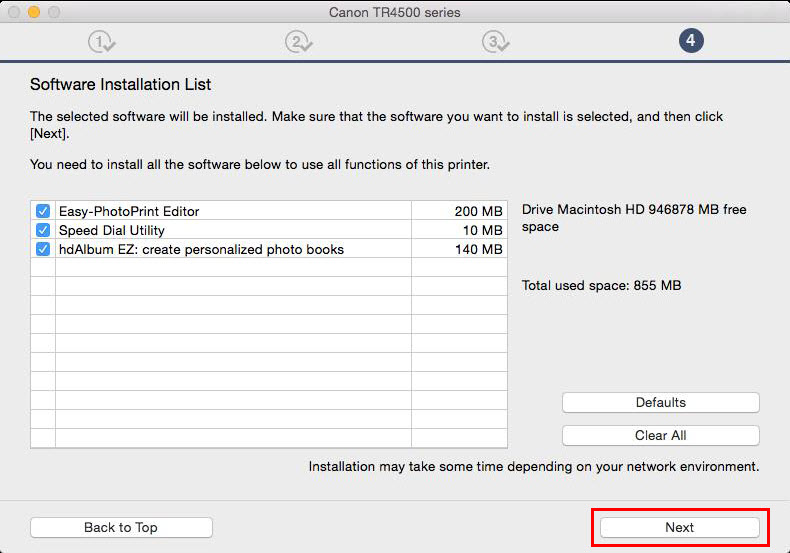
Select any optional software you want to add (click the checkbox to select, click again to clear), then select Next.
Any additional software you select will download and install. This may take a few minutes.
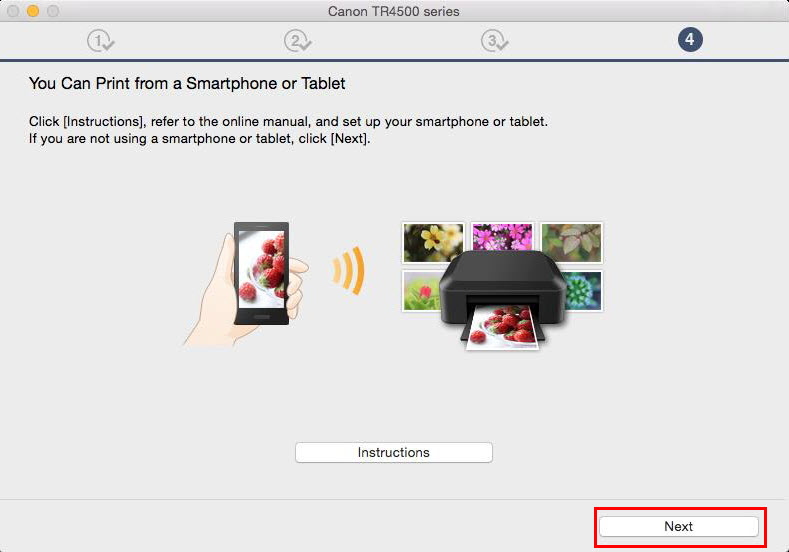
Select Next.
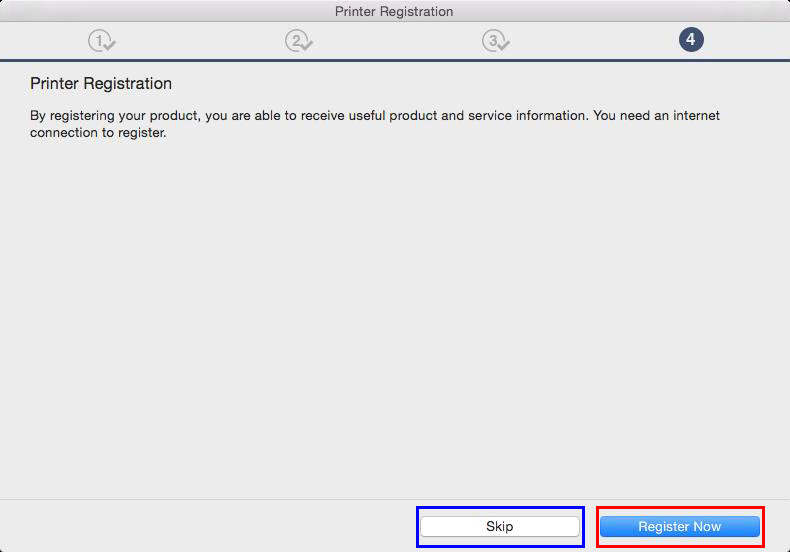
Select Skip or Register Now.
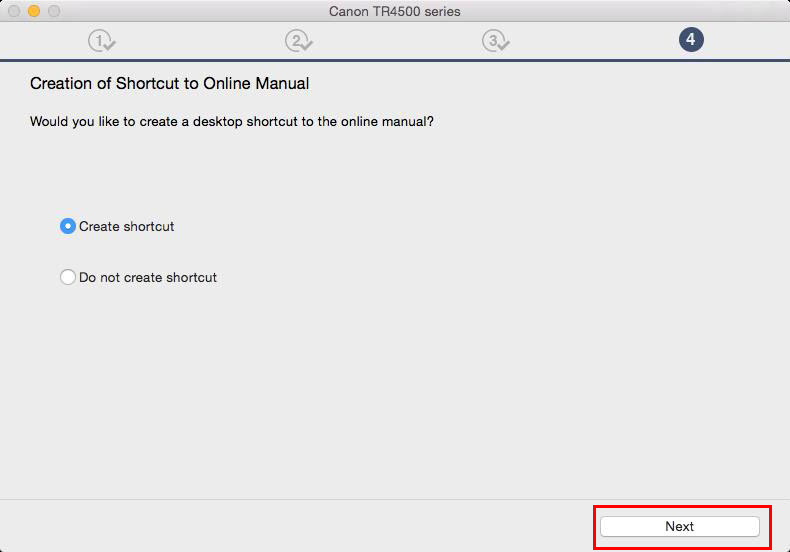
Select a desktop shortcut preference for the online manual, then select Next.
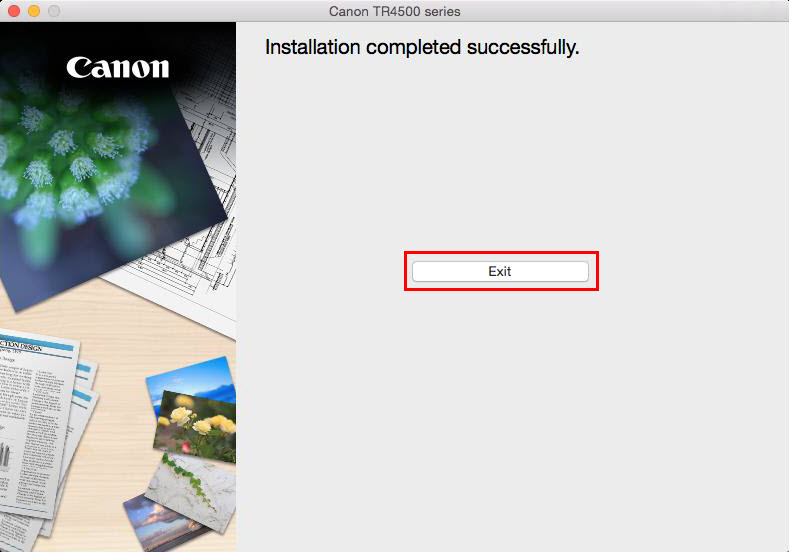
Select Exit. Installation is complete. You can now print wirelessly.
If your product issue was not resolved after following the steps above, or if you require additional help, please create or log in to your Canon Account to see your technical support options.
Or if you still need help, visit our Canon Community by clicking the button below to get answers:


 If your printer is not detected, make sure that the computer has reconnected to
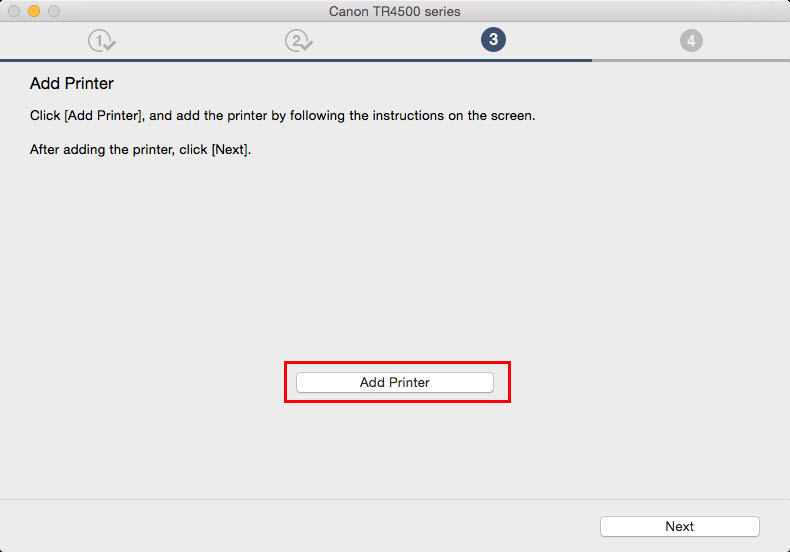

 Any additional software you select will download and install. This may take a few minutes.