Wireless Setup
Use the Canon PRINT Inkjet/SELPHY app to easily set up the wireless connection and to print photos saved on a smartphone or tablet
- Make sure that the printer is turned on before starting wireless connection setup.
- Press and hold the Menu/Wireless connect button for 3 seconds..
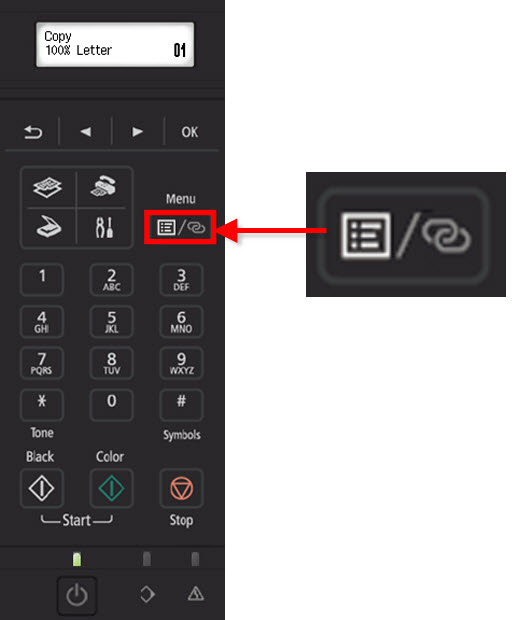
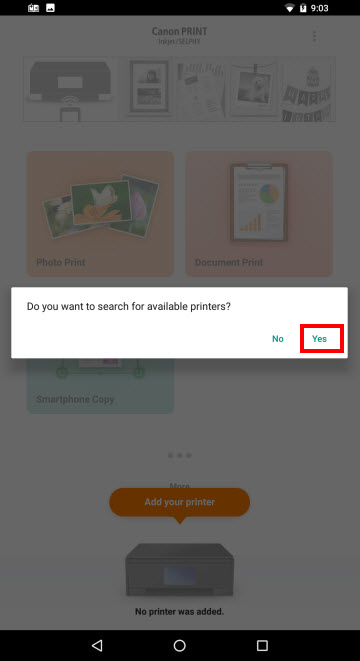
- When the following screen is displayed, *start the Canon PRINT Inkjet / SELPHY application on your Android device

*If you don't have the app, download it from Google Play

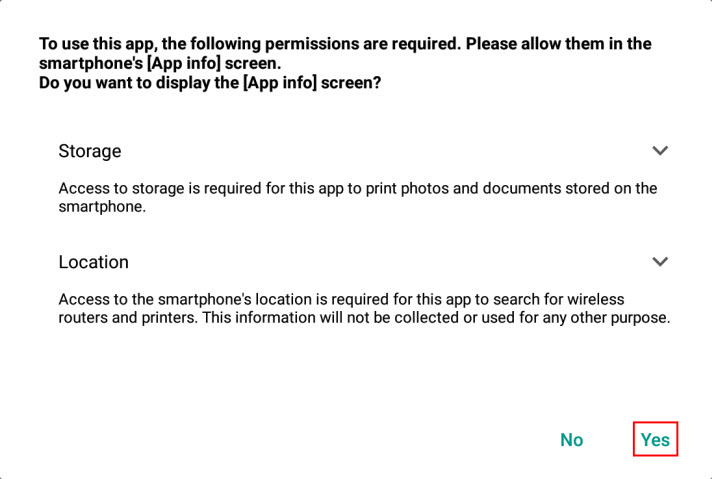
- When you first run Canon PRINT Inkjet / SELPHY, you may be asked to grant permission for the app to access your storage and location. Tap Yes.**
** If the screen does not appear, skip to step 8
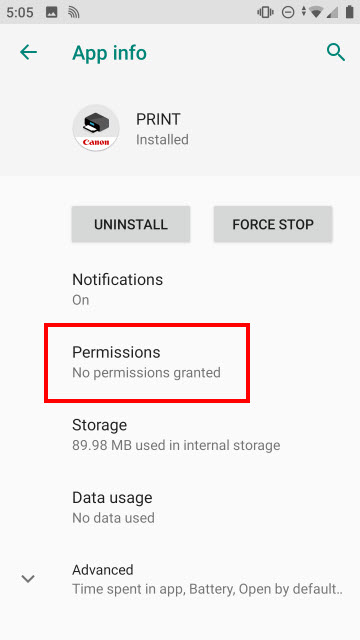
- You will see some info for this app. Tap Permissions (you may need to scroll down to see it, depending on your device).
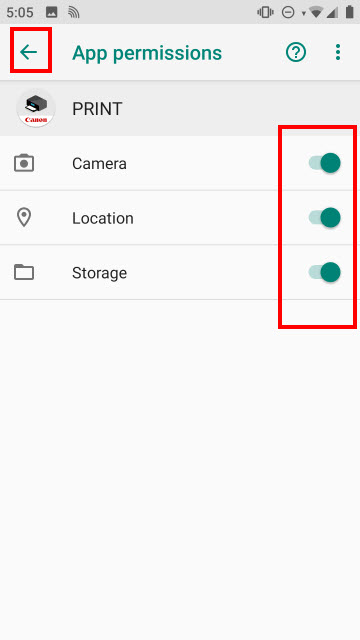
- Tap the switches on the right for Camera, Location, and Storage. Then, tap the left arrow at the upper left.
- Tap the square at the bottom of the screen to see open apps. Tap on the Canon PRINT Inkjet / SELPHY app to continue.
- When this screen appears, tap Yes.
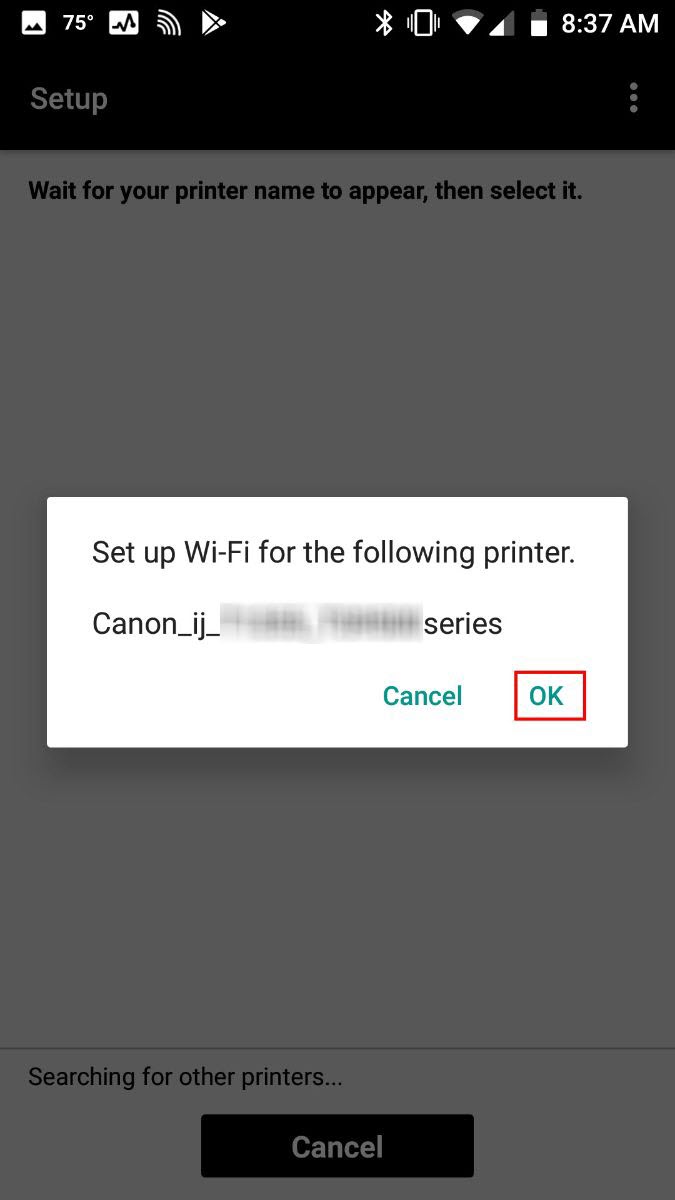
- You will be prompted to set up Wi-Fi for the printer. You will see a name beginning with Canon_ij. Depending on the model, it may be named Canon_ij_setup or it may have the name of the printer, such as Canon_ij_053xx_MG6800series. Tap OK on this screen.
- A message will appear indicating that the printer will be connected to your wireless network. Make sure that your network name appears in this message. Then, tap Yes.
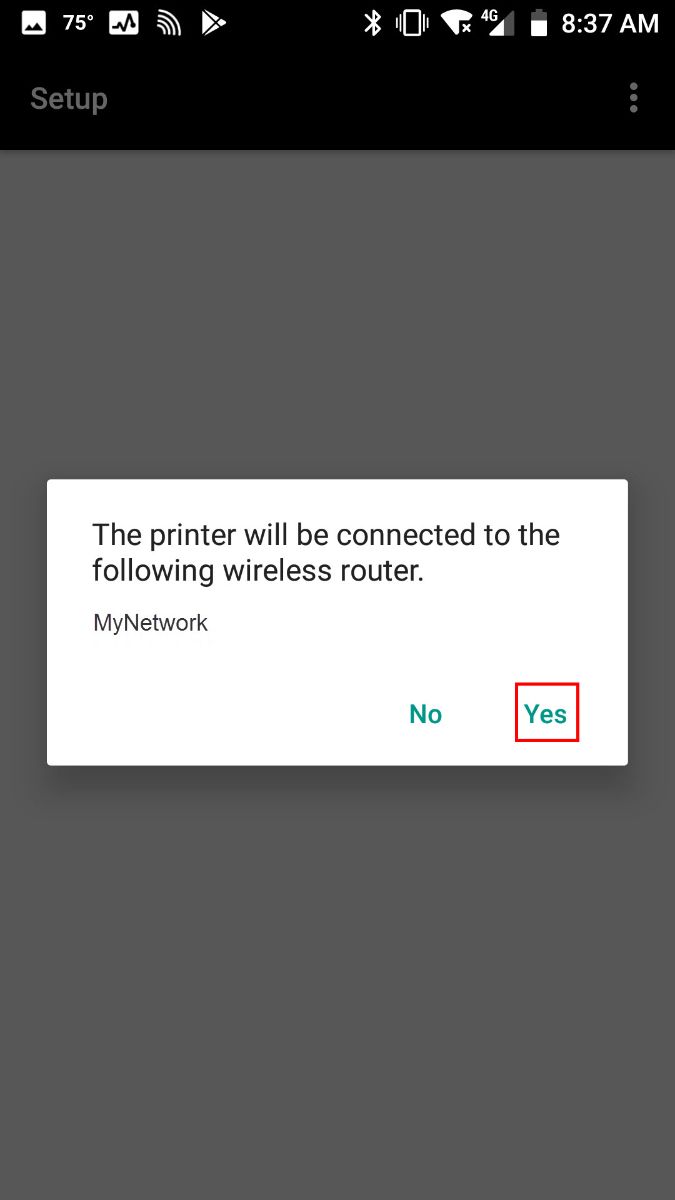
NOTE: If your printer is too far away from your wireless router, your Android device may attempt to establish a direct connection with the printer, and you will not see the screen shown above. If this happens, power off the printer and move it closer to your wireless router. Then, restart this process.
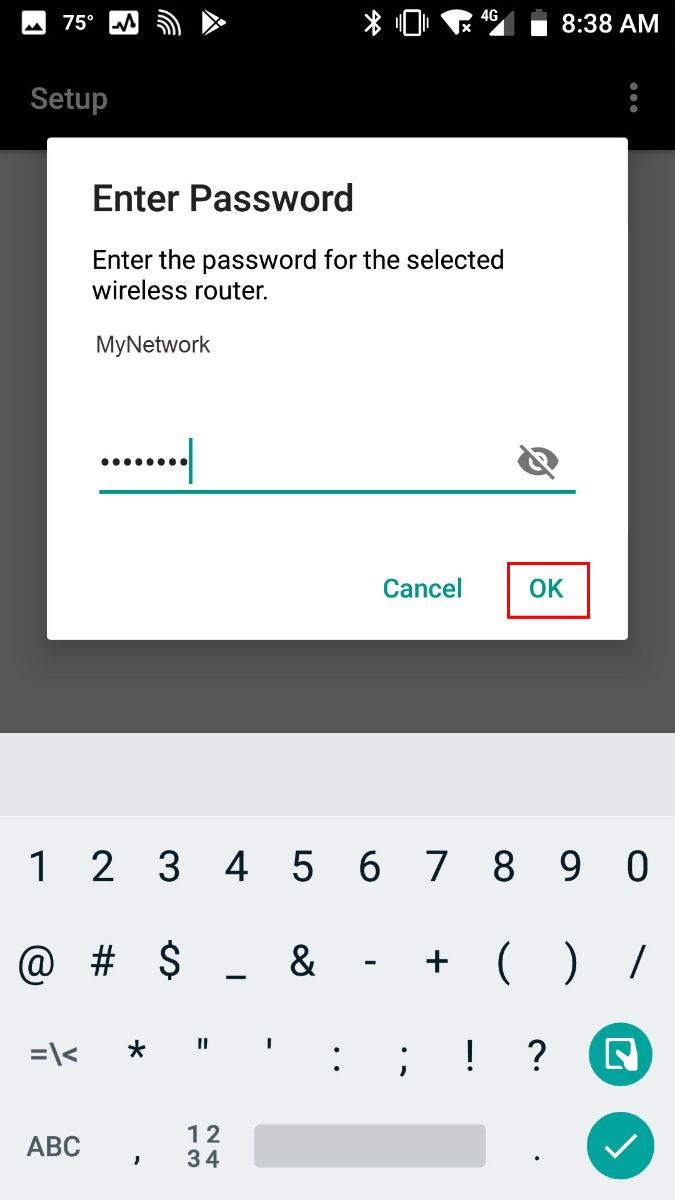
- Enter the password for your wireless router. You can tap the eye symbol to the right to reveal the password if desired (this can help you ensure that you did not enter in the password incorrectly). Tap OK after your password has been entered.
-
 Important
- If the cableless setup process fails at this stage, you may need to start the process over and connect your Android device to the Canon_ij_XXXX SSID. Set your printer up into cableless setup mode, connect to the Canon_ij_XXXX SSID and start from step 1 again. Click here if you need help.
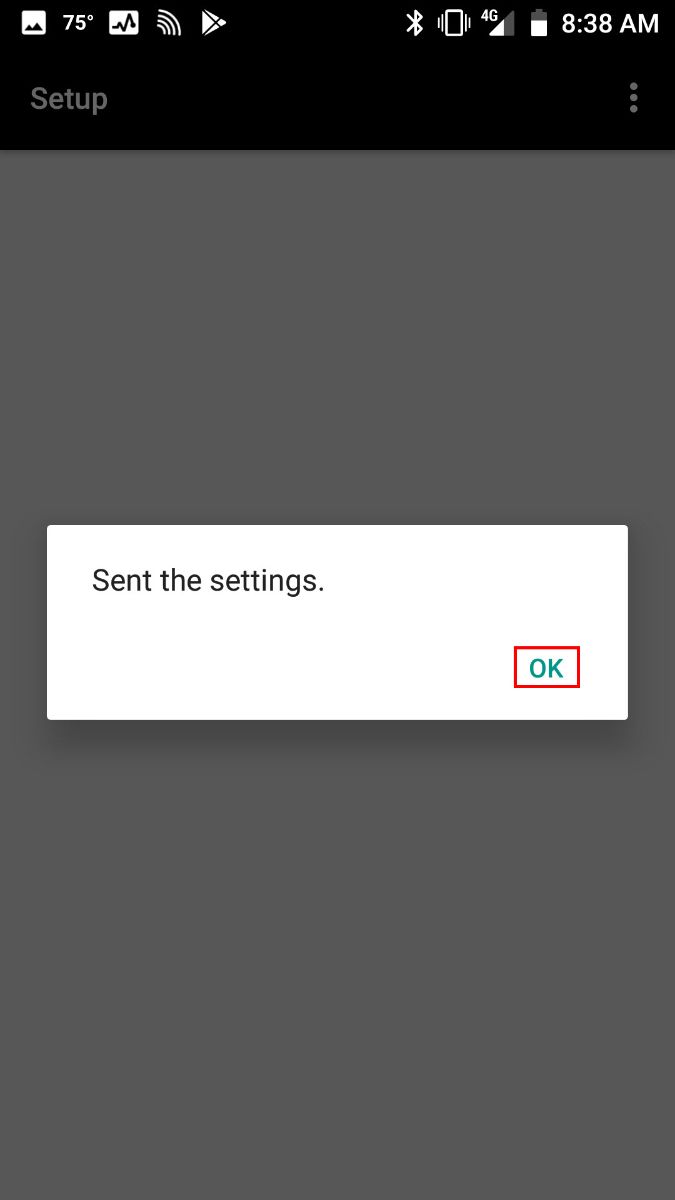
- After a few moments, you will see a message indicating that the network settings have been sent to the printer. Tap OK.
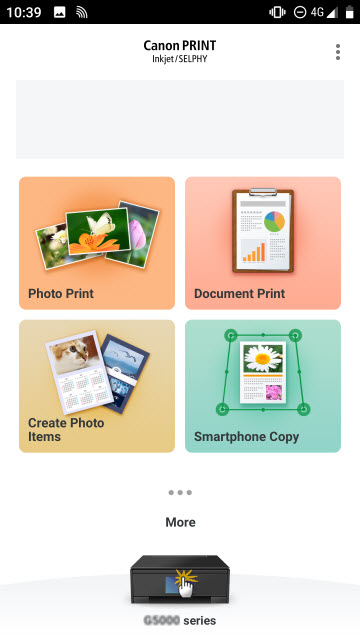
- Wireless connection is complete. Tap Select images to start using the application*** or tap Cancel.

*** Print a Photo / Print a Document
-
How to Rename the Printer (Optional)
- On the main screen tap the printer's icon
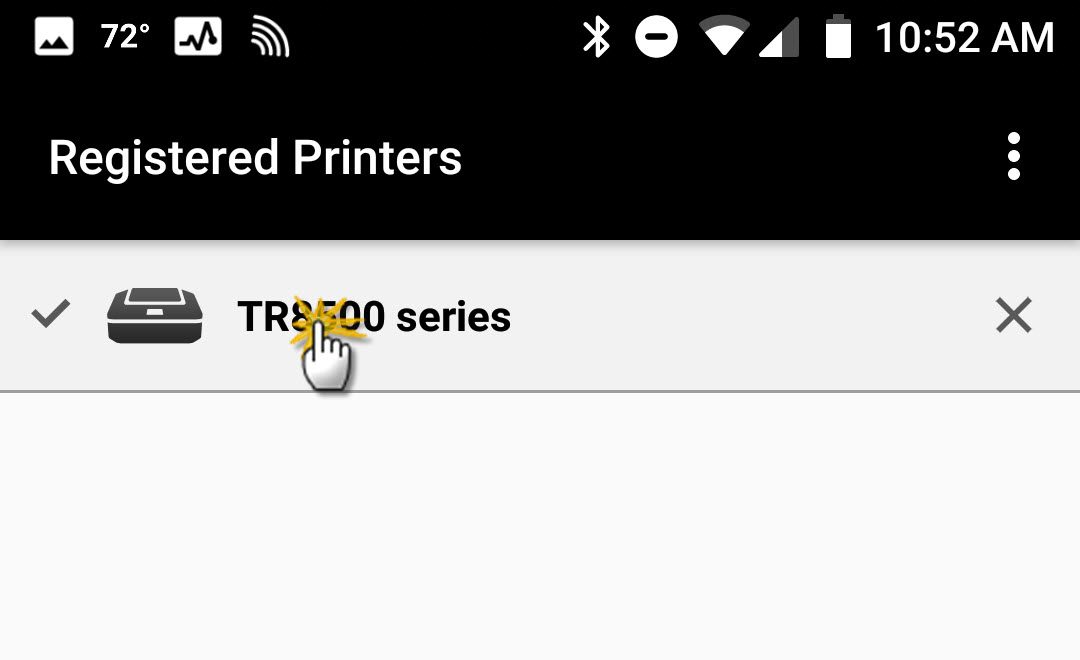
- Tap the 'Add/Switch' icon

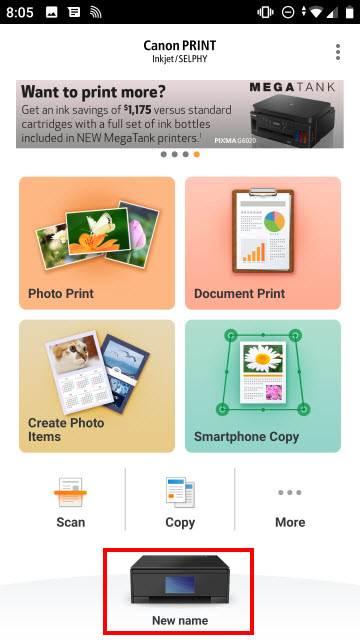
- Press and hold the printer name. This will give an option to enter a name for the printer.
- Enter a name and tap OK.
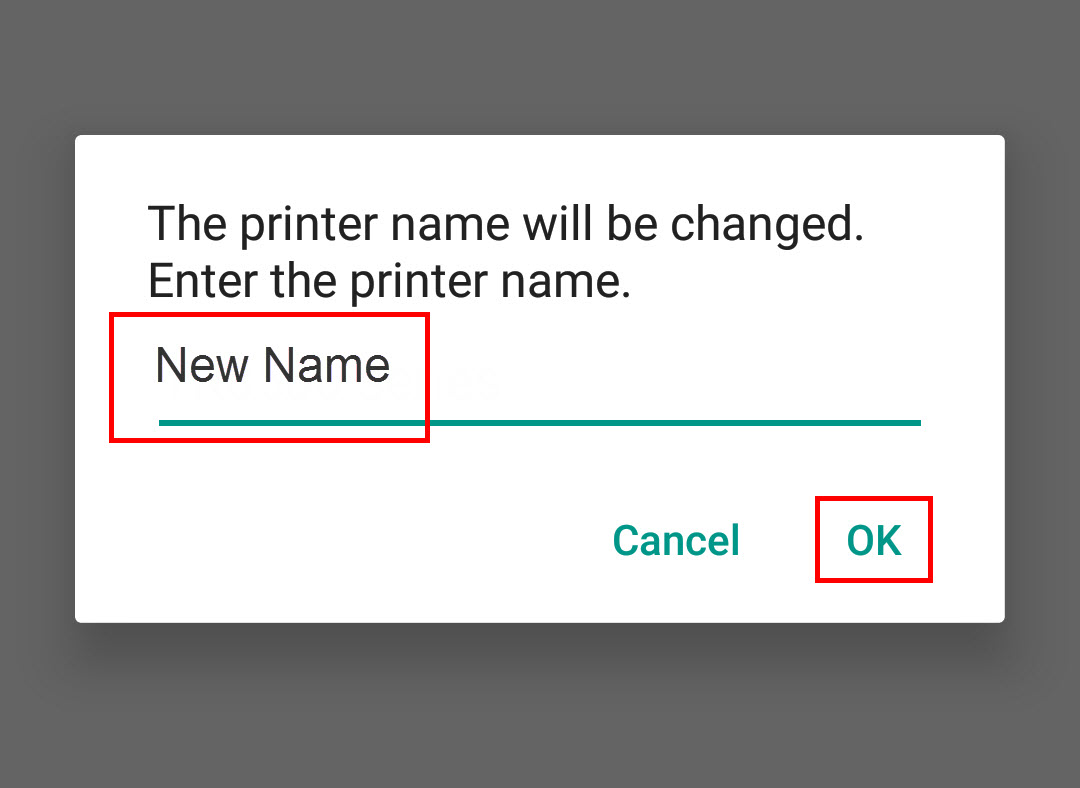
- The printer will now display the name you provided.
-

TR4520 / TSR4522 Support Page

 Note
Note