Lean how to use the Easy Wireless Connect method to connect your PIXMA TS6220 wirelessly.
 Instructions in this article are for a Mac computer. For a Windows computer, click here for instructions.
First the printer must be connected to the wireless network, then applications must be installed on the computer.
The setup process consists of 2 parts.
- Start Easy Wireless Connect.
- Download and run the setup files.
1. Start Easy Wireless Connect
-
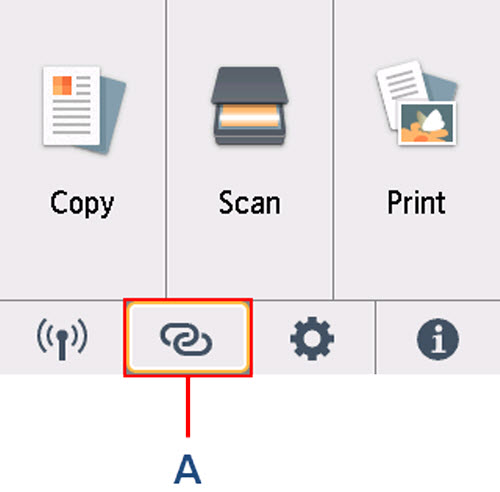
Select  (A).
(A).
-
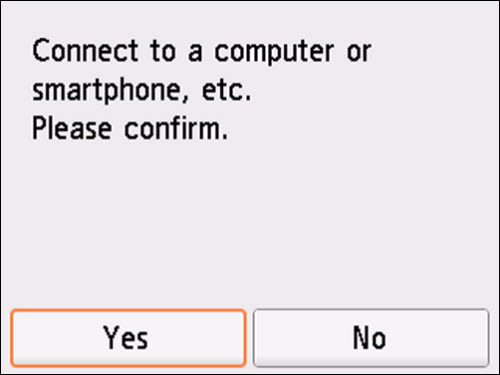
Tap Yes.
-
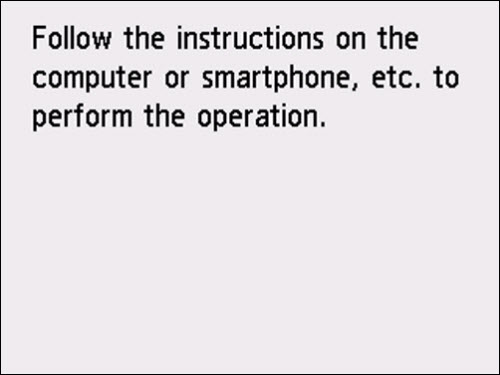
When the printer preparation is complete, the screen below appears.
It may take time until the printer is detected and the screen changes.
2. Download and run the setup file
Follow the link to get the setup file, select the version that matches your operating system and tap  . Follow the on-screen instructions to proceed with setup.
Double-click the downloaded .dmg file if setup icon did not appear.
 If you see a message like this:
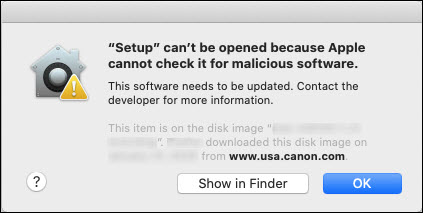
Select OK. Then, control-click on the setup file, select Open, then select Open in the error message window. This will allow the setup program to proceed.
-
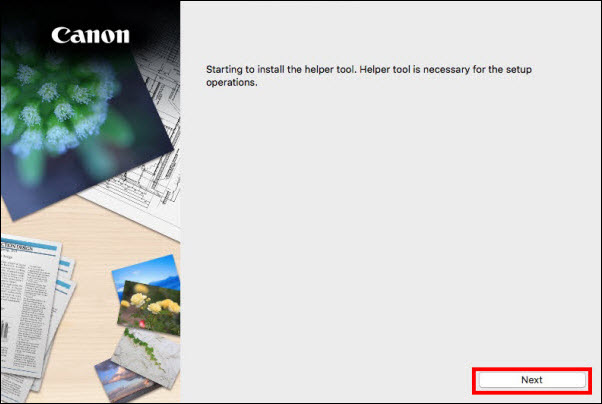
Tap Next.
-
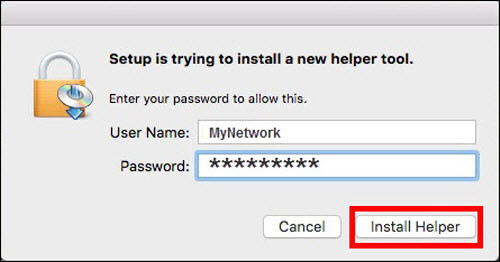
Enter the network password and tap Install Helper.
-
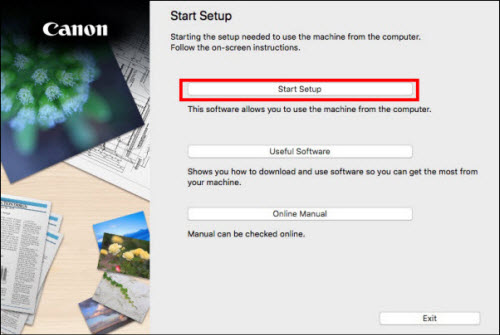
Select Start Setup.
-
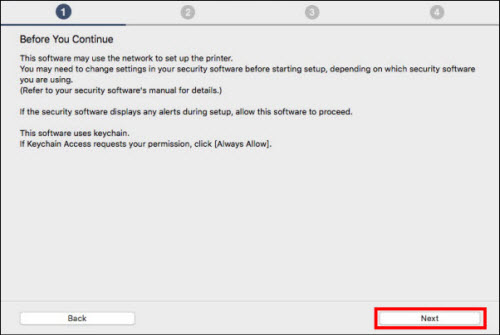
Tap Next.
-
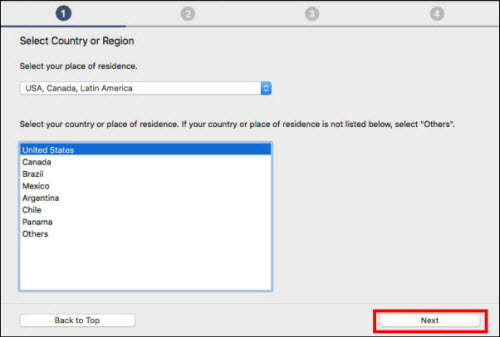
Select region and tap Next.
-
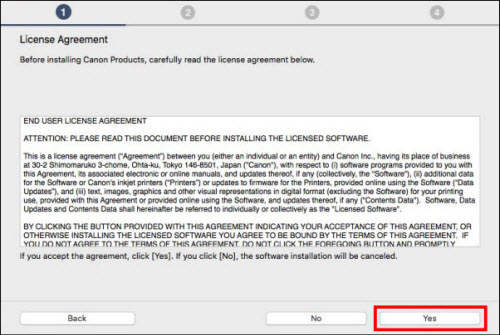
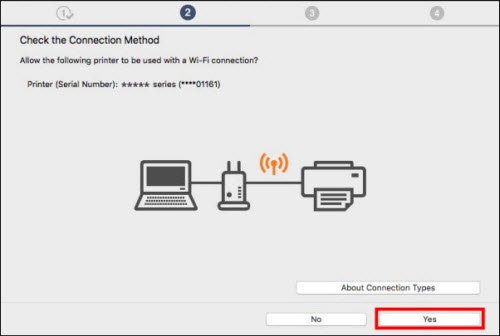
Select Yes.
-
Select Yes.
-
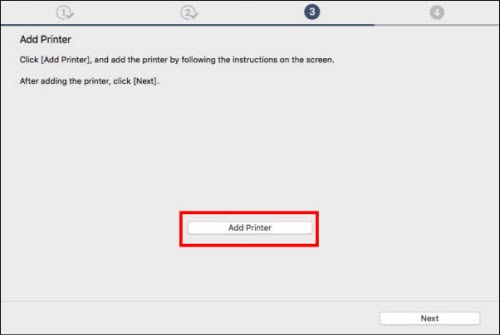
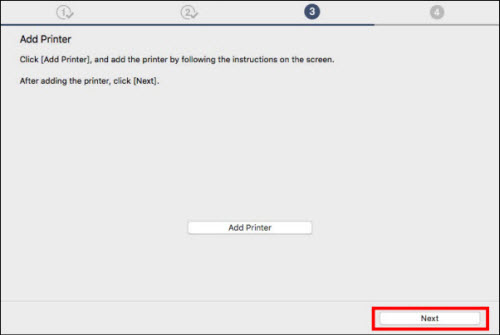
Tap Add Printer.
-
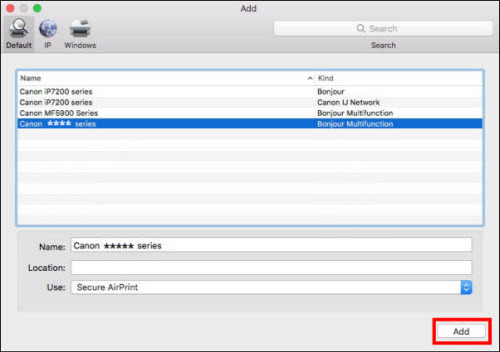
Select your printer series with Bonjour Multifunction listed in the Kind column and tap Add.
-
Tap Next.
-
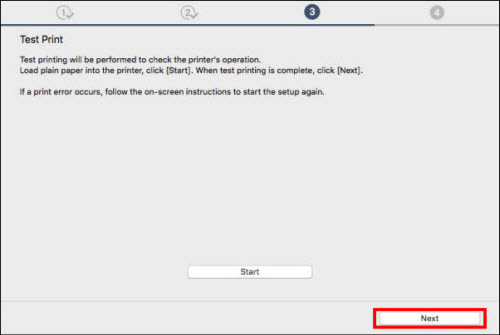
Tap Next.
-
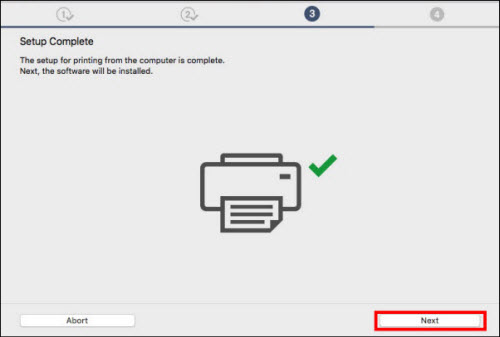
Tap Next on Setup Complete.
-
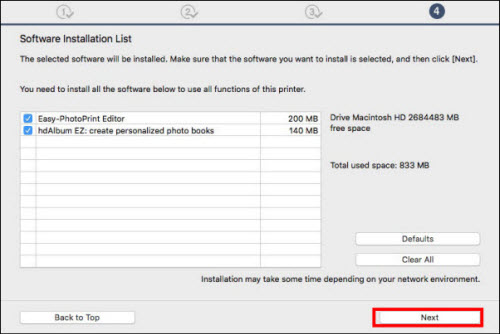
Select any optional software you wish to install and tap Next.
-
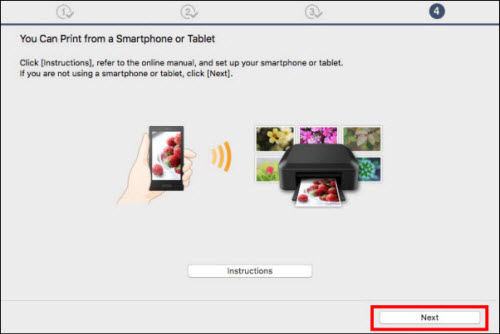
Tap Next.
-
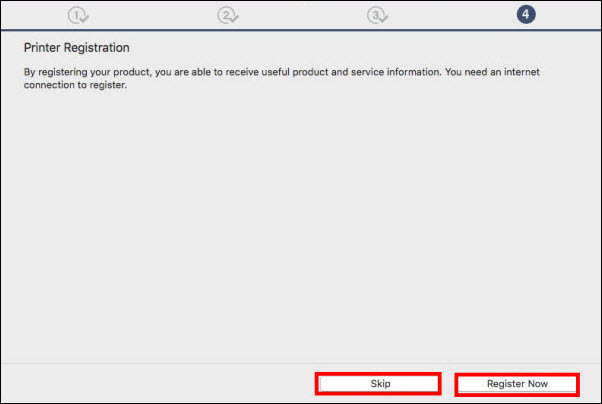
Select to Register Now or Skip.
-
Select if you want to Create Shortcut to the online manual and tap Next.

-
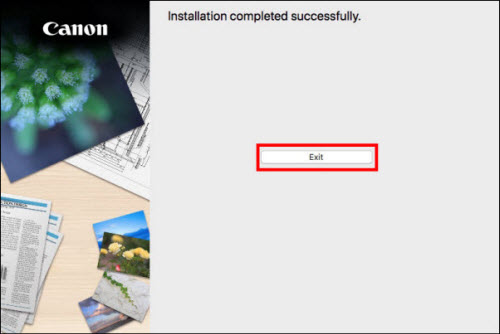
Tap Exit.
If your product issue was not resolved after following the steps above, or if you require additional help, please create or log in to your Canon Account to see your technical support options.
Or if you still need help, visit our Canon Community by clicking the button below to get answers:

____________________________________________________________________________________________
Related:
Wireless Setup on iOS Devices (iPad, iPhone)
Wireless Setup on Android Tablets and Smartphones
TS6220 Support Page
