Follow the steps below to use and register your printer with the Canon Inkjet Cloud Printing Center.
 If your printer does not have a color LCD or a 2-line LCD (for example, the MG2900 Series or MG3000 Series), you can register your printer with the IJ Cloud Printing Center through the Remote UI.
Print the registration ID.
-
Make sure the printer is connected to the Internet.
-
Follow the instructions displayed in the window, and print the URL of the authentication site and the Printer registration ID.
-
Set A4 size or Letter size plain paper and select OK.
-
The authentication URL and Printer registration ID are printed.
You will use this printed page in the next step.
The operation to complete the registration should be done within 60 minutes.
Provide the requested information on the Canon Inkjet Cloud Printing Center website.
Do not use the Back button of the web browser in the middle of an operation. The screen may not transition properly.
-
Use the web browser on your PC, smartphone, tablet, or other devices to access the authentication URL.
-
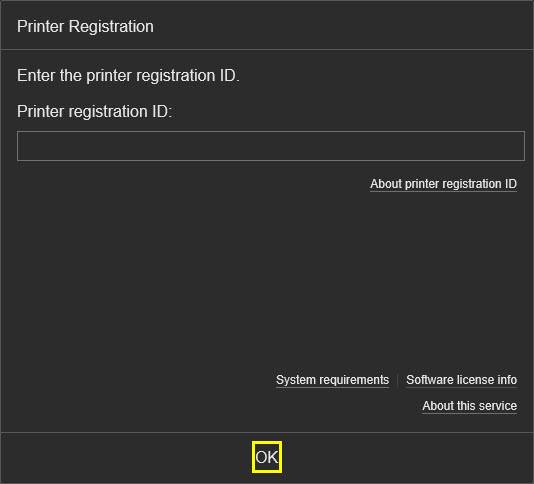
On the Printer Registration screen, type in the Printer registration ID found on the page that was just printed. Then select OK.
-
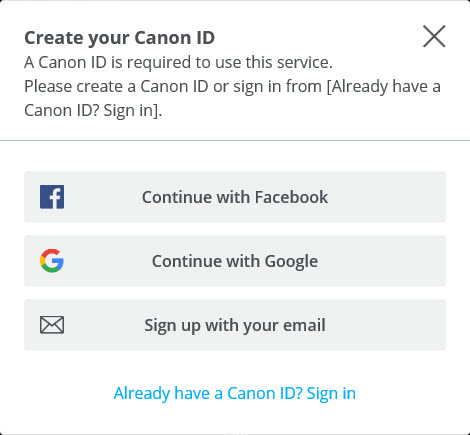
The following prompt will appear.
-
If you do not have a Canon ID, you will need one in order to proceed.
-
Select Sign up with your email and follow all instructions to create a Canon ID.
-
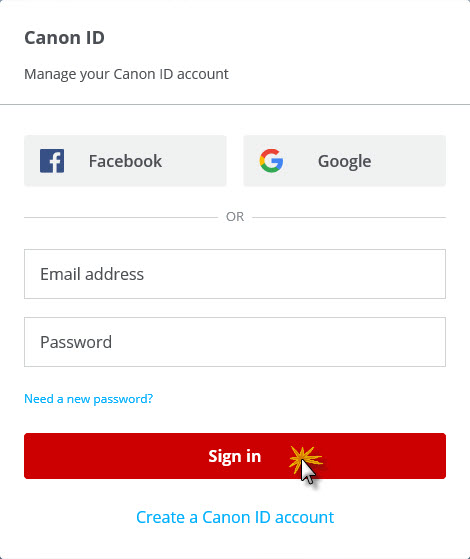
If you already have a Canon ID, select Already have a Canon ID? and then select Sign in.
-
If you already have a Canon ID, enter your email address and password into the fields as requested, then choose Sign in.
-
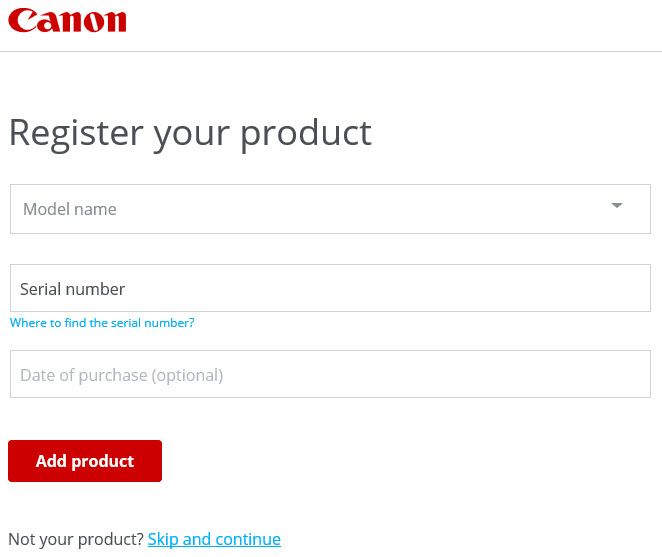
After you sign in to your Canon Account, you can register your printer if you wish to do so. Select your model from the drop down menu, enter the serial number and date of purchase (the date of purchase is optional), then choose Add product.
If you do not wish to do this, select Skip and continue.
-
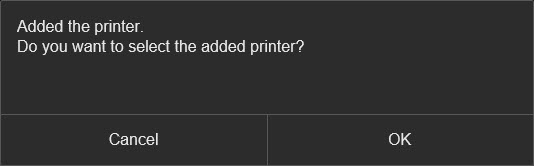
After a few moments, the prompt below will appear.
-
Select Cancel to go to the IJ Cloud Printing Center website.
-
If you previously registered a printer with the IJ Cloud Printing Center, that printer will be displayed on the site.
-
Select OK to display the printer you just registered.
-
The registration is completed.
If your product issue was not resolved after following the steps above, or if you require additional help, please create or log in to your Canon Account to see your technical support options.
Or if you still need help, visit our Canon Community by clicking the button below to get answers:

____________________________________________________________________________________________

 , Web service setup icon,
  , Web service connection setup, IJ Cloud Printing Center setup, and finally Register with this service.
 , Web service setup, Connection setup, IJCloudPrintingCtr, and finally Register w/ service.