IJ Scan Utility (Mac) - Network Scan Settings
| Article ID: ART171813 |
| |
Date published: 09/12/2018 |
| |
Date last updated: 10/21/2019 |
Description
Network Scan Settings
Solution
You can connect your scanner or printer to a network to share it among multiple computers or scan images into a specified computer.
 Important
- Multiple users cannot scan at the same time.
- To scan over a network, enable Bonjour on your scanner or printer.
 Note
Note
- Complete the network settings of your scanner or printer beforehand by following the instructions on the web page.
- With a network connection, scanning takes longer than a USB connection.
Setting for Scanning with IJ Scan Utility
In the IJ Scan Utility main screen, select your scanner or printer that is connected to a network.
-
Start IJ Scan Utility.
-
Select "Canon XXX series Network" (where "XXX" is the model name) for Product Name.
You can scan via a network connection.
Note
- If you cannot scan, check that your scanner or printer is selected in the network selection screen.
- For a USB connection, select "Canon XXX series" (where "XXX" is the model name) for Product Name.
Setting for Scanning from the Operation Panel
You can make the setting for scanning from the operation panel.
-
Start IJ Scan Utility.
-
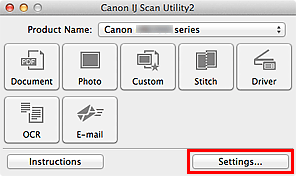
Click Settings....
The Settings dialog appears.
-
Click the  (General Settings) tab.
The Settings (General Settings) dialog appears.
-
In Product Name, select an item with "Network" after the product name, then click Select that appears to its right.
The network selection screen appears.
-
Click Scan-from-Operation-Panel Settings.
The Scan-from-Operation-Panel Settings screen appears.
-
Select your scanner or printer from Scanners and click OK.
-
Return to the network selection screen, then click OK.
The IJ Scan Utility main screen reappears. You can scan from the operation panel.
Note
-
If the Bonjour service name of your scanner or printer does not appear or cannot be selected, check the following, click OK to close the screen, then reopen it and try selecting again.
- The scanner driver is installed
- Network settings of your scanner or printer is completed after installing the scanner driver
- Network communication between your scanner or printer and computer is enabled