Follow the steps below to install the software for your printer on a Windows PC below.
- Insert the setup CD-ROM that came with the printer into your computer. Click the option to run MSETUP4.EXE. If you do not receive any prompts for what to do when the CD is inserted, open Windows Explorer, click on the listing for your optical drive (such as D: or E:) and double click MSETUP4.EXE. If any screens appear asking for permission to continue, click the appropriate option to continue (e.g. Yes.)
 Note
Note
- If you do not have the CD-ROM that came with your computer, or if your computer does not have a CD or DVD drive, click here. Select your printer model then select Windows PC. Click Setup. Click the Download button and save the file to your computer. Open it when the download has finished.
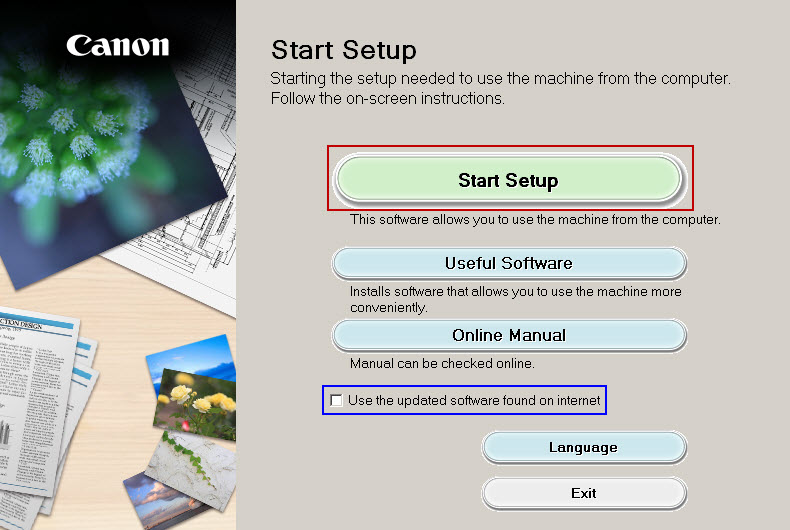
- When the setup program begins, click Start Setup. If you have a check in the box for Use the updated software found on internet, the installer will check online for the latest versions of the drivers and software. Also note that if you click the link above and run the online installer, it will check for the latest versions of the software automatically. The setup program will process for a few moments.
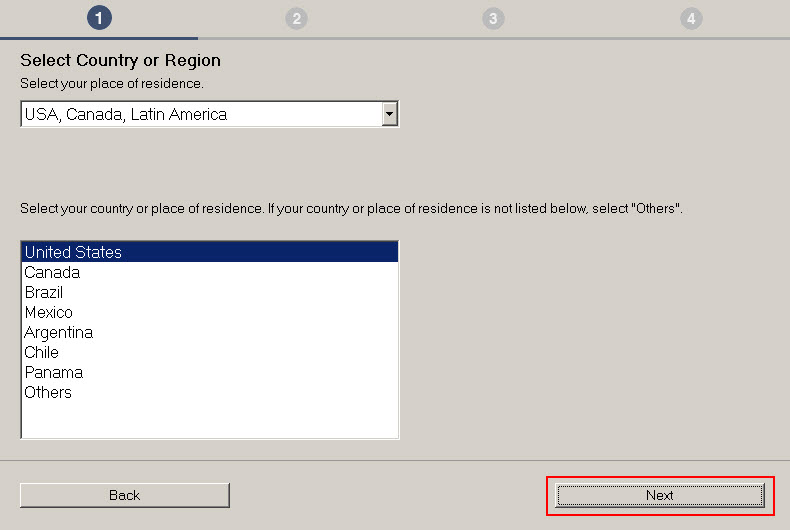
- Select your region and then click Next.
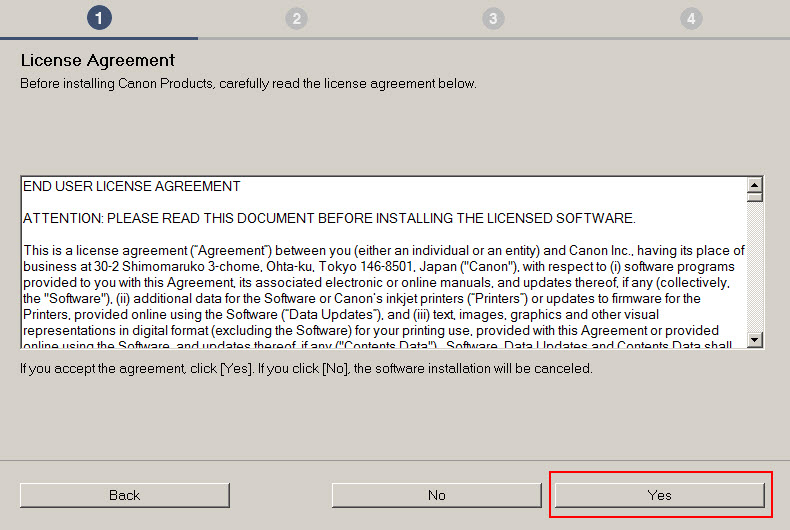
- Read through the License Agreement. Click Yes to proceed. If you click No, the installation will not continue.
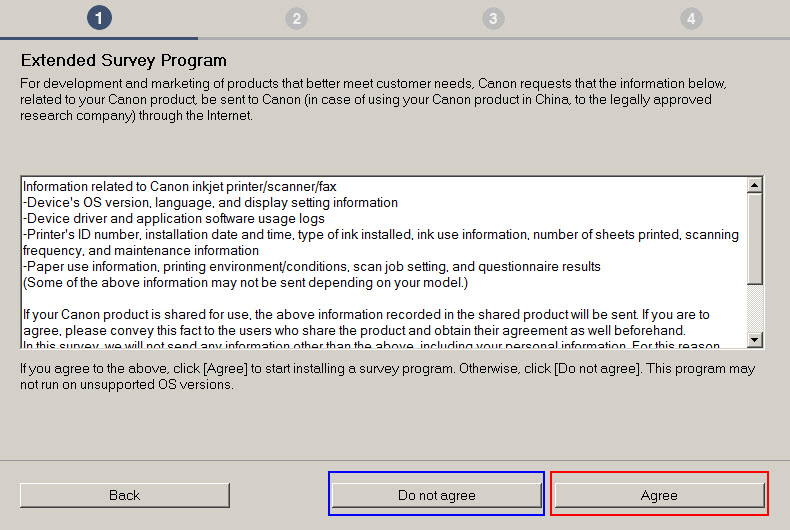
- On the Extended Survey Program screen, scroll down to read through the information requested. Then, click on Agree to participate or Do not agree if you do not want to participate. This is optional. Clicking Do not agree will not affect your ability to use the printer.
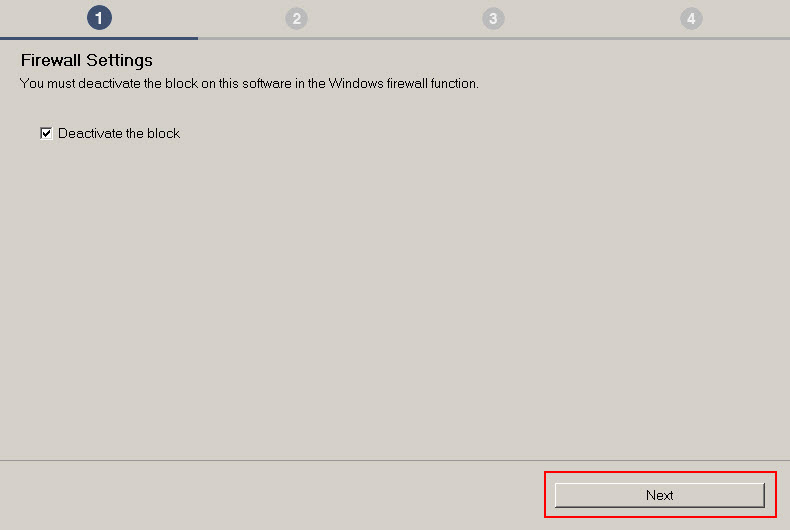
- On the Firewall Settings message, make sure that there is a check in the box for Deactivate the block and click Next.
- On the Select Connection Method screen, click the radio button for USB Connection and click Next.

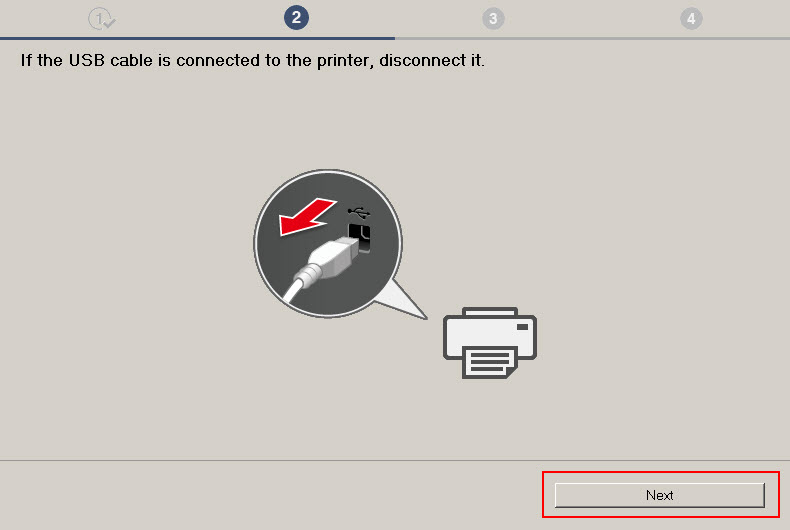
- If you have a USB cable plugged into the printer, disconnect it. Click Next.
- The printer driver will be installed.

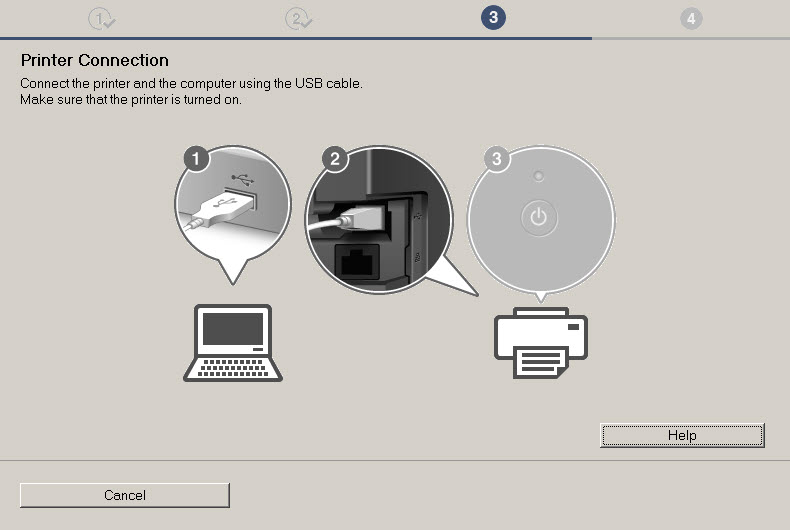
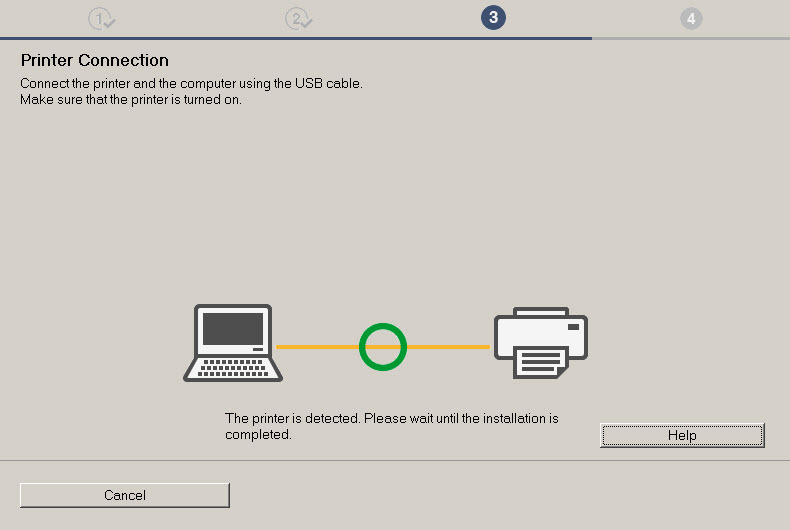
After a few moments, you will be prompted to connect a USB cable between the printer and computer. Connect the cable when prompted.
The installer will detect the printer. After the driver installation has finished, the installer will proceed.
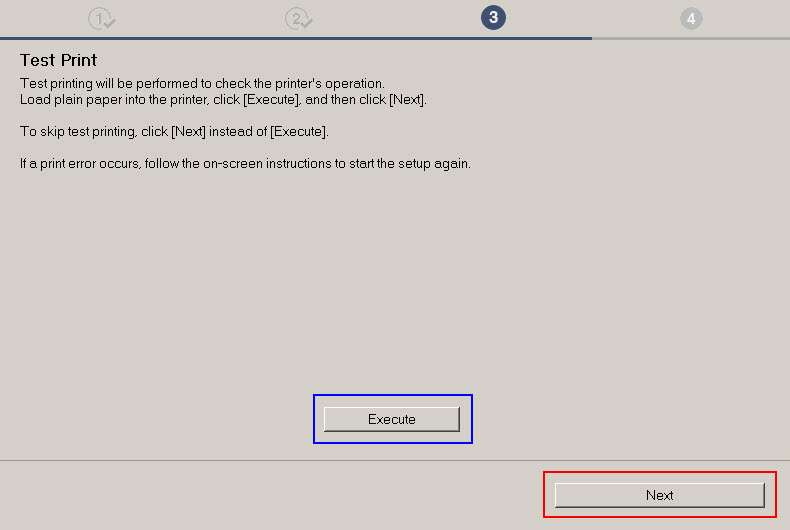
- You may execute a test print to verify that the printer will communicate with your PC. Click Execute if you would like to print a test page. You are not required to print this test page. Click Next to proceed.
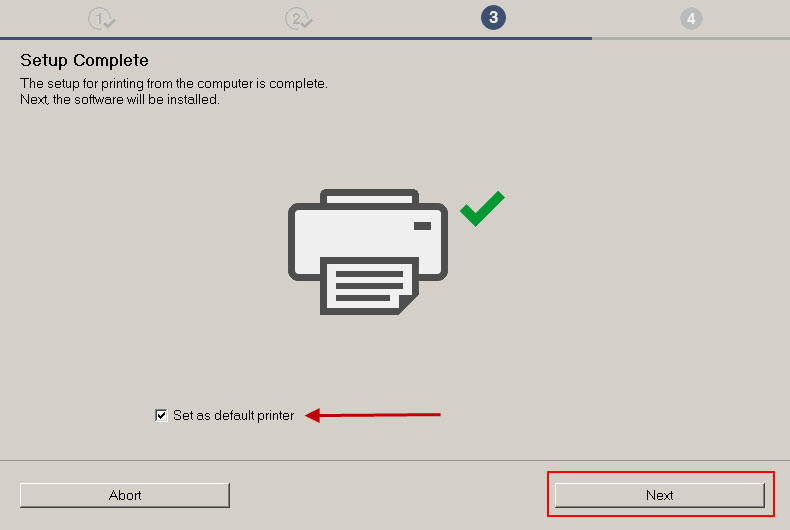
- On the Setup Complete screen, there will be a check in the box for Set as default printer. If this box remains checked, then this printer will be the default printer that your PC will use when you wish to print something. If you have another printer on your PC that you would prefer to use as your default printer, remove the check from this box. Click Next to proceed.
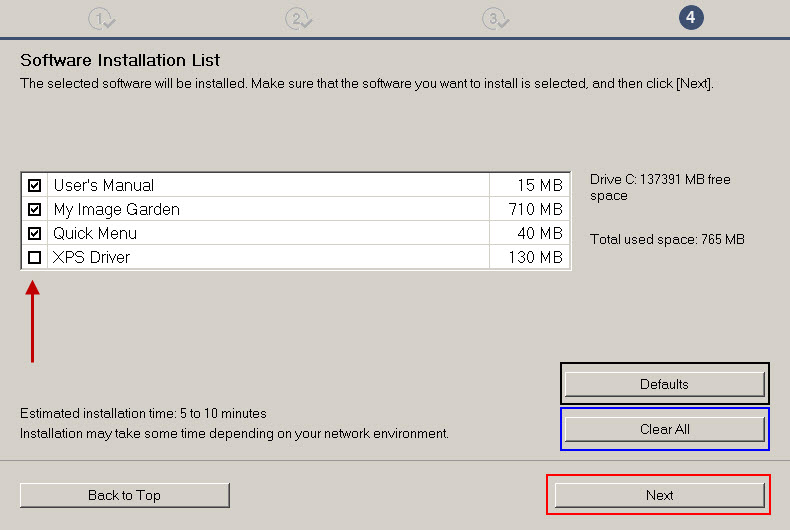
- On the Software Installation List, you will see additional software that can be installed for your printer. Select which items you would like to install and click Next. You can select what to install by clicking on the box to the left of each item listed. A check in the box will install the software. If no check is in the box, it will not be installed. If you do not want to install any additional software, click Clear All. If you want to install the default selection of software for your printer, click Defaults. Click Next to proceed.
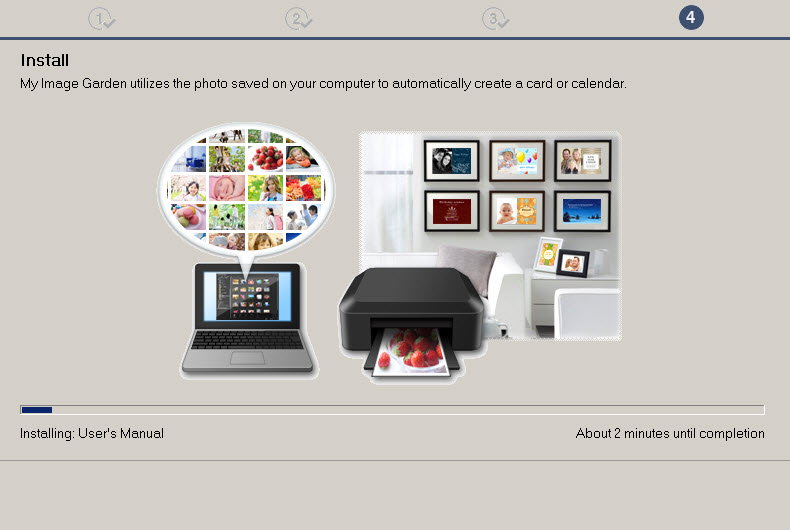
- Any additional software that you selected will now be installed.
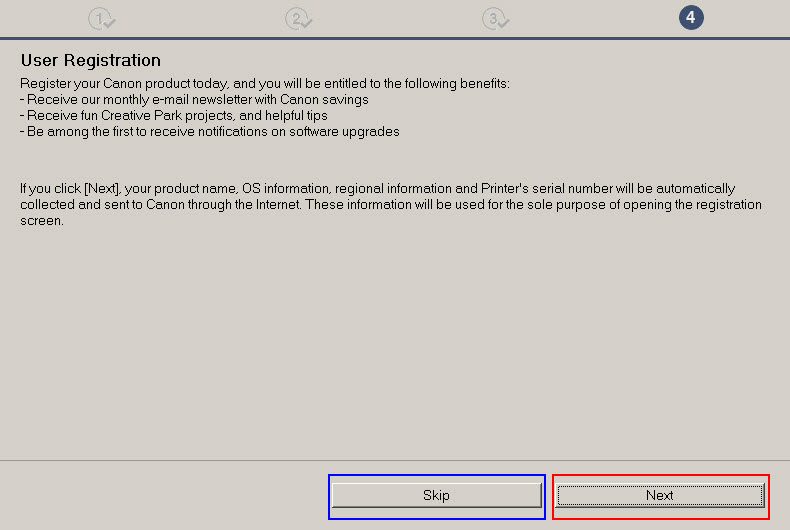
- At the User Registration screen, click Next to go to the Canon USA website to register your printer. If you do not want to register, click Skip. You are not required to register the printer to use it with your PC.
- When Installation completed successfully appears, click Exit.
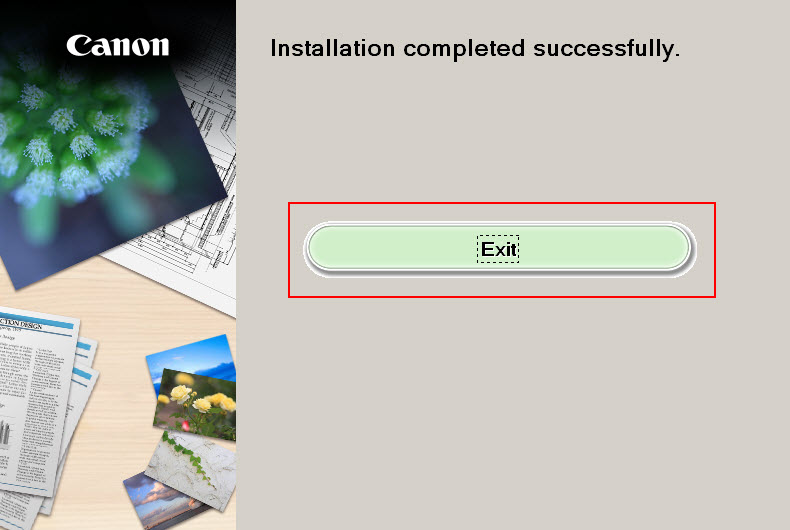
The installation is complete and your printer is now ready for use with your PC.
