Printing Stickers with Easy-PhotoPrint Editor - Windows

Article ID: ART173653 | Date published: 02/05/2019 | Date last updated: 10/21/2019
 

Description

Software application

Solution

Printing Stickers

Create and print ID photos of various sizes.

  1. Start Easy-PhotoPrint Editor.

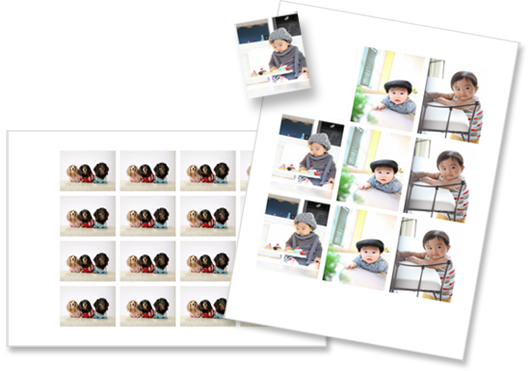
  2. In New screen, click Stickers.

    figure: New screen

    The view switches to the Select template screen.

  3. Select the template you want to use.

    figure: ID Photos screen

    Note

    • To narrow down the templates, set the conditions in the Filter area.

    The Select Paper Size screen appears.

  4. Select paper size and click Next.

    figure: Select Paper Size screen

    The view switches to the Photo Locations screen.

  5. Select the photo(s) you want to use for item.

    Note

    • Select the Add the same image to all frames checkbox to use the same image in all image layout frames.

    The view switches to the Item edit screen.

  6. Edit item according to preference.

    figure: Item edit screen

    Note

  7. Click Next.

    The view switches to the Print Settings screen

  8. Specify printer and paper to use, and other settings.

    figure: Print Settings screen

  9. Click Print.


    Printer Support Home


Rate this Article
Was this article helpful?
Yes, This document is helpful
No, This document needs a clearer explanation
 
Please provide your comments