Read the information taking note of the information concerning warning messages that may appear during setup then click the "Download" button.
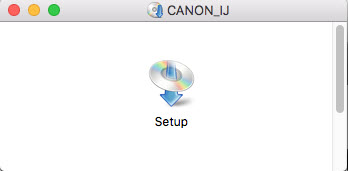
After the file has downloaded, double click the Setup icon to begin the installation program.
Start setup.
If you see this message, click Open.
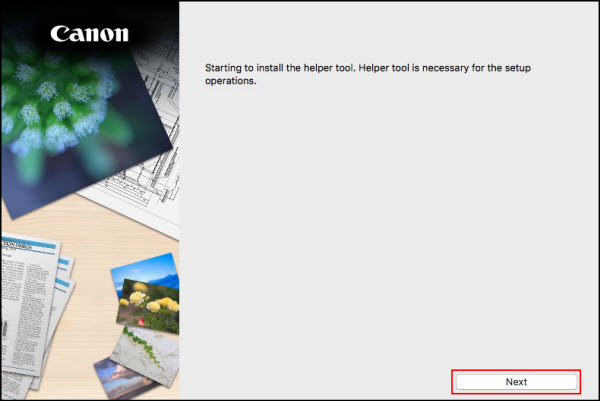
Click Next on the first screen.
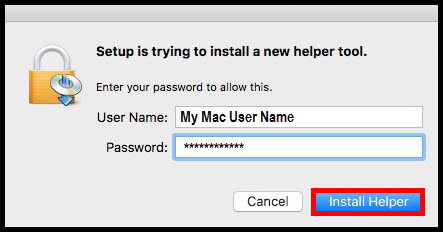
Enter your computer User Name and Password then select Install Helper.
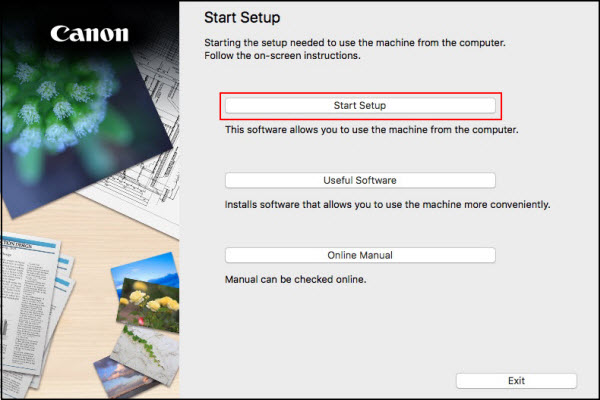
Select Start Setup
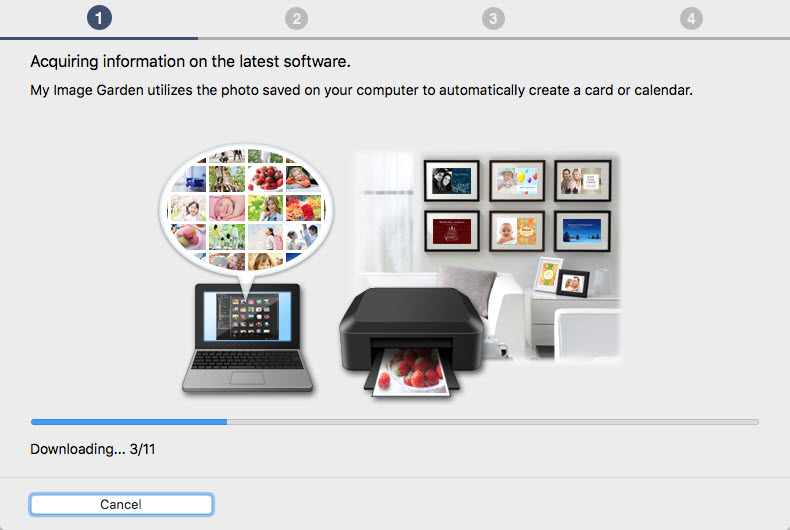
The installer will acquire information on the latest software available for your printer. This may take a few minutes, depending on the speed of your internet connection.
Select appropriate region and click Next
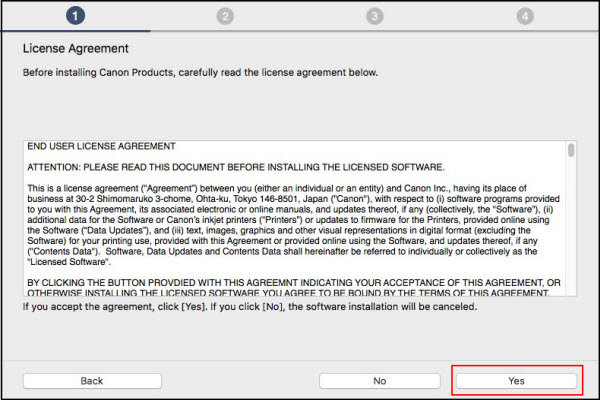
Select Yes on the License Agreement.
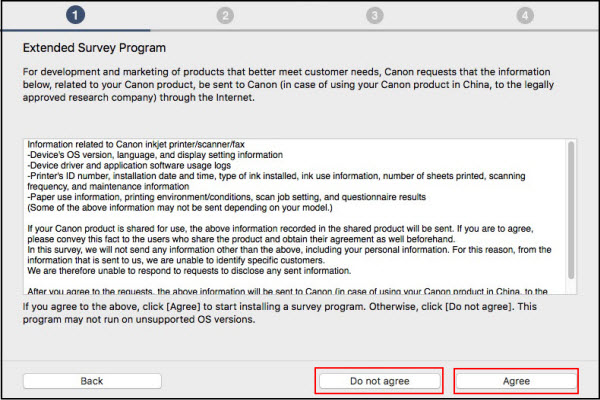
Select Agree or Do Not Agree to the Survey.
Status check occurs
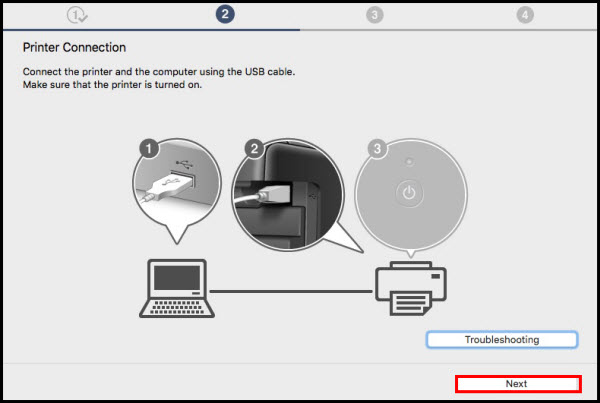
Make sure the printer is powered on. Connect the printer to the computer with a USB cable. Click Next
The following screen will appear after the USB cable has been connected.
The installer will process for a few moments. After this has finished, the screen shown in step 10 will appear.
On the Print Head Alignment Recommended screen, click Next.
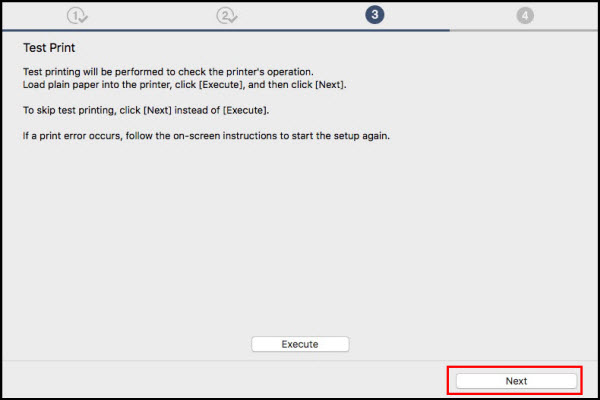
Click Next
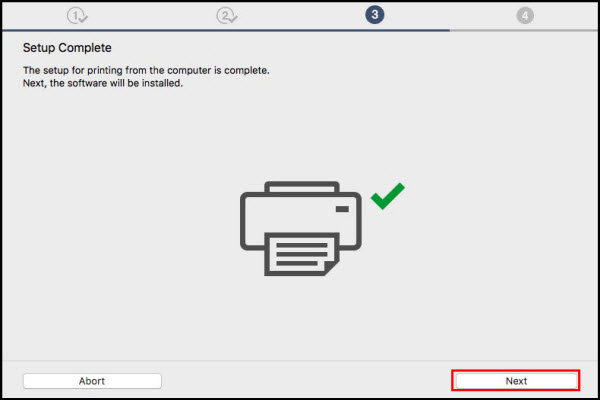
Setup complete. Click Next.
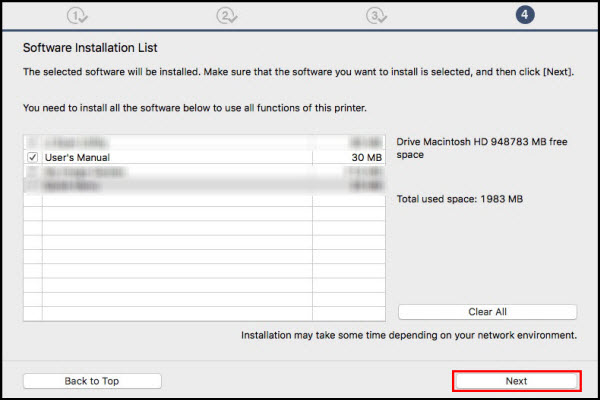
Select any optional application software* desired. Click Next
*Optional software may vary
The setup program will download and install any software that you have selected. This will take a few minutes depending on the speed of your internet connection.
Click Skip or Register.
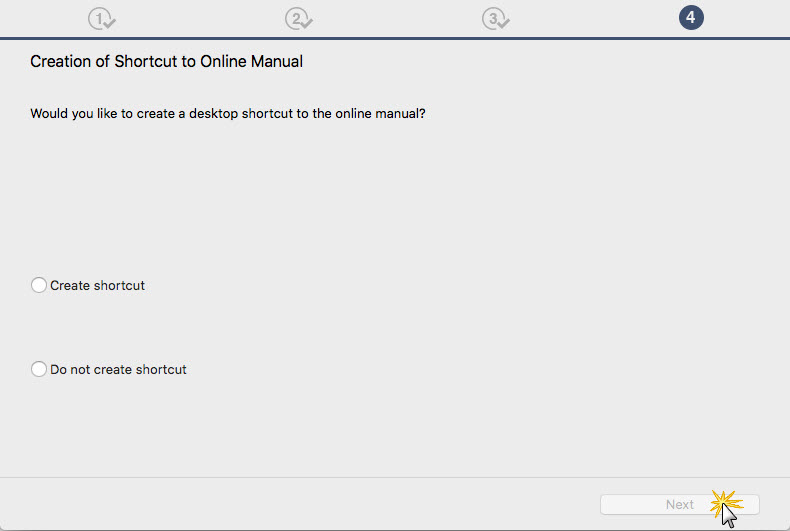
Select whether or not to create a shortcut for the manual. Click Next.