Placing items to be scanned - CanoScan 5600F

Article ID: ART173679 | Date published: 02/14/2019 | Date last updated: 02/14/2019
 

Description

Placing items to be scanned - CanoScan 5600F

Solution

Placing Documents

Learn how to place documents on the machine's Platen. Place documents correctly according to the type of document to be scanned. Otherwise, documents may not be scanned correctly.

Important
  • Close the Document Cover when scanning documents.

  • Place documents as described below to allow the machine to detect the document automatically. When scanning by specifying the document size, always align an upper corner of the document with the corner at the arrow of the Platen, regardless of the document type.

  • Do not place items that weigh 4.4 lbs (2.0 kg) or more on the Platen. Also, do not press on the document with a force exceeding 4.4 lbs (2.0 kg).

  • When scanning film, remove the Protective Sheet from the Document Cover of the machine.

Placing Documents

Placing Film

Placing Documents

When Scanning Photos, Hagaki, Business Cards or CD/DVD

When Scanning Magazines, Newspapers or Text Documents

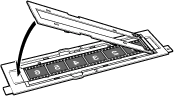
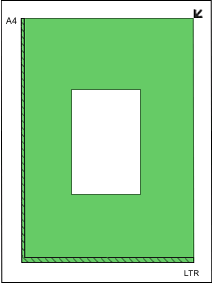
Placing a Single Document

Place the document face-down on the Platen, with 3/8 inches (1 cm) or more space between the edges of the Platen and the document.

Important
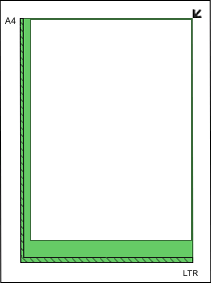
  • If the document is large (such as an A4 photo) and cannot be placed away from the edges/arrow of the Platen, scan by specifying the file format.

  • Reflective CD/DVD labels may not be scanned properly.

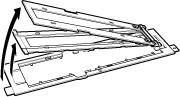
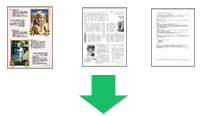
Placing Multiple Documents

Allow 3/8 inches (1 cm) or more space between the edges of the Platen and documents, and between documents.

Note
  • You can place up to 10 documents.

  • Positions of slanted documents (10 degrees or less) are corrected automatically.

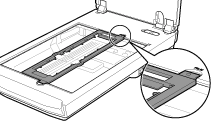
Place the document face-down on the Platen and align an upper corner of the document with the corner at the arrow of the Platen.

Placing Film

35 mm Film Strips

Mounted Slides

  1. Load the film into the Film Guide.

    Open the film holder and place the film on the Film Guide, with the front side of the film (the side on which images appear correctly) facing down.

    Note
    • Make sure that the spaces between frames are aligned with the white lines on the holder.

  2. Place the Film Guide on the Platen.

    Align the tabs on the Film Guide with the FILM marks on the Platen.

  1. Remove the frame for film strips.

  2. Place the Film Guide on the Platen.

    Align the tabs on the Film Guide with the FILM marks on the Platen.

  3. Load the film into the Film Guide.

    Place the front side of the film (the side on which images appear correctly) facing down.


Rate this Article
Was this article helpful?
Yes, This document is helpful
No, This document needs a clearer explanation
 
Please provide your comments