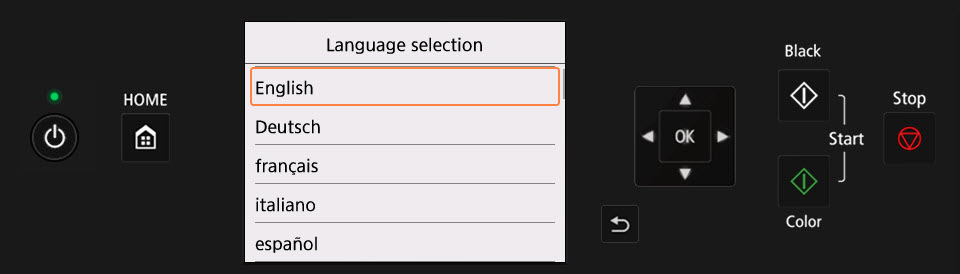
After taking the PIXMA TS5120 out of its box and removing the packing material, the screens below will appear when powering the printer on for the first time.
- You will be asked to select a language to be displayed on the screen. Use the up and down arrows to highlight the language desired, then press the OK button.
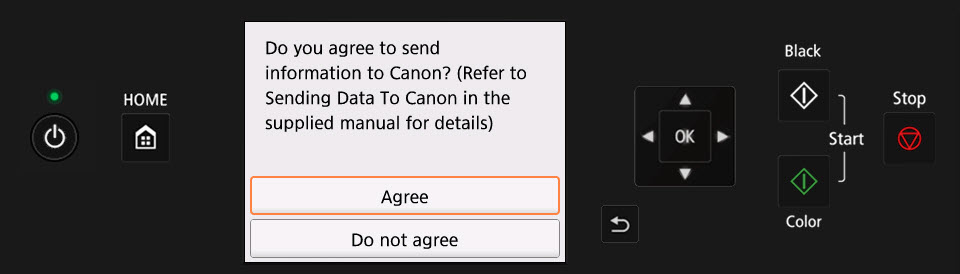
- You will see a message requesting some anonymous usage information from Canon. Use the up and down arrows to read the message, then press the OK button.

You will then be asked if you wish to agree to send anonymous usage information to Canon. Use the up and down arrows to select Agree if you wish to send this information, or Do not agree if you do not wish to send this information. Press the OK button.
If you select Do not agree, the following message will appear:
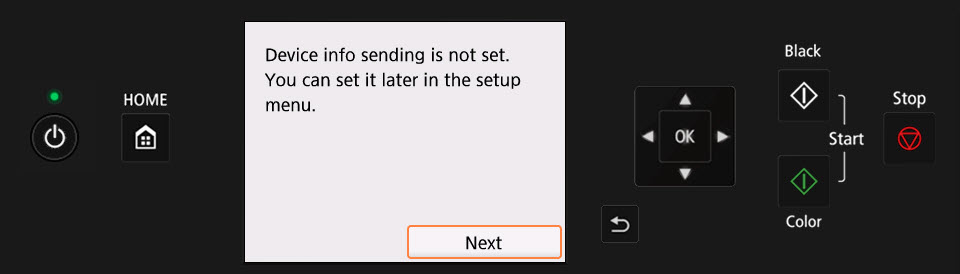
Press the OK button.
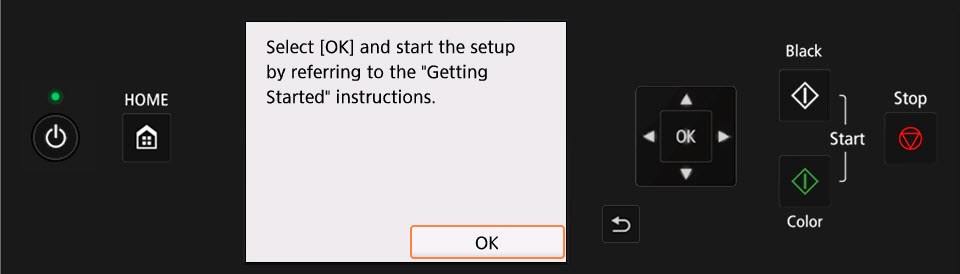
When this message appears, press the OK button.
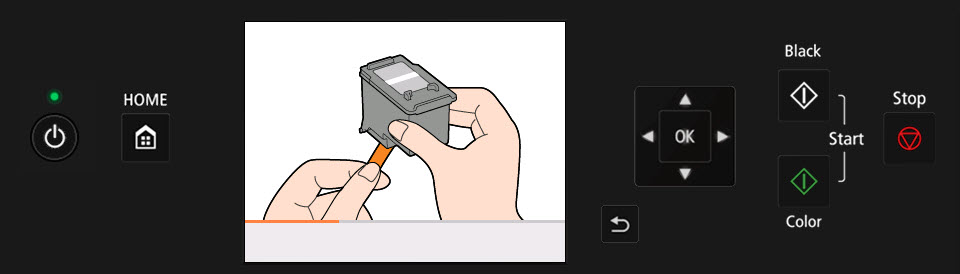
- An animation will play that will show you how to install the inks in your printer.
- The printer will prompt you to prepare a connection for the printer. Press the OK button.

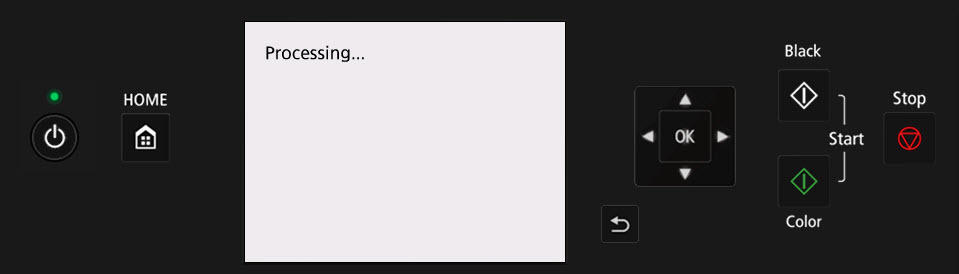
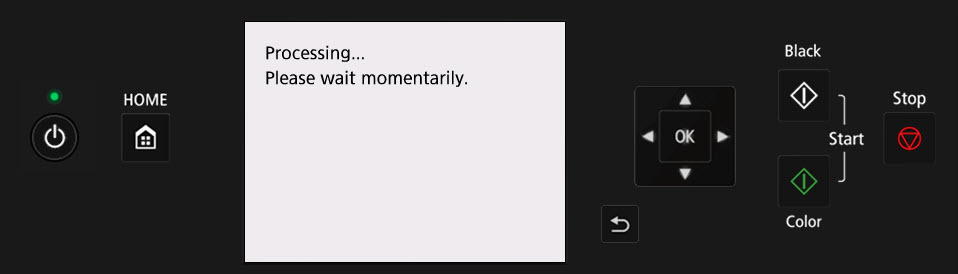
The printer will process for a few moments.
- The printer will display the following message:
The printer is now in Easy Wireless Connect mode. When the printer is in this mode, you can use a Windows PC, a Mac, an iOS device, or an Android device to send information for your wireless network to the printer. This will allow the printer to establish a connection with your wireless network.
If you do not wish to use this connection method, press the Stop button. The following screen will be displayed.
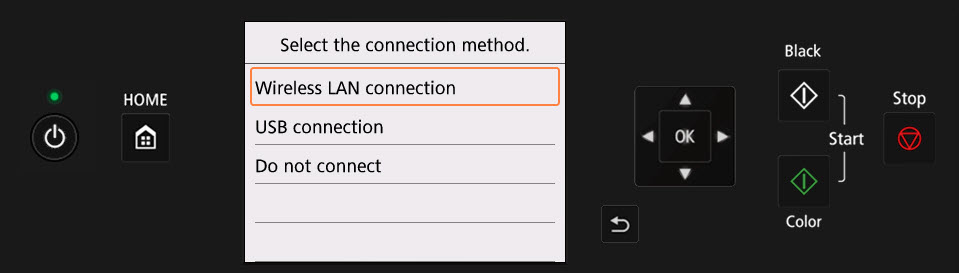
If you wish to use the printer as a standalone copier, use the arrows to select Do not connect and press the OK button. You will be asked to confirm that you do not wish to establish a connection.
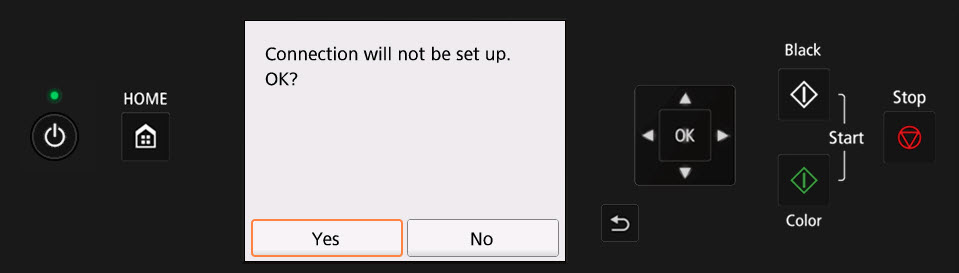
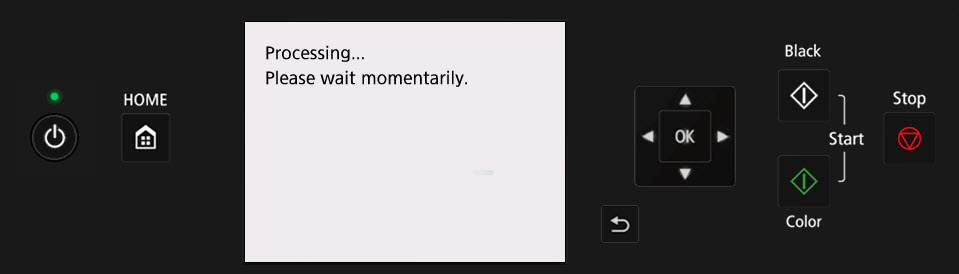
Select Yes and press the OK button if you do not wish to set up a connection for the printer. If you do this, the printer will process for a few moments.
The printer will then display the HOME screen.
If you wish the use the printer via USB, select USB connection on the Select the connection method screen. You will be asked to confirm if you want to connect a computer to the printer using a USB cable. Select Yes and press the OK button to confirm this.

You will need to install the drivers and software for your computer (if you are using a Windows PC), or simply connect a USB cable between the printer and your computer and then download the software (if you are using a Mac).
After selecting Yes and pressing the OK button, the printer will process for a few moments.
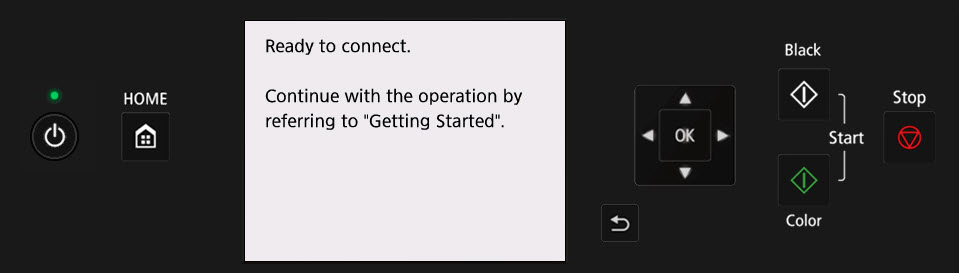
You will then see a message asking you to refer to the Getting Started manual that came with the printer to proceed with the setup.
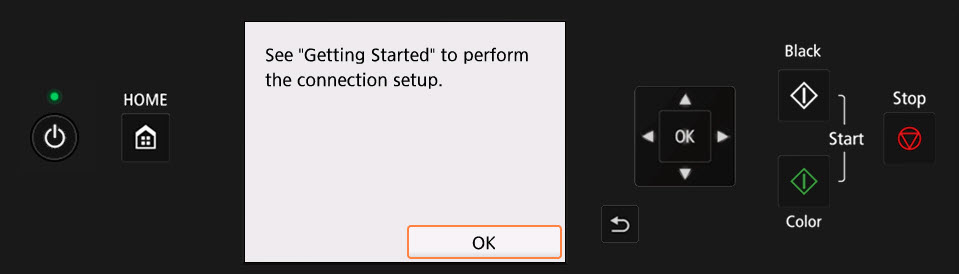
Press the OK button. The HOME screen will appear.
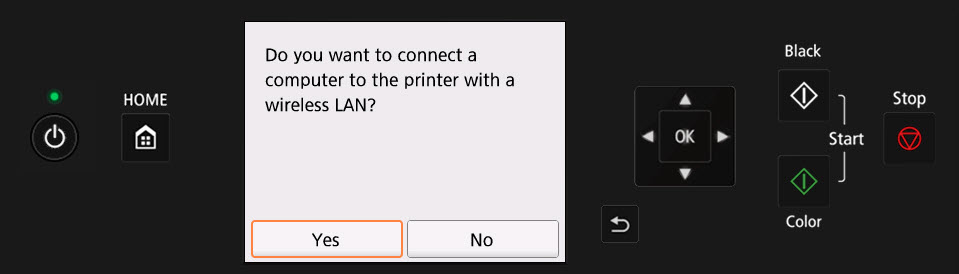
If you wish the use the printer wirelessly, select Wireless LAN connection on the Select the connection method screen and press the OK button. You will be asked to confirm if you want to connect the computer and printer via Wi-Fi. Select Yes and press the OK button.
The printer will process for a few moments.
You will then be asked to select a setup method.
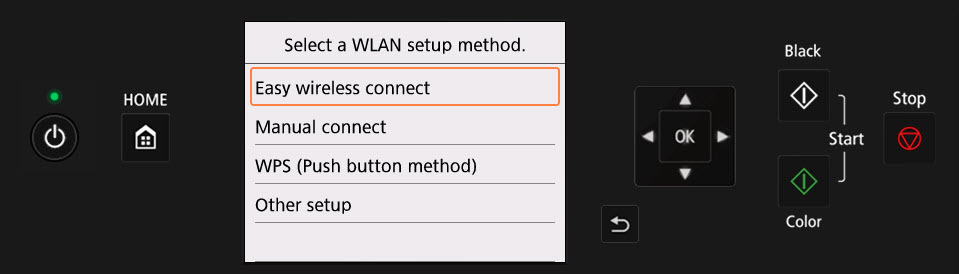
You can select Easy wireless connect, Manual connect, WPS (Push button method), or Other connection types (this includes connecting the printer to a wireless network via the WPS PIN Code method).
Remember that if you use the Easy wireless connect method that you will need to use a Windows PC, a Mac, an iOS device, or an Android device to send information for your wireless network to the printer. This will allow the printer to establish a connection with your wireless network.
After the connection has been established, the printer will display the HOME screen.
TS5120 Page
