This article shows the screens you will see if you use the Easy setup function for faxing on the PIXMA MX722 / MX922.
Solution
When setting up your PIXMA MX722 / MX922, you can set up the fax portion of the machine using the Easy setup function of the printer. You can also set this up at a later time by following these steps:
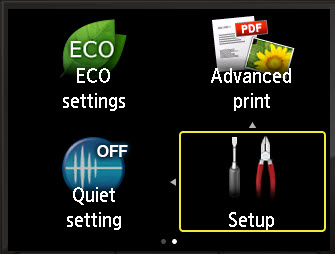
Press the MENU button.
Use the arrows to select Setup and press OK.
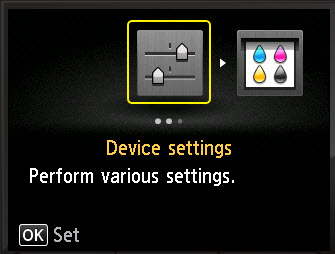
Use the arrows to select Device settings and press OK.
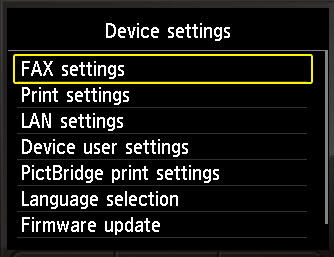
FAX settings will be highlighted. Press OK.
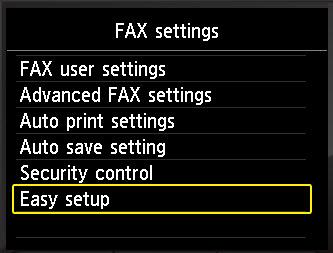
Use the arrows to select Easy setup and press OK.
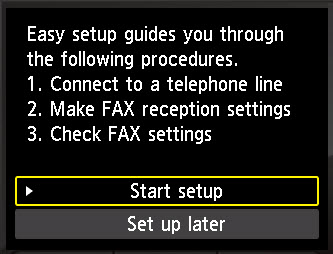
After the Easy setup process has started, follow the steps below.
Start setup will be highlighted. Press OK.
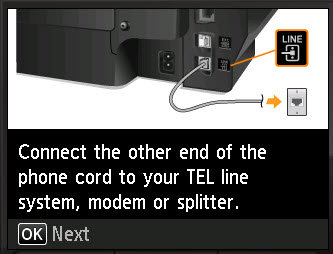
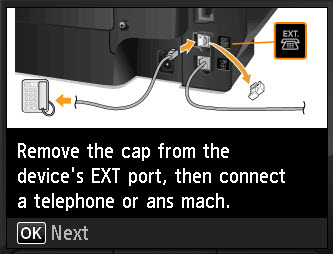
Follow the on-screen instructions. Press OK after each step.
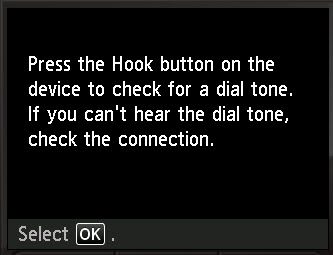
Press the Hook button on the printer to check for a dial tone. If you cannot hear a dial tone, make sure that the phone cord is properly connected and try again.
Press OK to proceed.
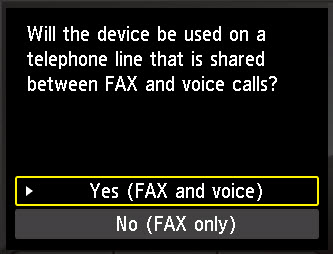
On this screen, use the arrows to make a selection and press OK:
If you select No (FAX only):
The following screen will appear:
Pressing OK will set up the printer in FAX only mode, which will cause the printer to answer all incoming phone calls. This is the setting to use if your PIXMA MX922 is connected to a dedicated fax line.
If you select Yes (FAX and voice):
Proceed to the next step.
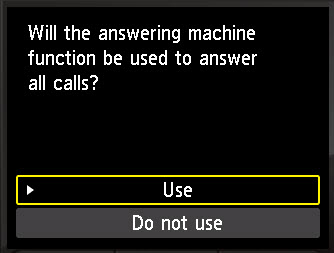
The following screen will appear.
If you have an answering machine, you can plug it into the back of your printer. The printer can be set up to monitor incoming phone calls to see if a fax is coming in. If you want to have an answering machine plugged into the back of the printer and you want the printer to monitor incoming calls, make sure Use is selected and press OK.
If you do not want to have an answering machine plugged into the back of the printer, select Do not use and press OK.

 button.