You can erase images individually or erase all the images at one time in the CF card. Only protected images will not be erased.
Once an image is erased, it cannot be recovered. Make sure you no longer need the image before erasing it. To prevent important images from being erased accidentally, protect them.
Erasing a single image.
1.Display the image.
Press the <> button.
2. Select the image to be erased.
Turn the <> dial to select the image to be erased.
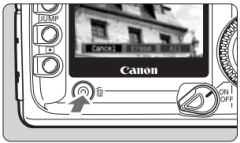
3. Display the erase menu.
Press the <> button.
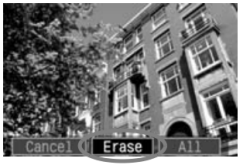
The Erase menu will appear at the bottom of the screen.
4. Erase the image.
Turn the <> dial to select [Erase], then press <>.
The access lamp will blink and the image will be erased.
If there are other images you want to erase, repeat steps 2 to 4.
Erase all images
1. Display the image.
Press the <> button.
2. Display the erase menu.
Press the <> button.
The Erase menu will appear at the bottom of the screen.
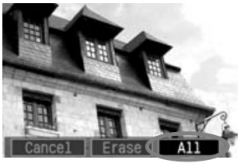
3. Select [All].
Turn the <> dial to select [All], then press <>.
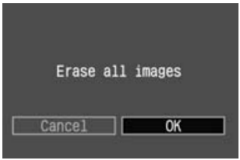
The confirmation dialog will appear.
4. Erase the images.
Turn the <> dial to select [OK], then press <>.
All unprotected images will be erased.
While data is being written to the CF card (access lamp blinking) after continuous shooting, press the <> button and then press the <> button to erase the displayed image or all images. If you select [All] and press the <> button, the images captured during continuous shooting (including those not yet processed) and all the images on the CF card will be erased.

 Once an image is erased, it cannot be recovered. Make sure you no longer need the image before erasing it. To prevent important images from being erased accidentally, protect them.
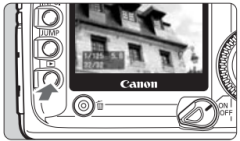
 > button.
 > dial to select the image to be erased.
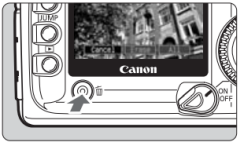

 >.
>.