Once an image is erased, it cannot be recovered. Make sure you no longer need the image before erasing it. To prevent important images from being erased accidentally, protect them. Erasing a RAW+JPEG image will erase both the RAW and JPEG images.
Erasing a single image.
1. Play back the image
Press the <> button.
2. Select the image to be erased.
Press the <> key to select the image to be erased.
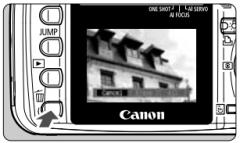
3. Display the Erase menu.
Press the <> button.
The Erase menu will appear at the bottom of the screen.
4. Erase the image.
Press the <> key to select [Erase], then press <>.
The access lamp will blink and the image will be erased.
If there are other images you want to select, repeat steps 2 to 4.
Erasing all images
1. Playback the image.
Press the <> button.
2. Display the Erase menu.
Press the <> button.
The Erase menu will appear at the bottom of the screen.
3. Select [All].
Press the <> key to select [All], then press <>.
The confirmation dialog will appear.
4. Erase the image.
Press the <> key to select [OK], then press <>.
All protected images will be erased.
While the images are being erased, you can cancel the erasure by pressing <>.

 Once an image is erased, it cannot be recovered. Make sure you no longer need the image before erasing it. To prevent important images from being erased accidentally, protect them. Erasing a RAW+JPEG image will erase both the RAW and JPEG images.
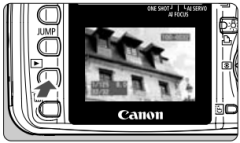
 > button.
 > key to select the image to be erased.
 > button.
 >.
>.