|
|
How to Install the Software from the Setup CD or from the IJSetup Site (Ethernet Setup) (Windows) - G6020
| Article ID: ART174765 |
| |
Date published: 06/18/2019 |
| |
Date last updated: 06/18/2019 |
Description
How do I install the software?
Solution
Your PIXMA G6020 can be set up to work via Ethernet with a Windows PC. Follow the steps below to set up the printer and computer.
 Note Note
- If your printer is already connected to a router with an Ethernet cable and Wired LAN is enabled, skip to step 9.
- Using an Ethernet cable, connect the printer to your router.
- With the printer powered on, press the Setup
 button. button.
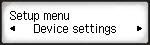
- Press the right arrow until Device settings appears. Then, press OK.
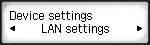
- Press the right arrow until LAN settings appears. Then, press OK.
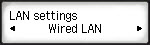
- Press the right arrow until Wired LAN appears. Then, press OK.
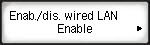
- Enab./dis. wired LAN will be the first option to appear. Press OK.

- Use the arrows to select Enable. Then, press OK.
- Enabling wired LAN disables Wi-Fi and Wireless Direct. Press [OK] will appear on the LCD. Press OK.

Wired LAN will be enabled.
- Insert the Setup CD-ROM that came with your printer. If you receive a prompt asking you to specify what action to take after the Setup CD-ROM has been inserted into the computer, select Run Msetup4.exe. If you do not receive a prompt, open This PC or Computer and navigate to your CD-ROM or DVD-ROM drive (usually D:). Double click Msetup4.exe.
If you do not have the Setup CD-ROM, or if your computer does not have a CD-ROM or a DVD-ROM drive, click here, then click Download. If you are prompted to run or save the file, save it to your computer, then open it. This will launch the Full Driver & Software Package for your printer.
- When the setup program begins, click Start Setup.
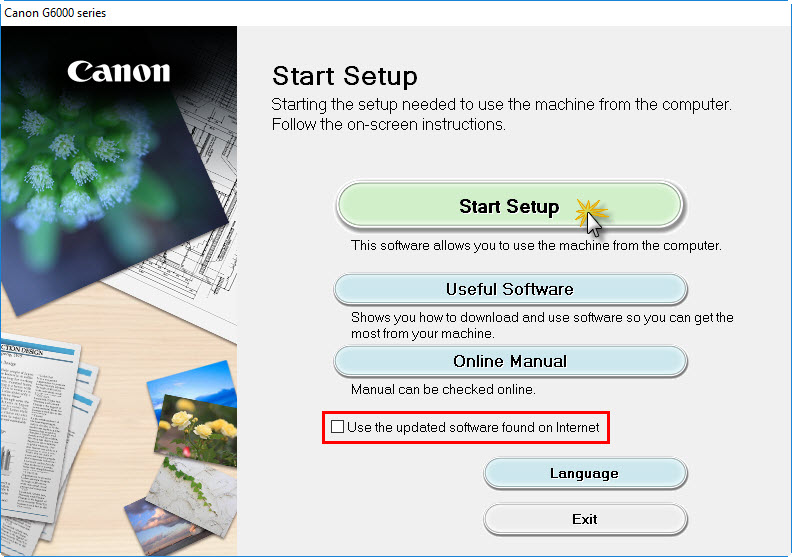
Note
- If you are using the Setup CD-ROM, you will have an option labeled Use the updated software found on Internet. If this box is checked, the setup program will check for the most up to date versions of the drivers and software available for your printer. If the box is not checked, the setup program will install the drivers and software contained on the Setup CD-ROM.
- If you are using the Full Driver & Software Package, Use the updated software found on Internet will not be shown on this screen.
- Click Next.
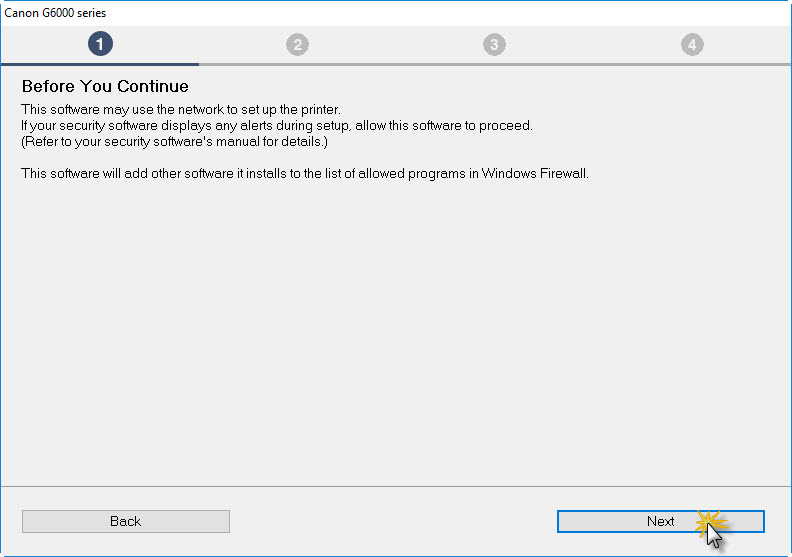
Note
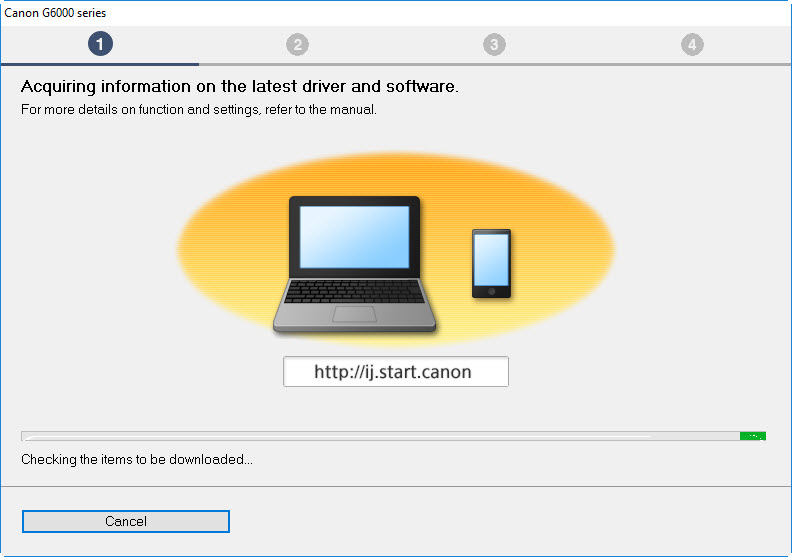
- If you are using the Full Driver & Software Package, or if you are using the Setup CD-ROM and selected the option Use the updated software found on Internet, the setup program will acquire information on the latest drivers and software for your printer. This may take several minutes depending on the speed of your internet connection.
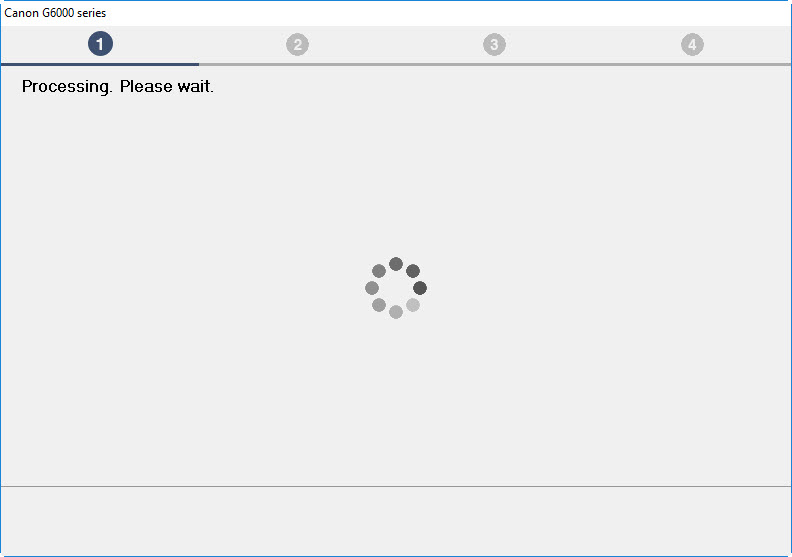
The installer will process for a few moments.
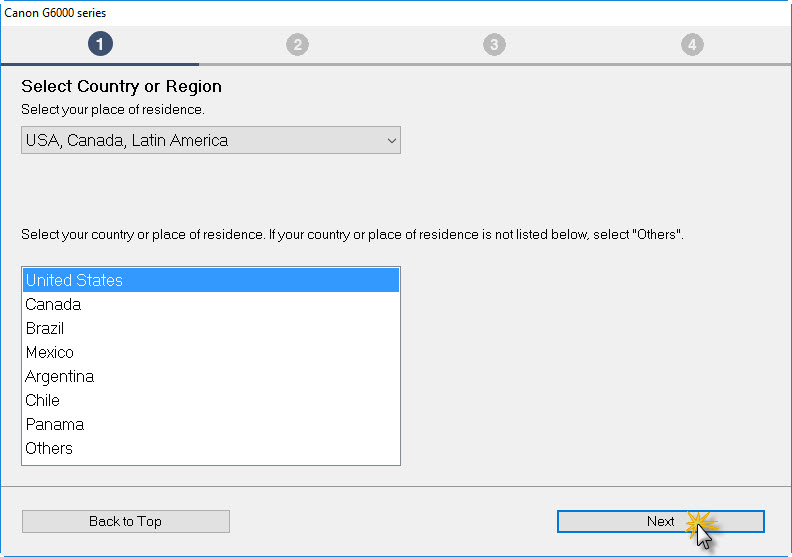
- Select your country or place of residence. Then, click Next.
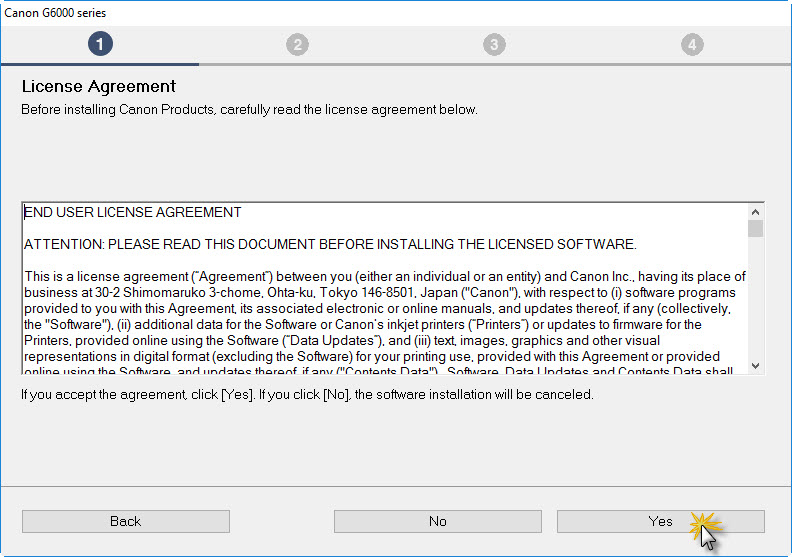
- Read through the License Agreement. Click Yes to proceed.
Note
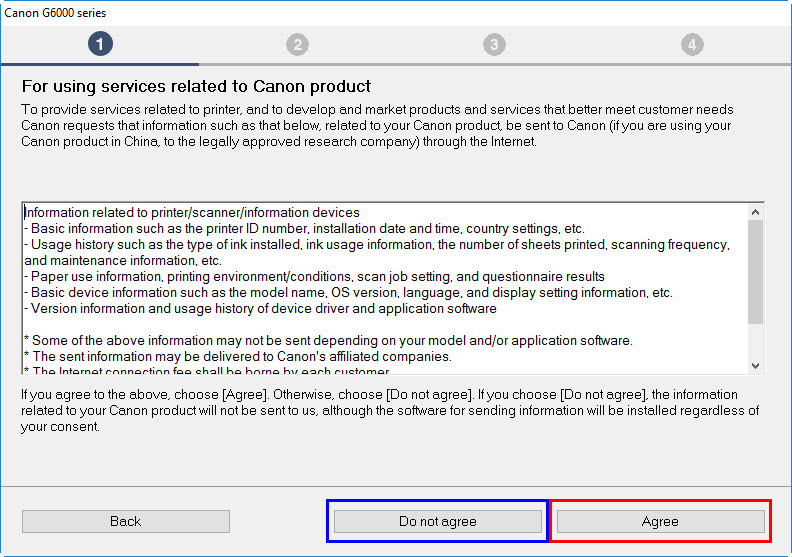
- If you are using the Full Driver & Software Package, or if you are using the Setup CD-ROM and selected the option Use the updated software found on Internet, the setup program will bring up an agreement regarding using services related to your printer. Read this agreement, then click Agree or Do not agree to proceed.
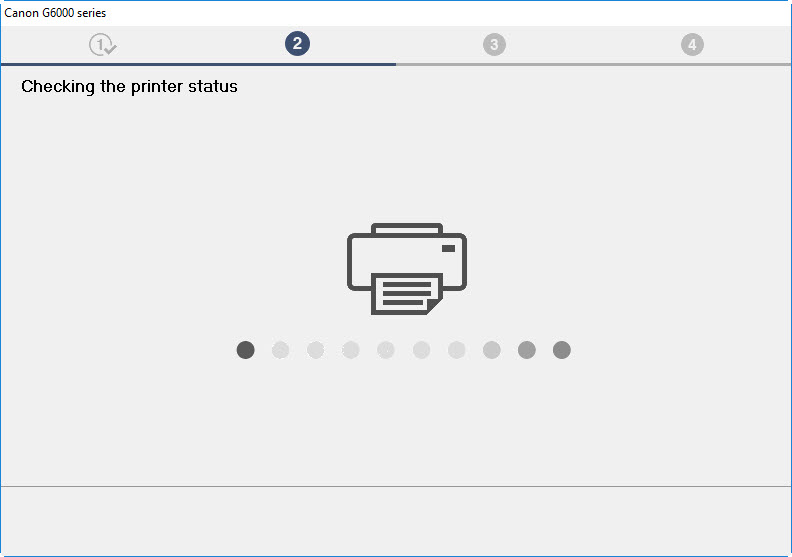
The setup program will process for a few moments and check the printer's status.
- On the Check the Connection Method screen, click Yes.

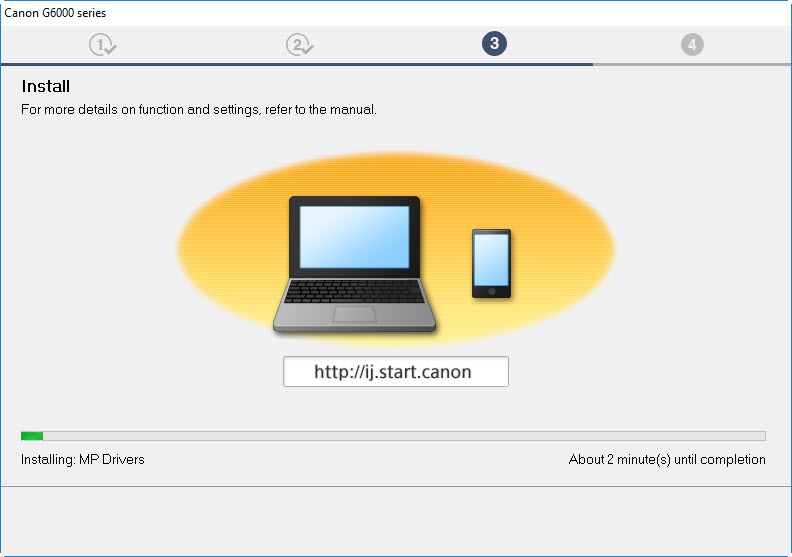
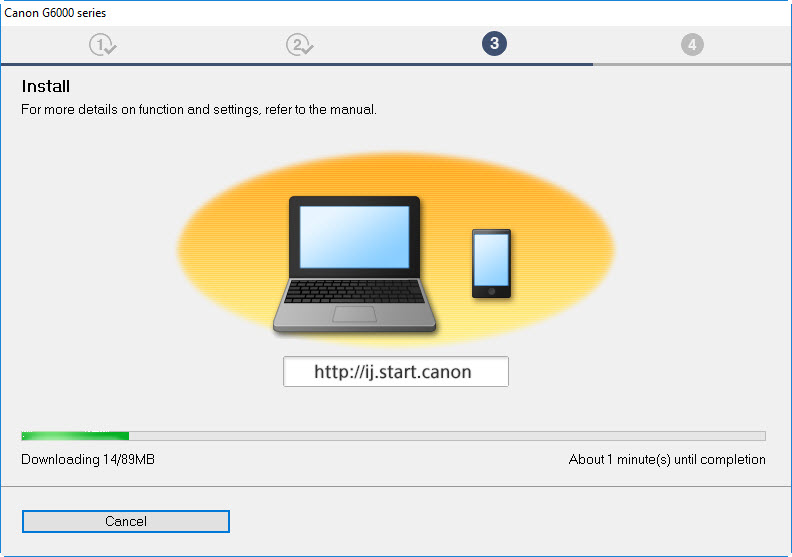
- The setup program will then begin installing the drivers for your printer.
Note
- If you are using the Full Driver & Software Package, or if you are using the Setup CD-ROM and selected the option Use the updated software found on Internet, the setup program will download the drivers for your printer and then begin installing them. This may take several minutes depending on the speed of your internet connection.
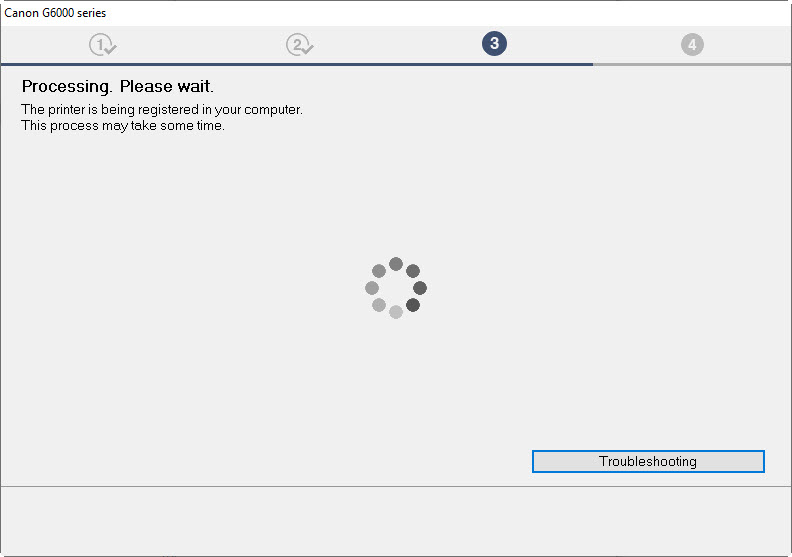
The printer will be registered in the computer. This may take a few moments.
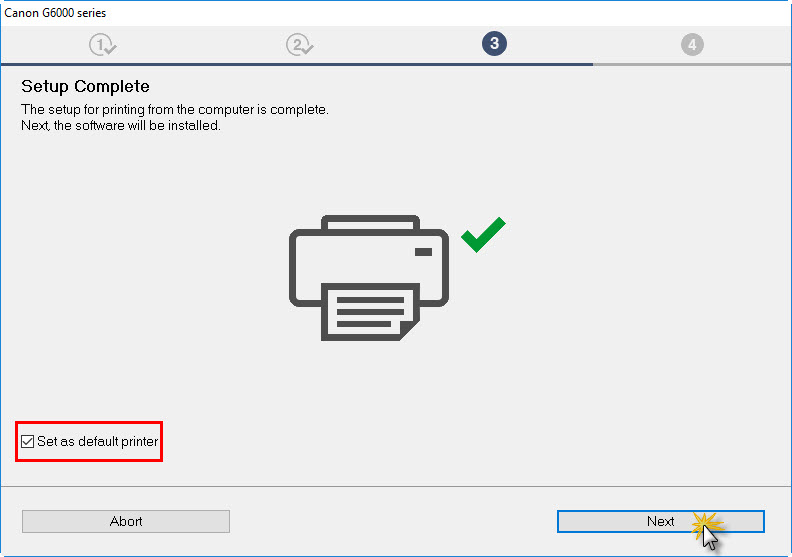
- The Setup Complete screen will appear. If you want this printer to be the default printer for your computer, place a check in the box for Set as default printer. If you have other printers installed and do not want this printer as the default printer, remove the check from this box. Then, click Next.
Note
- If the printer is not detected on the network, make sure of the following:
- If your computer connects wirelessly to your network, make sure it is connected to your specific network.
- Make sure that there is no firewall or other security software currently running that may be blocking communication. If you have firewall or other security software, temporarily disable this software, or configure the software to allow communication with the ports needed for the printer. Refer to the documentation for your firewall or security software for more information.
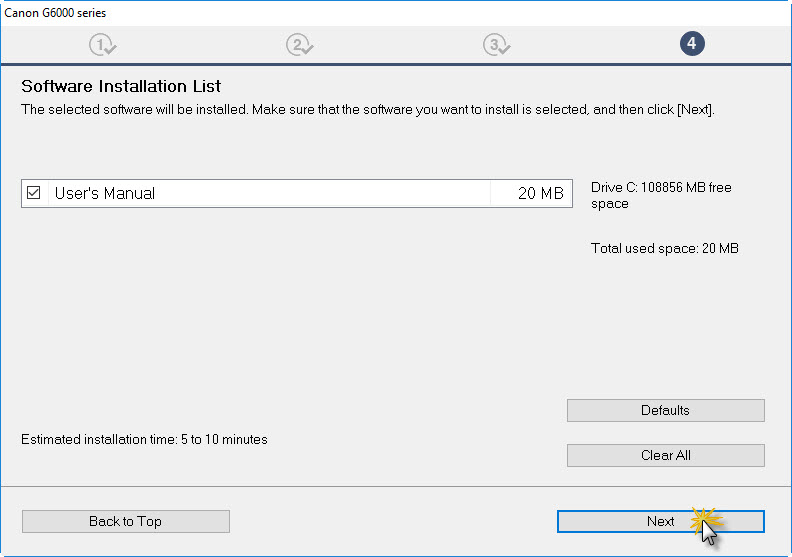
- The Software Installation List will appear. Place a check in the boxes for the software you want to install. Then, click Next.
Note that the software available for installation will vary depending on if you are using the Full Driver & Software Package or if the Setup CD-ROM with the option Use the updated software found on Internet.
Setup CD-ROM:
Full Driver & Software Package or if the Setup CD-ROM with the option Use the updated software found on Internet is selected:
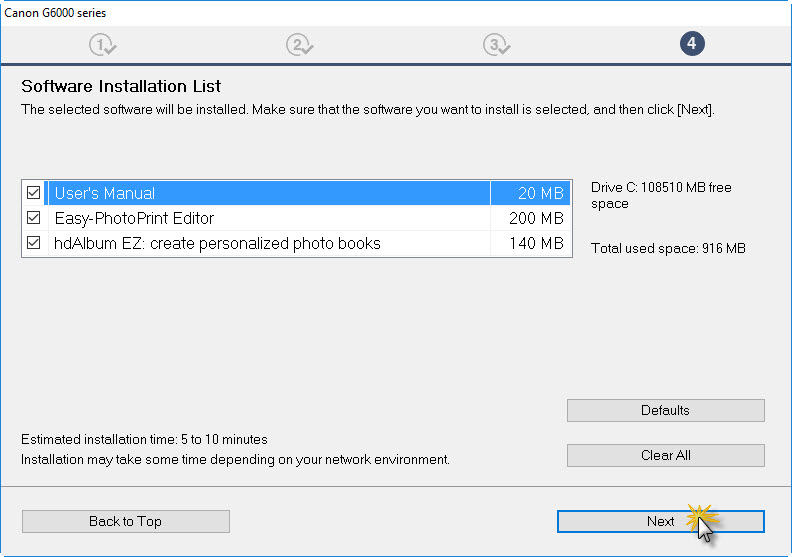
- The chosen software will be installed.
Setup CD-ROM:

Full Driver & Software Package or if the Setup CD-ROM with the option Use the updated software found on Internet is selected:
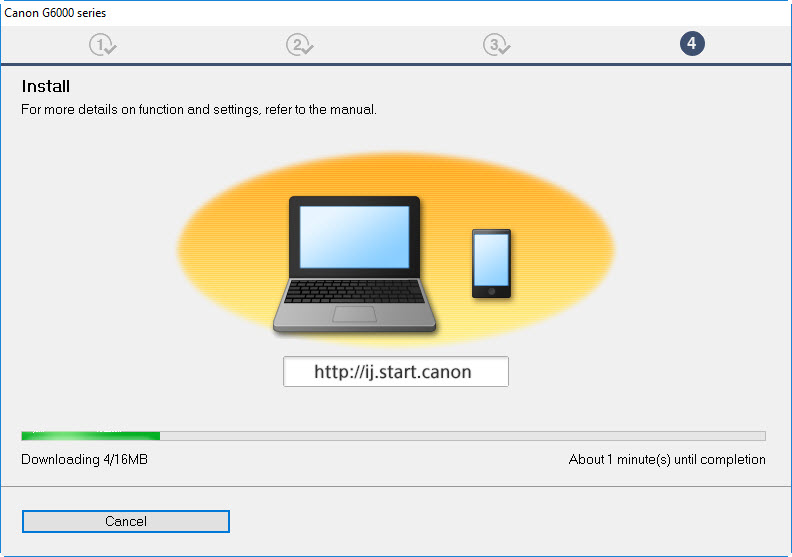
In this instance, the selected software will be downloaded and then installed. This may take several minutes depending on the speed of your internet connection.
If you are using the Setup CD-ROM and you did not select the option for Use the updated software found on Internet, proceed to step 20.
- After the software has been installed, you will be prompted to register your printer. Click Skip to bypass this process, or click Register Now to register your printer. Folloe any on-screen instructions.

- After the installation has completed, click Exit. By default, the option Restart the system now (recommended) will be selected. If you want to restart your system after finishing the installation, leave this box checked and click Exit. If you do not want to restart, remove the check and click Exit.

The drivers and software are installed and your printer is now ready for use with your PC.
|
