To enable or disable IPv6 on your PIXMA G5020, G6020, or G7020, please follow the steps below.
-
With the printer powered on, press the Setup  button.
-
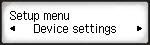
In the Setup menu, press the right arrow  button until Device settings appears. Then, press the OK button.
-
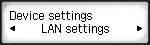
In the Device settings menu, press the right arrow button until LAN settings appears. Then, press the OK button.
-
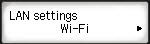
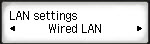
Depending on if you are using your printer wirelessly or via wired LAN (Ethernet), either press the OK button when Wi-Fi is selected, or press the right arrow button until Wired LAN appears. Then, press the OK button.
If you are using the printer wirelessly:
If you are using the printer via a wired LAN (Ethernet):
-
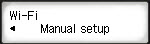
In the Wi-Fi or Wired LAN menu, press the right arrow button until Manual setup appears. Then, press the OK button.
If you are using the printer wirelessly:
If you are using the printer via a wired LAN (Ethernet):

-
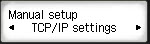
In the Manual setup menu, press the right arrow button until TCP / IP settings appears. Then, press the OK button.
-
In the TCP / IP settings menu, press the right arrow button until IPv6 appears. Then, press the OK button.

-
LAN communication may be disabled. Press [OK] to continue will appear on the screen. Press the OK button.
-
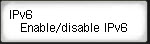
Enable / disable IPv6 will be displayed on the screen. Press the OK button.
-
Use the arrow  buttons to select Enable or Disable. Then, press the OK button.
The printer will process for a few moments, and then IPv6 will be either enabled or disabled depending on what you selected.
If you are using a PIXMA G5020, press the Setup button to return to the standby screen. If you are using a PIXMA G6020 or G7020, press the COPY  button to return to the COPY screen, or press the SCAN
  button to return to the SCAN screen.
If your product issue was not resolved after following the steps above, or if you require additional help, please create or log in to your Canon Account to see your technical support options.
Or if you still need help, visit our Canon Community by clicking the button below to get answers:

____________________________________________________________________________________________
