Removing Jammed Paper from Rear Side
 If paper becomes jammed during printing and you need to turn off the printer to remove it, tap Stop on the touch screen to stop the printing before you turn off the printer.
-
Make sure you have unplugged the power cord.
-
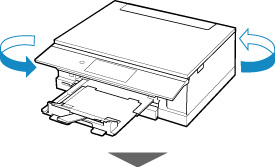
Rotate the printer so that its rear side faces toward you.
-
Open the rear tray cover and then pull up the paper support.
-
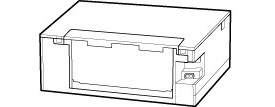
Pull out the rear cover.

-
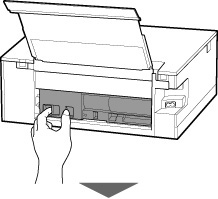
Slowly pull out the paper.
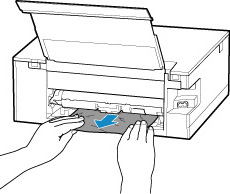
Do not touch the inner parts of the printer.
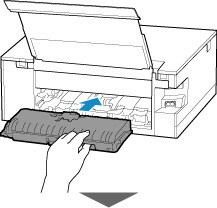
If you were not able to remove the paper in this step, detach the transport unit cover and remove the paper by following these steps.
-
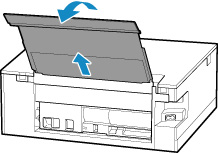
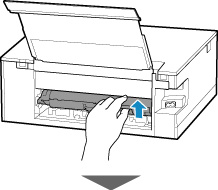
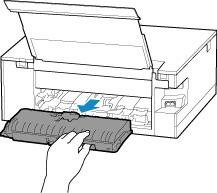
Lift up the transport unit cover and pull out it.
-
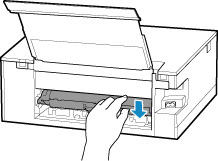
Slowly pull out the paper.
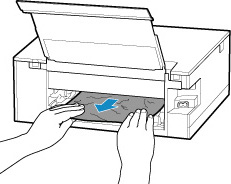
Do not touch the inner parts of the printer.
-
Make sure all jammed paper is removed.
-
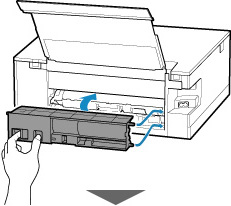
Insert the transport unit cover slowly all the way into printer and take down the transport unit cover.
-
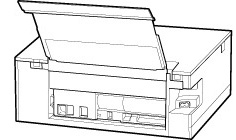
Insert the projections of the right side of the rear cover into the printer, and then push the left side of the rear cover until it is closed completely.
The print data that was sent to the printer is erased. Redo the printing.
When reloading the paper, make sure you are using suitable paper and loading it correctly.
For support and service options, sign into (or create) your Canon Account from the link below.
My Canon Account
