If you would like to specify a save location for images scanned with IJ Scan Utility, follow the steps below.
macOS users, please click here.
Windows
-
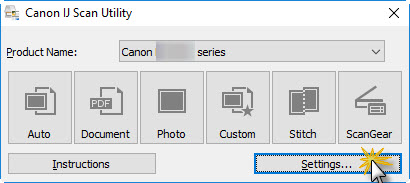
Start IJ Scan Utility.
-
Click Settings.
-
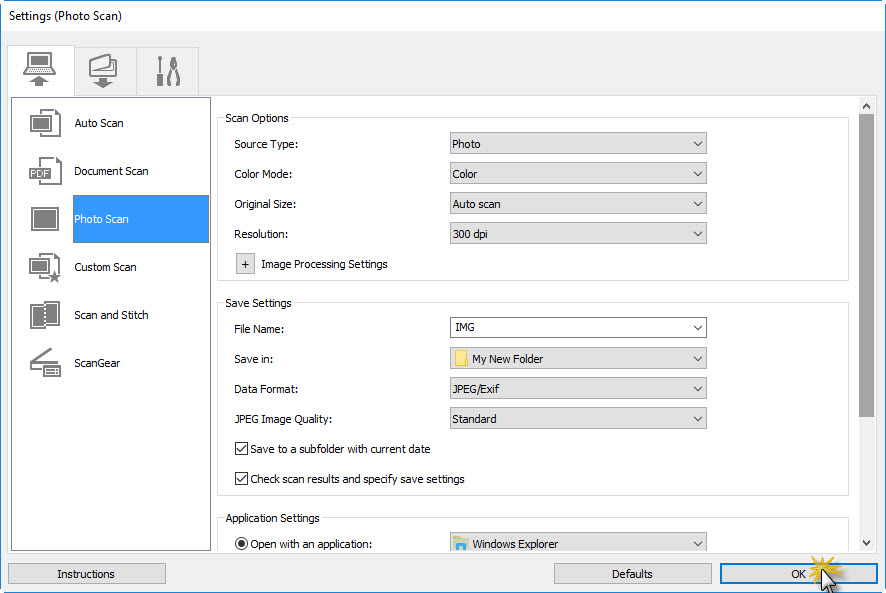
Click on the appropriate scan option on the left, depending on what you are scanning. In this example, Photo Scan is selected.

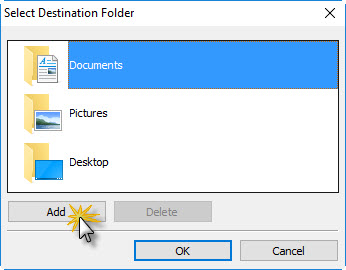
Click the Save in drop down menu and click Add....
-
In the Select Destination Folder window, click Add.
-
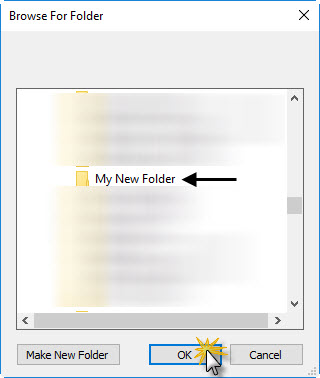
In the Browse for Folder window, find the folder that you want your saved images to go to. Click that folder, then click OK.
-
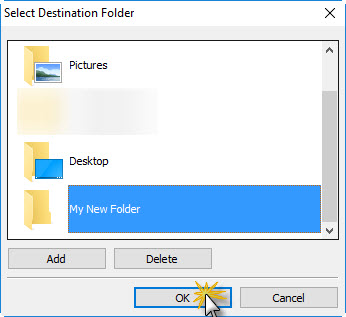
In the Select Destination Folder window, the folder you selected will now be listed. Make sure it is highlighted, then click OK.
-
In the Settings window, make sure that the folder you specified is selected for Save in:. Then, click OK.
-
Proceed with scanning.
Return to top
macOS
-
Start IJ Scan Utility. Depending on your model, you'll open IJ Scan Utility, IJ Scan Utility2, or IJ Scan Utility Lite.
-
Click Settings.
-
Click on the appropriate scan option on the left, depending on what you are scanning. In this example, Photo Scan is selected.
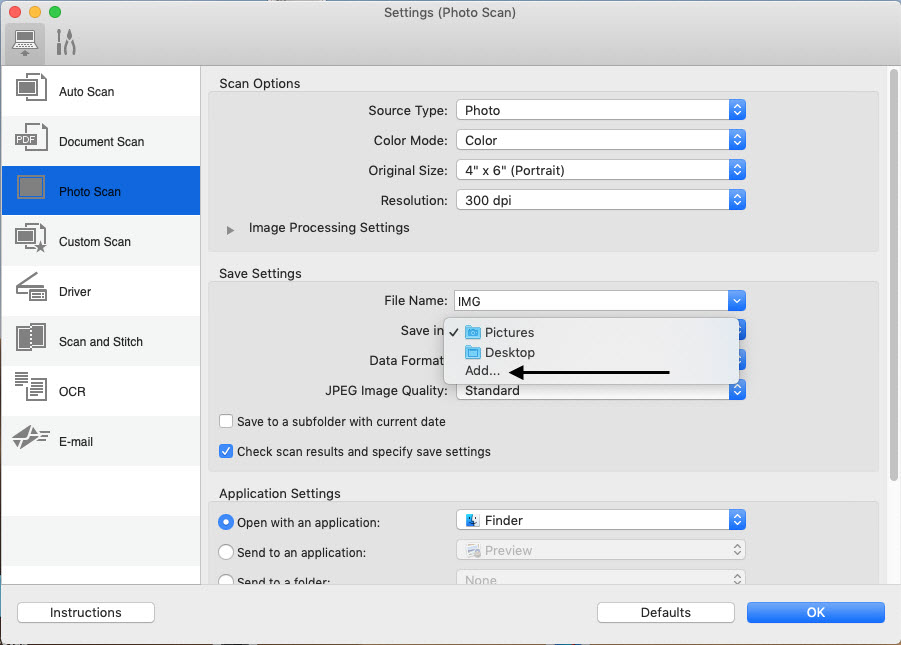
Click the Save in drop down menu and click Add....
-
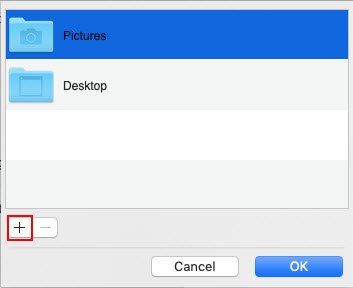
Click the Plus (+) sign.
-
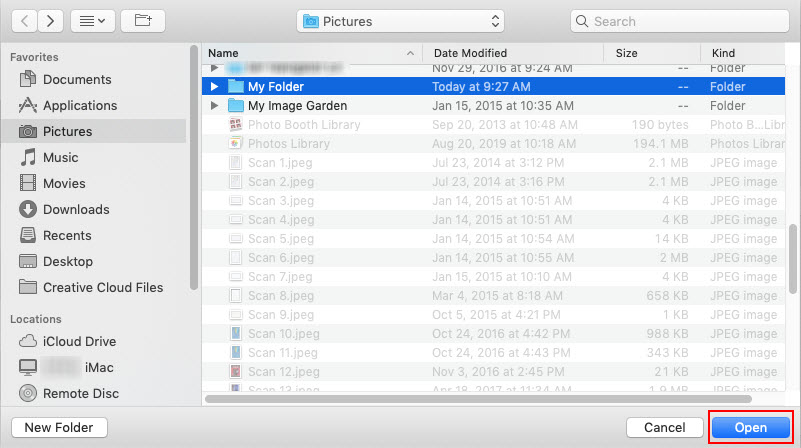
Find the folder that you want your saved images to go to. Click that folder, then click Open.
-
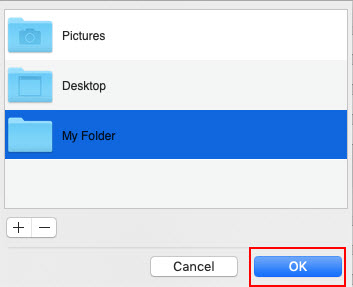
The folder you selected will now be listed. Make sure it is highlighted, then click OK.
-
In the Settings window, make sure that the folder you specified is selected for Save in:. Then, click OK.

-
Proceed with scanning.
Return to top
