Sending Images to a Computer Automatically (PowerShot G7 X Mark III)
Article ID: ART175374
|
Date published: 09/17/2019
|
Date last updated: 09/17/2019
Description
Images on the camera can be automatically sent to a computer connected to an access point (also set up for camera Wi-Fi connections) when the camera is within range, as when you bring the camera home after shooting.
Solution
Connecting via Wi-Fi
Connect the computer to the access point.
Install Image Transfer Utility 2 on the computer.
Start Image Transfer Utility 2.
In Image Transfer Utility 2, access the pairing settings screen.
The screen to set up pairing is shown when you follow the instructions displayed the first time Image Transfer Utility 2 starts up.
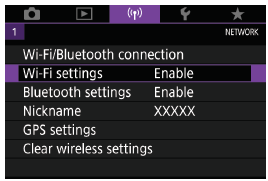
[Wi-Fi settings]
[Auto send images to computer] --> [Auto send] --> [Enable]
[OK]
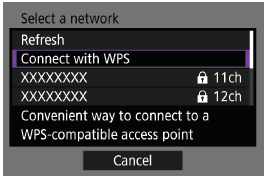
[Connect with WPS] --> [WPS (PBC mode)] --> [OK]
Press the WPS button.
Press the WPS button on the access point to allow the camera to connect.
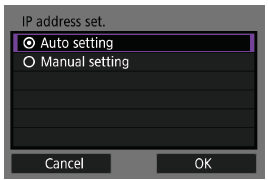
[Auto setting] --> [OK]
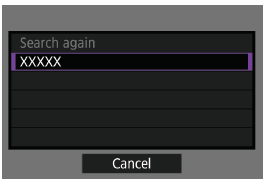
Choose a computer.
Choose a computer for auto image transfer and press the button.
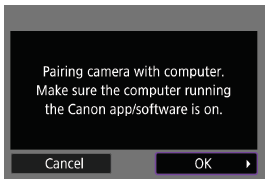
On the computer, chose the camera for pairing.
Camera nicknames are shown on the pairing screen in Image Transfer Utility 2.
Choose the camera to connect to and click [Pairing] to connect the computer and camera.
Setting Up Auto Image Transfer
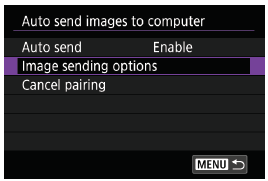
Specify the sending options.
For [Auto send images to computer] in step 5, choose [Images sending options] and specify the transfer comditions.
Turn the camera off.
Sending Images Automatically
Following the sending options in step 12, images on the camera are automatically sent to the computer you are logged in to when you bring the camera within range of the access point and turn the camera on.


 [Wi-Fi settings]
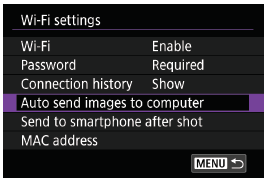


 button.