|
PIXMA TR4520
|
PIXMA G4200
|
PIXMA G2200
|
MAXIFY MB5420
|
|
PIXMA TR8520
|
CanoScan LiDE210
|
PIXMA MG7720
|
PIXMA G6020
|
|
PIXMA MG5620
|
PIXMA TS8120
|
PIXMA TS5120
|
PIXMA TS9020
|
|
PIXMA G4210
|
CanoScan LiDE 300
|
PIXMA TS8020
|
PIXMA MG3620
|
|
PIXMA TS6320
|
PIXMA MG7520
|
PIXMA MG4220
|
PIXMA MG3020
|
|
MAXIFY MB2120
|
PIXMA MG2420
|
PIXMA MG2520
|
PIXMA TS9120
|
|
PIXMA TS3120
|
MAXIFY MB2720
|
PIXMA MG2920
|
PIXMA TS3320
|
|
PIXMA MG2922
|
CanoScan LiDE 400
|
PIXMA MG5720
|
PIXMA MG3520
|
|
PIXMA TS9520
|
PIXMA TS5020
|
PIXMA G5020
|
MAXIFY MB5120
|
|
PIXMA TS6020
|
PIXMA MG5520
|
PIXMA MG5522
|
PIXMA MG2525
|
|
PIXMA TS8320
|
PIXMA MP230
|
PIXMA MP280 w/ PP-201
|
PIXMA MG3220
|
|
MAXIFY MB5320
|
MAXIFY MB2320
|
PIXMA MG3522
|
PIXMA MP280
|
|
PIXMA TS8220
|
MAXIFY MB2020
|
PIXMA MG6620
|
PIXMA MG2924
|
|
MAXIFY MB5020
|
PIXMA TR7520
|
CanoScan LiDE110
|
|
Basic Steps for Scanning with Image Capture - macOS
| Article ID: ART175508 |
| |
Date published: 10/22/2019 |
| |
Date last updated: 10/22/2019 |
Description
This article will provide basic information on scanning with Image Capture on macOS.
Solution
Image Capture is a program included with macOS that will allow you to scan photos or documents into your computer. Follow the steps below to scan photos or documents into your computer using Image Capture.
 Important Important
- Depending on your model, you will need to have an ICA driver installed on your Mac in order to use Image Capture. Some models, such as the PIXMA TS8220, use AirPrint for scanning, which means that a driver does not have to be installed.
- In Finder on your Mac, click Go --> Applications.
- In the Applications folder, double click Image Capture.
- When Image Capture starts, an overview (preview) scan is performed. This will show you what is loaded on the scanner. If this does not happen, click on your Canon product on the left side of the window, under DEVICES or SHARED.
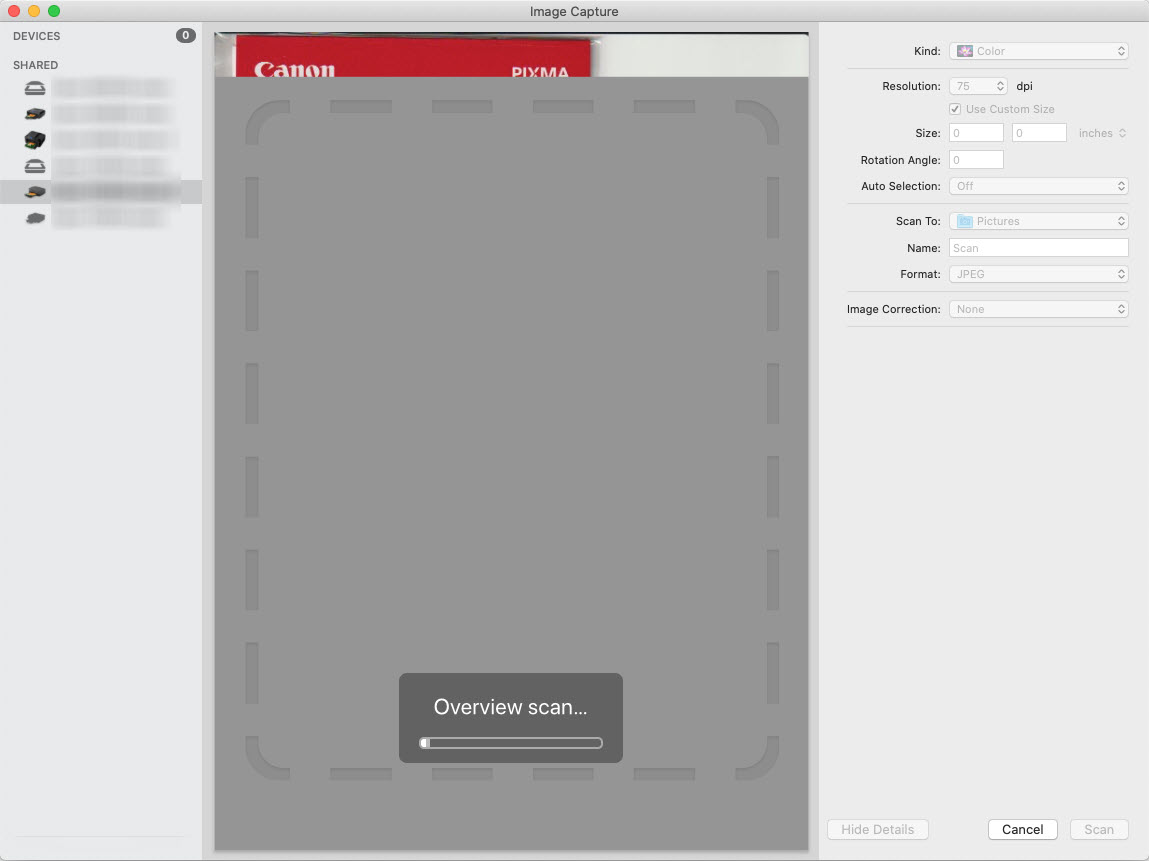
Note: If your Image Capture Window shows fewer options, click Show Details at the bottom of the window.
- After the overview scan has finished and you see an image of what is on the scanner, you will see a cropping box around the item placed on the glass. You can adjust this cropping box as desired.
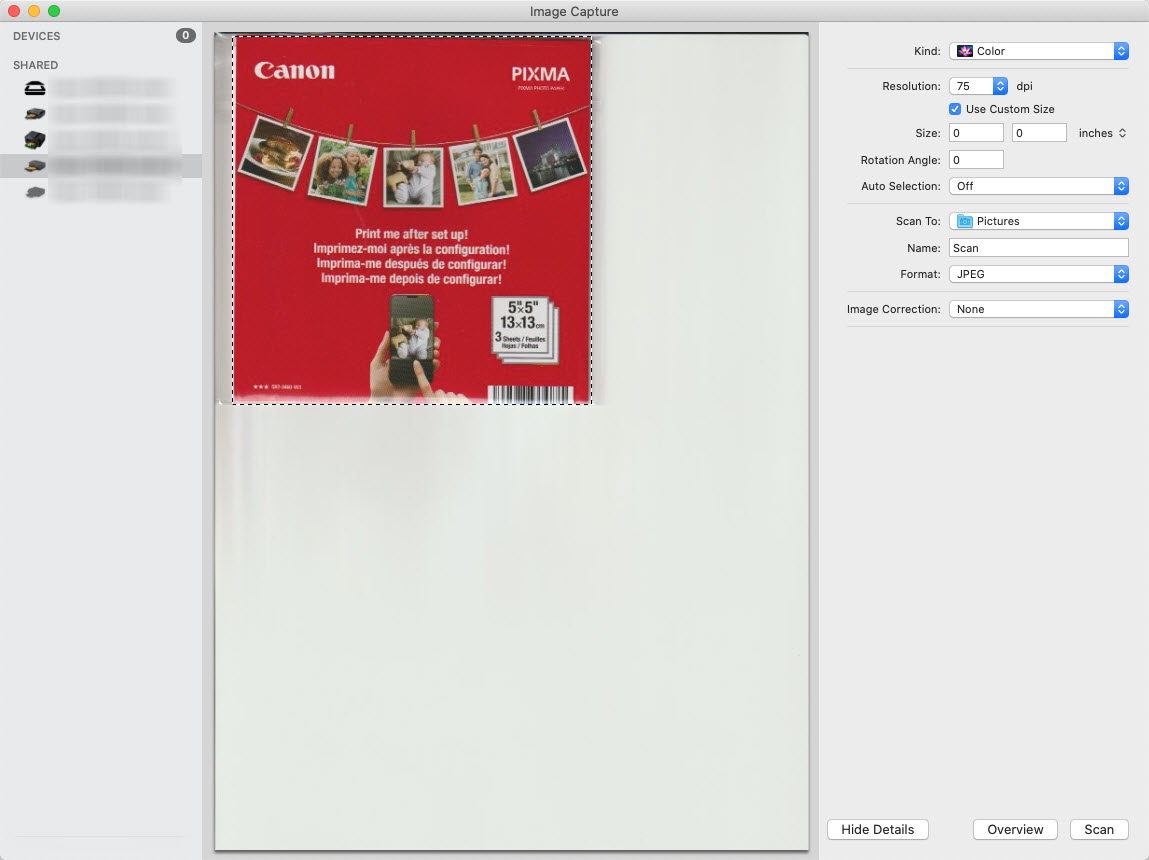
You will also have several options to the right.
If Use Custom Size is selected, this is what will allow you to manually adjust the cropping box in this window. You can also specify the size of the area that you want to scan by typing in the desired size in the boxes provided.
If it is unchecked, a list of sizes will appear in a pop-up menu, such as Letter, A4, 5" x 7", etc.
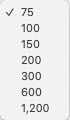
Resolution will allow you to specify what resolution you want your image to be scanned at. The choices available in this pop-up menu may vary based on your model.
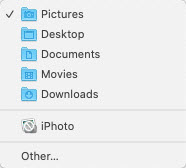
Scan To indicates where the scanned image will be saved on the computer. You can pick one of the locations provided in the list, or you can manually specify where you want to save your image by selecting Other... in this pop-up menu.
Name is the file name for your saved image.
Format will allow you to specify what image format you want the image saved as.
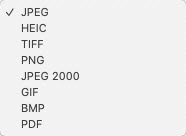
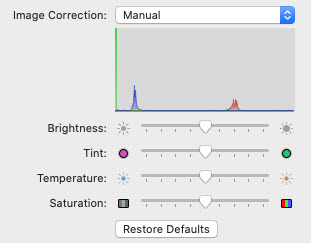
Image Correction will allow you to specify automatic adjustments to your image based on what you are scanning. If you select Manual, you can manually adjust the Brightness, Tint, Temperature, and Saturation of the image.
- After specifying the options as desired, click Scan. The image will be scanned and saved to your computer.
|
