WFT-E9: Synchronizing the Time
| Article ID: ART176439 |
| |
Date published: 02/03/2020 |
| |
Date last updated: 09/15/2023 |
Description
Synchronizing the Time
Solution
|
Synchronizing the Time
Synchronizing the Time
Preparing the Sender Camera
First, configure settings on the camera that will be used as the sender.
-
Press the  button on the camera. button on the camera.
-
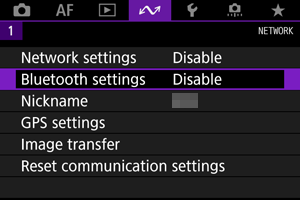
Select [ : Network settings]. : Network settings].
-
Select [Enable].
-
Select [Sync time between cameras].
- If another device is connected, [Set [Connection settings] to [Disconnect]] will appear. Select [OK] to terminate the connection.
-
Select [OK].
-
Select [WFT].
- Select [OK] to proceed to the next screen.
-
Select [Sender].
- Select [OK] to proceed to the next screen.
- Stay on the displayed screen.
Preparing the Receiver Cameras
Configure settings on the camera used as the receiver.
-
Perform Step 1 through 6 for "Preparing the Sender Camera".
-
Select [Receiver].
- Select [OK] to proceed to the next screen.
-
Select [OK].
Synchronizing the Time Between the Sender Camera and the Receiver Cameras
Use the menu on the sender camera and the receiver cameras to synchronize the time between them.
-
Perform Step 1 through 6 for "Preparing the Sender Camera" and Step 1 through 3 for "Preparing the Receiver Cameras".
-
Select [OK] on the sender camera.
- Check the number of receiver cameras that are connected, and then select [OK].
- The next screen is displayed once the time is synchronized.
-
Select [OK] on all the cameras.
|