Follow the steps below to connect your printer to a wireless LAN. You will need a USB cable to go through the process outlined in this article.
-
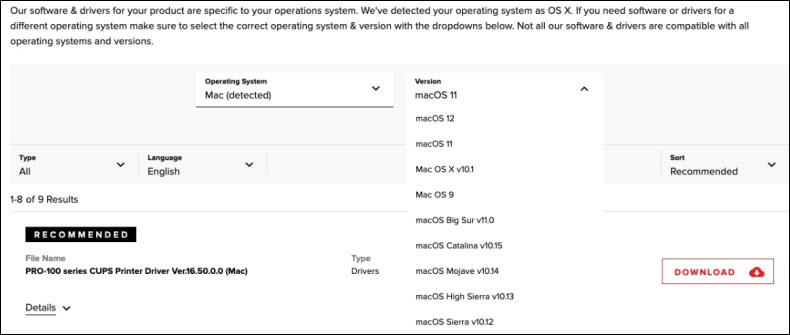
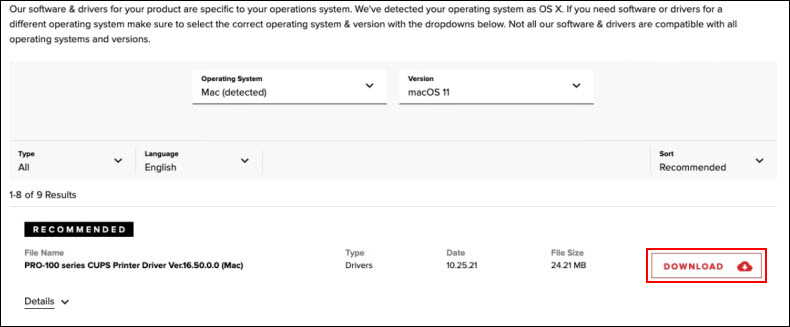
Click here to access the PRO-100 Software & Drivers page.
-
Your computer's operating system will be detected and will appear in the dropdown menu. If it does not, select it.
-
Click the Download button to the right of the driver.
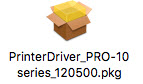
- After downloading the latest printer driver, open the file to mount a disk image on the desktop. Open the disk image and then open the .pkg file to begin installing the printer driver. If you are asked to continue to install a file that was downloaded from the internet, click on the option that allows you to proceed (Yes, Continue, etc.).
-
Click Continue.

-
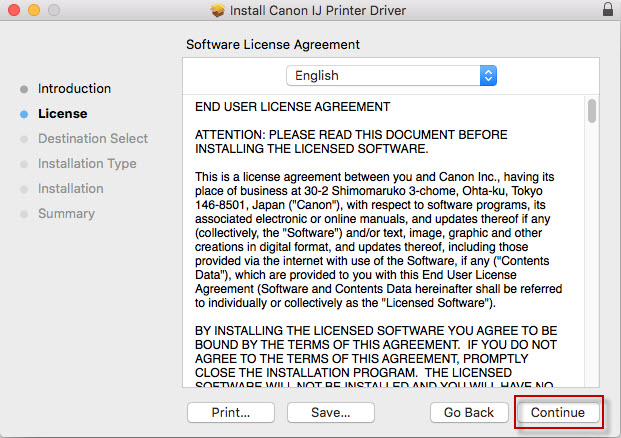
Read the license agreement. Click Continue to proceed.
-
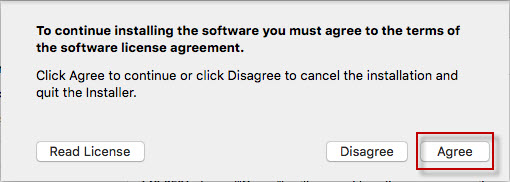
A window will drop down asking you to agree or disagree with the license agreement. Click Agree to continue.
-
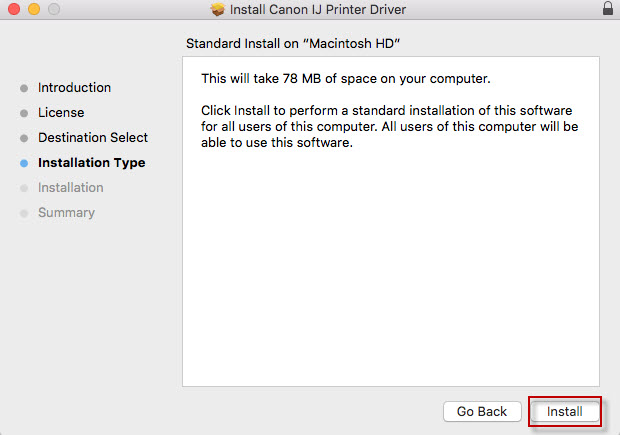
Click Install.
-
You will be prompted to enter the password for your computer user account to proceed. Enter the password and click Install Software to install the driver.

-
The driver will be installed. After the installation has finished, close the installer program.
-
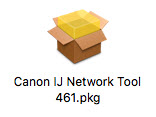
Download the IJ Network Tool, then repeat steps 1-9.
-
After installing the printer driver and the IJ Network Tool, connect the printer to your computer with a USB cord.
-
In Finder, click Go and Applications. Then, open the Canon Utilities folder. Open the Canon IJ Network Tool folder. Double-click on the Canon IJ Network Tool.
-
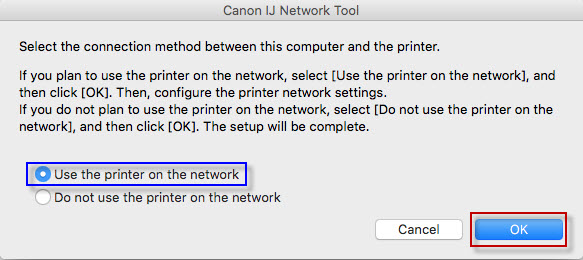
Select Use the printer on the network. Then click OK.
-
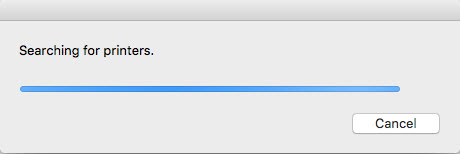
The computer searches for printers connected via USB.
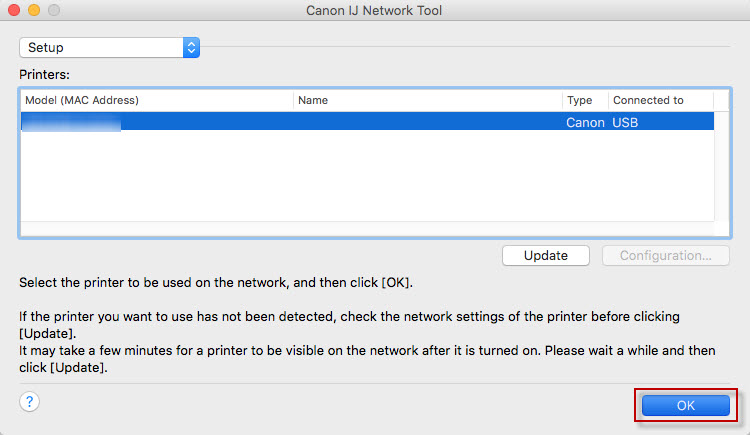
Then, a screen will appear which will show the printer connected to the computer. Click it to select it, then click OK.
-
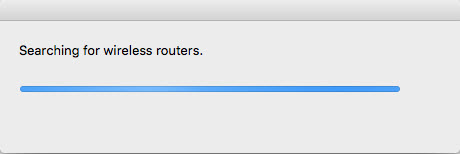
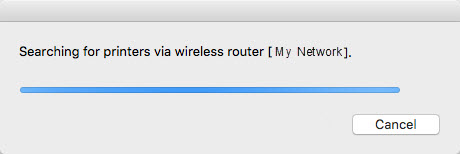
The printer will search for wireless routers.
At the Confirm Connection Wireless Router window, confirm that your network name is displayed and click Yes.
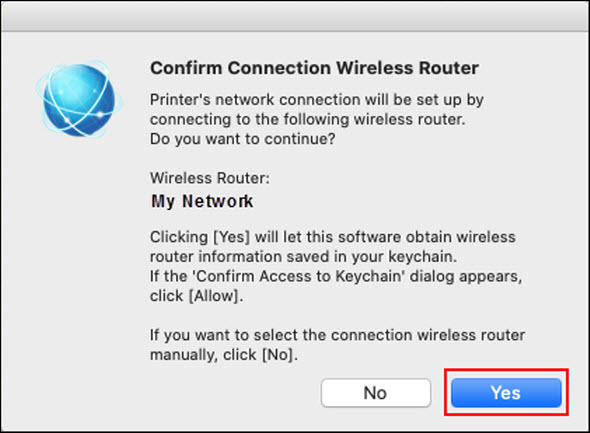
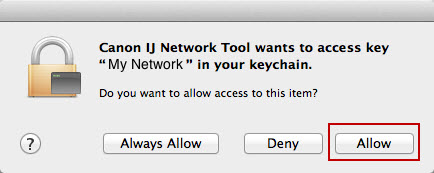
Make sure that your network name is displayed and click Yes. You may be asked to allow the IJ Network Tool to access data stored in the Keychain. If so, click Allow.
The following screen may appear after the printer has searched for wireless routers:
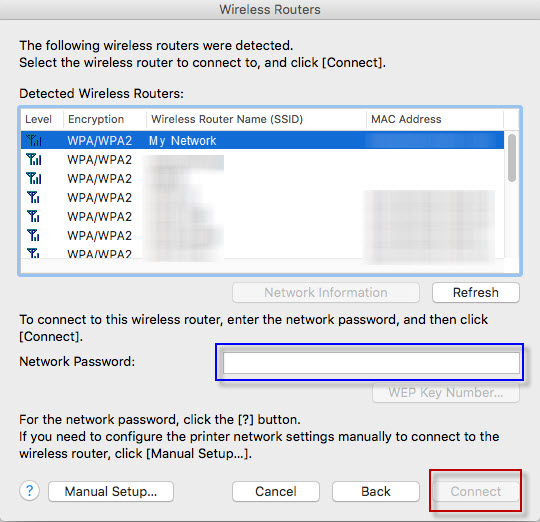
Select your network from the list. Enter the network password for your wireless router and then click Connect.
If there are multiple routers with the same name that have been detected by the printer, the following window may appear:
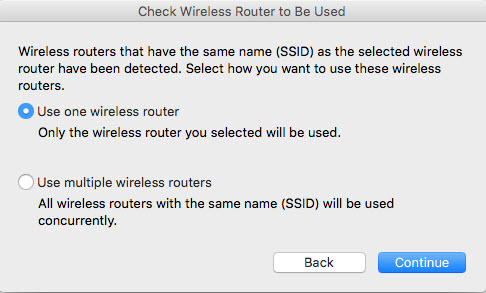
Select the option to use either one wireless router or multiple routers with the same SSID, then click Continue.
-
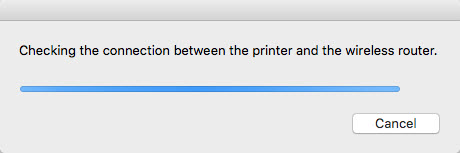
The printer will attempt to connect to the wireless network and it will verify that it is connected.
The computer will then attempt to locate the printer on the network.
-
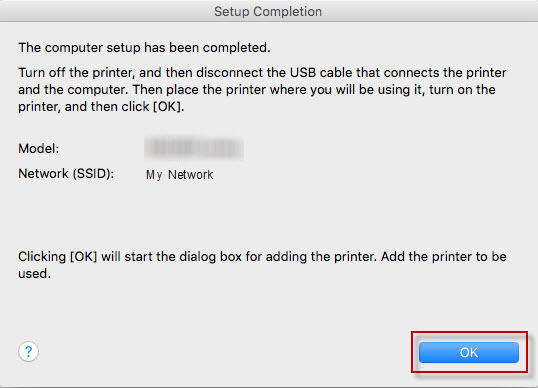
When the computer has found the printer on the network, the Setup Completion window will appear. Disconnect the USB cable.
 Before clicking OK to add the printer to the installed printer list, go into System Preferences and Print and Fax / Print and Scan / Printers and Scanners and remove the listing for your printer. If you do not do this, then you may receive a message that your printer is offline when attempting to print after finishing the setup. This is because the computer is trying to send a signal to the printer via a USB connection instead of wirelessly.
-
Click OK on the Setup Completion window, and the Add window will appear. Wait for the Canon IJ Network listing for the printer to appear. Select it and make sure that the Use field at the bottom indicates Canon xxxx Series.
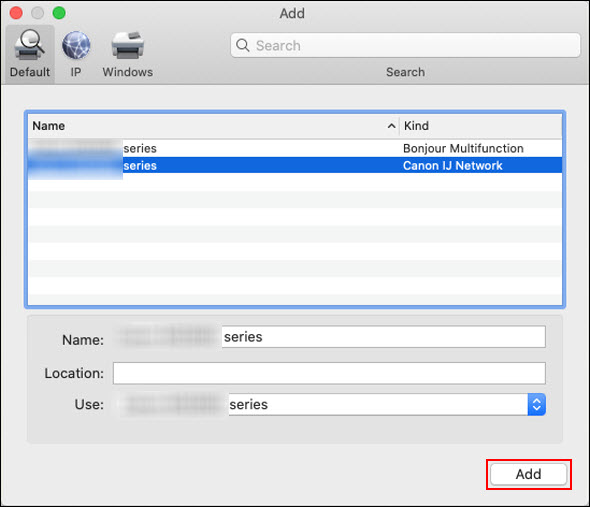
Then click Add.
The printer is now ready for use.
Or if you still need help, visit our Canon Community by clicking the button below to get answers:

