When printing from a Mac, you can specify the kind of paper that you want to print on. Follow the steps below to choose your paper type.
-
After opening a document or photo that you would like to print, open the Print dialog (typically done by selecting Print... from the File menu).
-
Select Quality & Media from the pop-up menu.
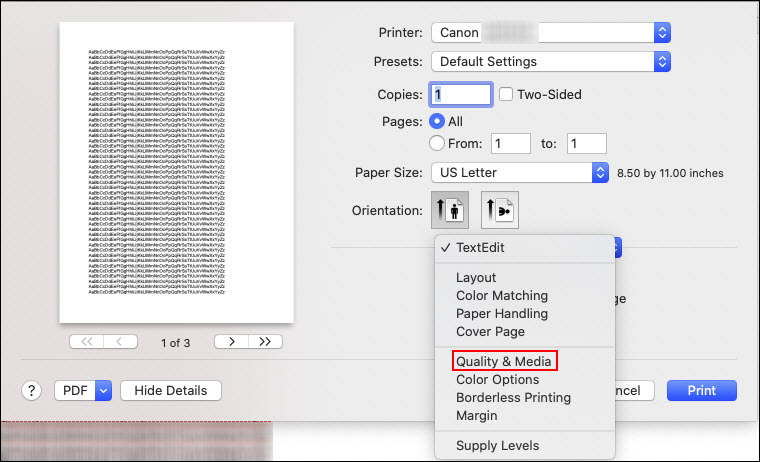
 If you don't have a pop-up menu where you can select Quality & Media, click Show Details at the bottom of the Print dialog. You'll get an expanded dialog with a pop-up menu similar to the image shown here.
-
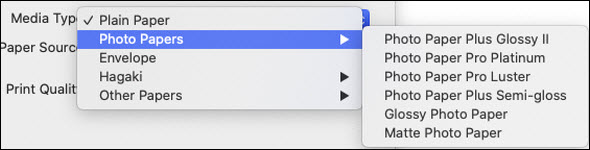
Select your desired media type in the Media Type pop-up menu.
-
Select Print.
The printer will print on your specified paper type.
Depending on the version of macOS installed and the program you're printing from, you may not have the options shown in this article. You may see an option called Printer Features. If this happens, you would need to use the AirPrint driver for your printer. Learn more about the different print options you would see as well as how to add the AirPrint driver.
If your product issue was not resolved after following the steps above, or if you require additional help, please create or log in to your Canon Account to see your technical support options.
Or if you still need help, visit our Canon Community by clicking the button below to get answers:

____________________________________________________________________________________________
