Replace the ink cassette in the SELPHY Square QX10 by following the steps below.
-
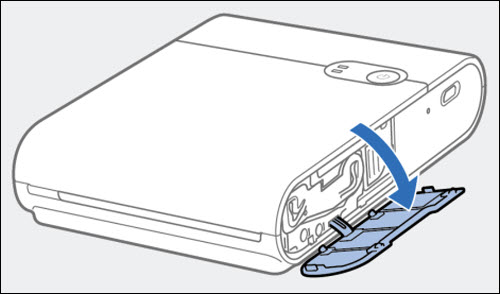
Open the ink cassette compartment cover.
-
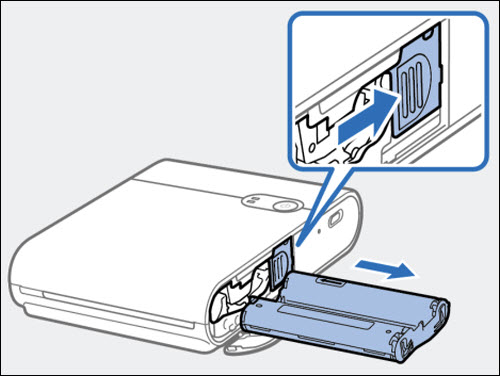
Slide the eject lever and remove the ink cassette.
-
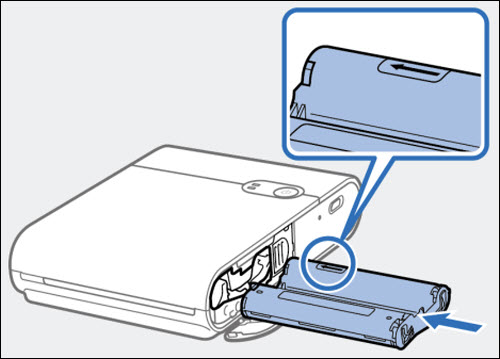
Insert the correctly oriented new ink cassette into the printer until it clicks into place.
-
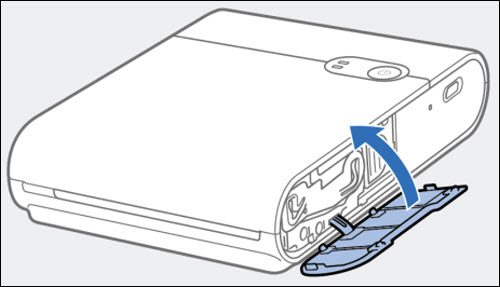
Close the ink cassette compartment cover.
If your product issue was not resolved after following the steps above, or if you require additional help, please create or log in to your Canon Account to see your technical support options.
Or if you still need help, visit our Canon Community by clicking the button below to get answers:

____________________________________________________________________________________________
