Manually Connect the Printer to a Wireless Router - TS5320
Article ID: ART176776
|
Date published: 05/12/2020
|
Date last updated: 05/12/2020
Description
This article shows how to manually enter your network password to connect your PIXMA TS5320 printer to a wireless network.
Solution
You can manually enter the password for your wireless network on the operation panel of the PIXMA TS5320. Follow the steps below to connect the printer to your network using this method.
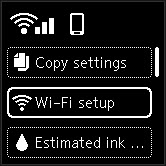
On the HOME screen, press the OK button.
Use the arrow buttons to select Wi-Fi setup, then press the OK button.
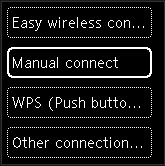
Use the arrow buttons to select Manual connect, then press the OK button.
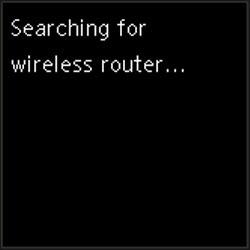
The printer will search for nearby networks.
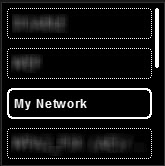
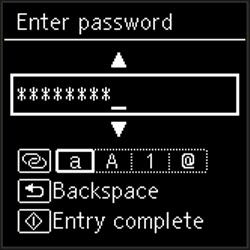
Use the arrow buttons to select your network, then press the OK button..
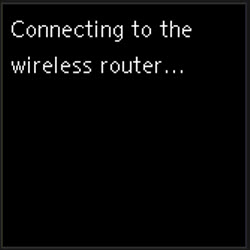
After the network password has been entered, the printer will attempt to connect to the network.
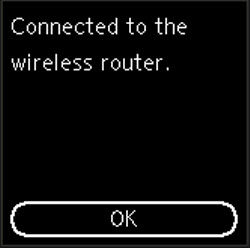
After the printer has connected, press the OK button.
If your printer fails to connect to the wireless network, try entering the password in again. Network passwords are case-sensitive, so be sure that you enter in the password exactly as you have it written down.

 If your printer fails to connect to the wireless network, try entering the password in again. Network passwords are case-sensitive, so be sure that you enter in the password exactly as you have it written down.