To remove the print head from the PIXMA TR150:
-
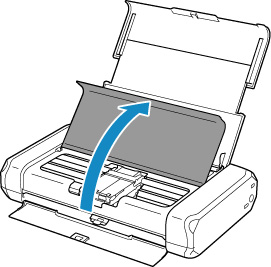
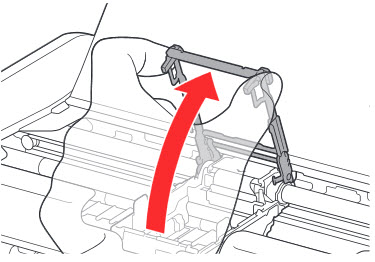
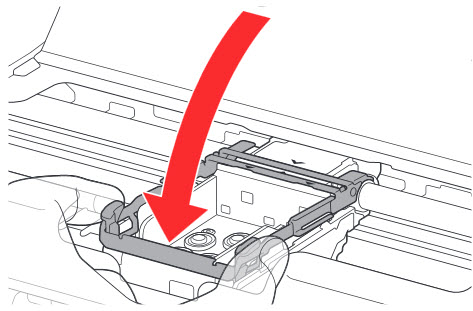
With the printer powered on, open the print head cover so that the print head holder moves to the replacement position.
-
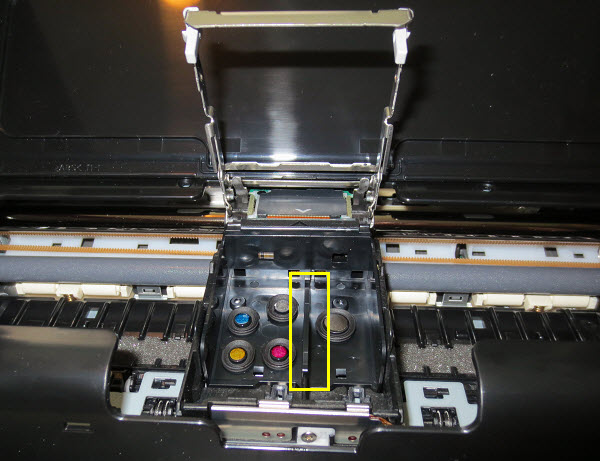
Remove the ink tanks by pressing the tab (A) on the front of each ink tank and then lifting them.
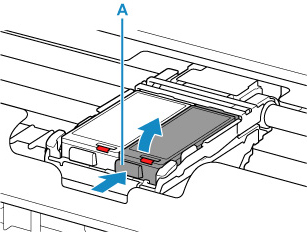
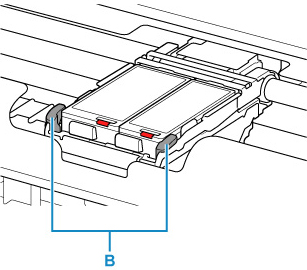
Do not touch the print head lock lever tabs (B).
-
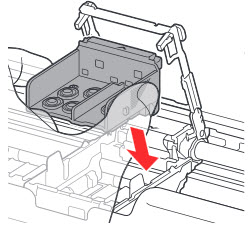
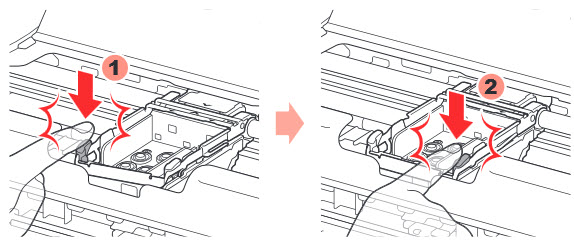
After removing the ink tanks, gently press the tabs on the print head lock lever inward.
-
After pressing the tabs inward, gently lift the lock lever.
-
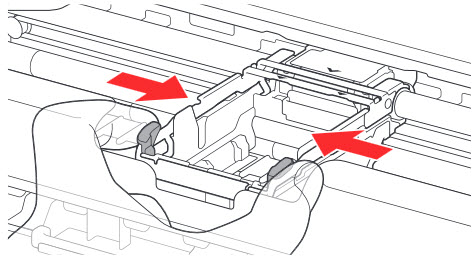
Gently lift the print head from the print head holder to remove it.
-
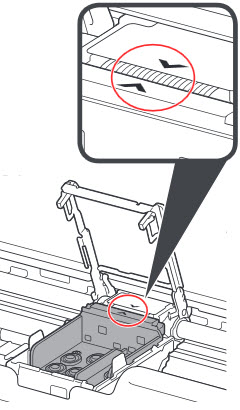
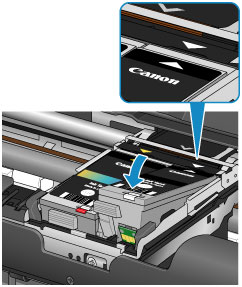
To reseat the print head, place the print head back into the print head holder.
-
Make sure that the arrow marks on the print head and the print head holder are aligned.
-
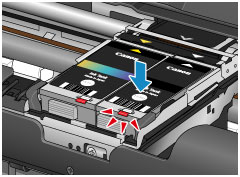
Close the print head lock lever. Push tabs until they click to lock the lever into place.
-
Reinsert the ink tanks. Insert the front end of the ink tank at a slant. Then press the push mark on the ink tank until the ink tank snaps into place.
Make sure that the ink lamp lights up.
-
Close the print head cover.
If your product issue was not resolved after following the steps above, or if you require additional help, please create or log in to your Canon Account to see your technical support options.
Or if you still need help, visit our Canon Community by clicking the button below to get answers:

____________________________________________________________________________________________
