There are several paper-related settings that can be adjusted on the operation panel of the imagePROGRAF PRO-300. To access these settings:
-
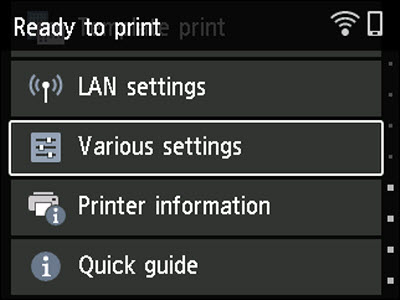
With the printer powered on, use the up  or down
  buttons to select Various settings, then press the OK button.
-
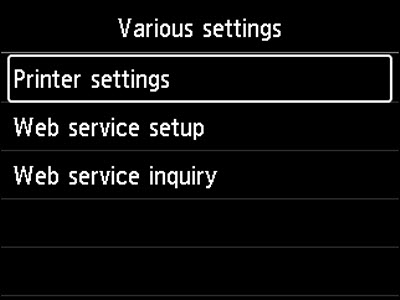
Printer settings will be selected. Press the OK button.
-
Use the up or down buttons to select Paper-related settings, then press the OK button.
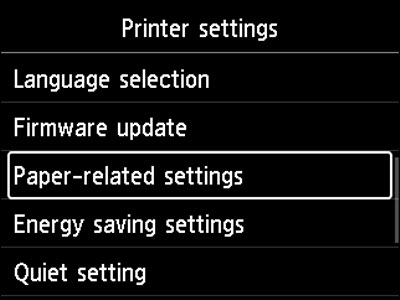
You'll be able to adjust the following;
-
Top feed paper settings
Set the paper size and the media type of paper loaded in the top feed.
-
Manual feed tray paper settings
Set the paper size and the media type of paper loaded in the manual feed tray.
-
Check paper replacement
If you select Yes, the printer detects that the paper is loaded or removed.
When the paper registration screen is displayed after loading paper, register the paper size and the media type.
-
Det. paper setting mismatch
If you select Yes, the printer detects whether the paper size and the media type are the same as those registered. If printing starts with the settings that do not match, an error message appears on the LCD.
 Learn about registering paper information on the printer.
-
Advanced paper settings
Adjust the following settings for each media type.
If you experience uneven colors when printing, select ON on Unidirectional printing.
 This will decrease printing speed.
Selecting Reset paper settings for all paper, Yes and pressing the OK button initializes the settings. Entering the administrator password is required if it is enabled.
-
Print advanced paper settings
Selecting Yes and pressing the OK button prints out each setting specified in Advanced paper settings.
-
Reset paper settings for all paper
Selecting Yes and pressing the OK button initializes each setting specified in Advanced paper settings.
Entering the administrator password is required if it is enabled.
If your product issue was not resolved after following the steps above, or if you require additional help, please create or log in to your Canon Account to see your technical support options.
Or if you still need help, visit our Canon Community by clicking the button below to get answers:

____________________________________________________________________________________________
