You can reset several settings in the PIXMA TS5120 if needed. Follow the procedure below to reset these settings.
-
From the HOME screen, use the arrows to select the Setup  icon and press the OK button.
-
Settings  will be highlighted. Press the OK button.
-
Device settings  will be highlighted. Press the OK button.
-
Use the up  or down
  arrows to select Reset settings. Press the OK button.
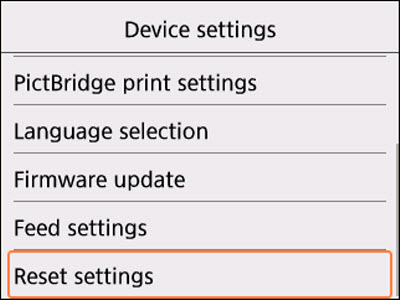
The Reset setting menu will appear.

You can reset any of the following:
-
Web service setup only
Sets the Web service settings back to the default.
-
LAN settings only
Sets the LAN settings back to the default.
-
Settings only
Sets the settings such as the paper size or media type back to the default.
-
Device info sending settings only
Sets only the device information sending settings back to the default.
-
Reset all
Sets all settings you made to the printer back to the default. The administrator password specified by Remote UI reverts to the default setting.
 You cannot set the following setting items back to the default:
-
CSR (Certificate Signing Request) for encryption method (SSL/TLS) setting
-
The current position of the print head
-
The language displayed on the LCD
Use the up or down arrows to select a setting you want to reset. Press the OK button.
You'll be asked to confirm if you want to reset the settings.
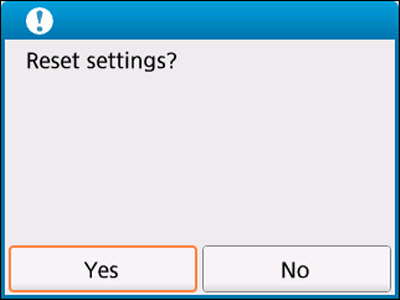
Use the arrows to select Yes to reset the settings, then press the OK button. If you do not want to reset the settings, select No and press the OK button. You will return to the Reset settings menu.
If your product issue was not resolved after following the steps above, or if you require additional help, please create or log in to your Canon Account to see your technical support options.
Or if you still need help, visit our Canon Community by clicking the button below to get answers:

____________________________________________________________________________________________
