To toggle the IPv6 setting on your PIXMA TR8620, please follow the steps below.
-
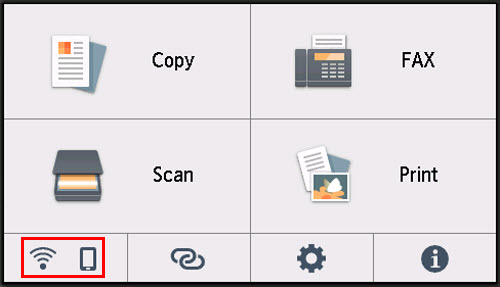
With the printer powered on and on the HOME screen, tap the connection mode icon at the lower left.
-
Tap either Wi-Fi or Wired LAN, depending on how your printer is connected to your network.
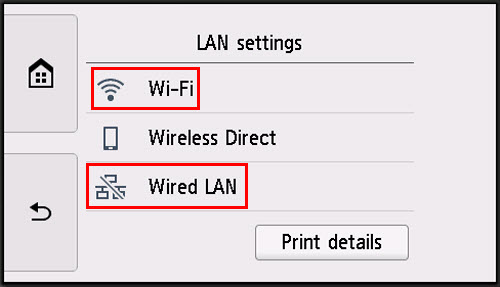
 Toggling IPv6 for Wi-Fi or Wired LAN will affect both Wi-Fi and Wired LAN. In other words, if you're using the printer wirelessly and enable or disable IPv6, it will be enabled for the printer if you switch to using it via ethernet (Wired LAN).
-
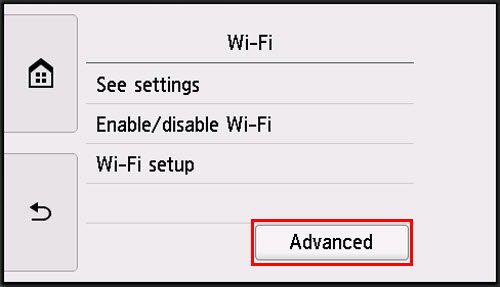
Tap Advanced.
-
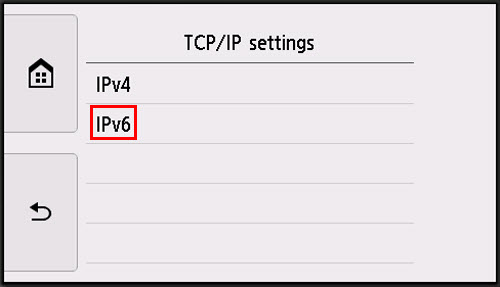
Tap TCIP/IP settings.

-
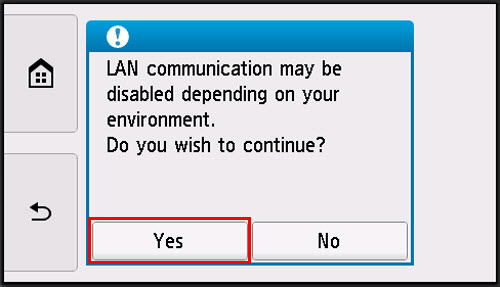
Tap IPv6.
Tap Yes.
-
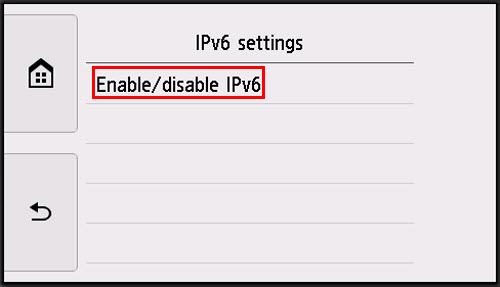
Tap Enable/disable IPv6.
-
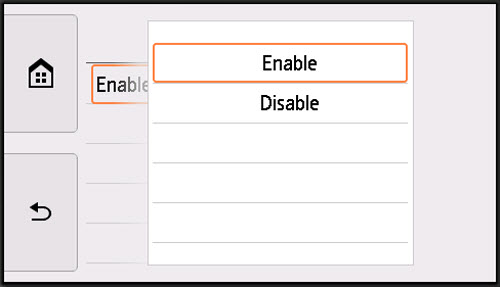
Tap Enable or Disable, depending on if you want IPv6 active or not. By default, IPv6 is enabled.
If your product issue was not resolved after following the steps above, or if you require additional help, please create or log in to your Canon Account to see your technical support options.
Or if you still need help, visit our Canon Community by clicking the button below to get answers:

____________________________________________________________________________________________
